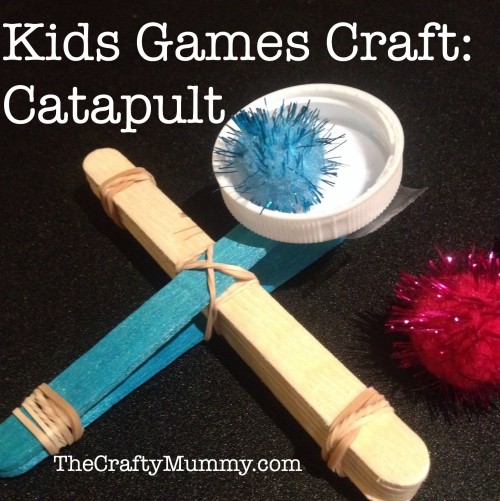
The coolest craft we created at Kids Games last week was a catapult from paddle pop sticks. When I was planning the craft activities, I spent some time looking at all the craft supplies that had been gathered over the years in the cupboard allocated to Kids Games. There were at least 3000 paddle-pop sticks in there! (Also known as wooden craft sticks or popsicle sticks.) So I actively looked for a cool craft that all the kids (including the boys) would love and would use up some of those sticks.
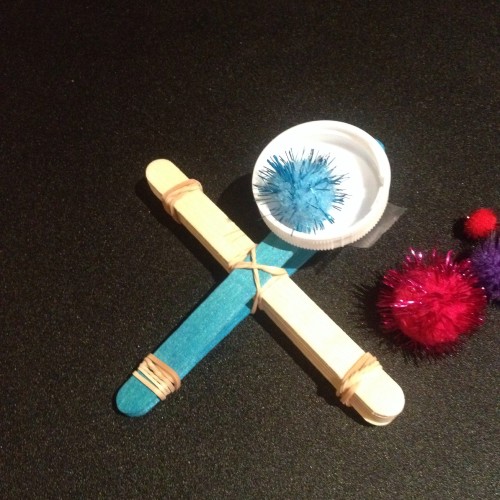
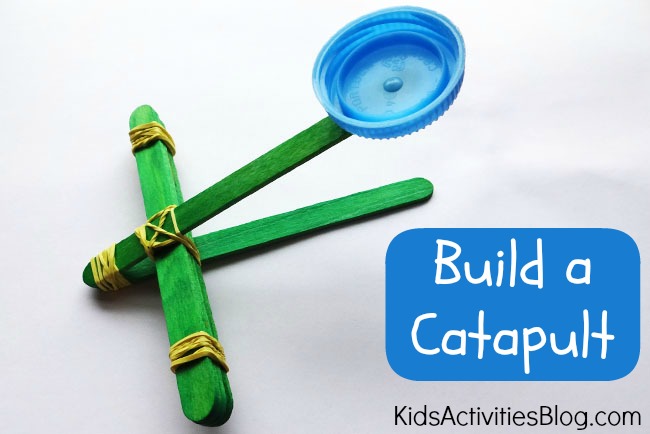
I came across similar ideas to this one in a couple of places but ended up using the instructions from Kids Activity Blog. Each catapult uses 7 sticks, 4 elastic bands and a milk bottle lid. We also supplied sparkly pompoms for soft ammunition. We tried to attach our lids with double-sided tape so that the kids would be able to fire some pompoms straight away, but the tape didn’t stick as well as I would have liked – I think mostly because the kids handled it so much before they tried to stick it down and got the tape a little dirty. If you do try to make these at home, I’d recommend using a hot glue gun or PVA glue to attach the lid as it will stick much better.
Each child got some sparkly pompoms to fire towards our targets – paper plates with numbers for scores in the middle of each table. Obviously these little catapults don’t have a lot of power in them, but they could still be dangerous if used to fire small hard objects like marbles or rocks. We made sure that we pointed that out to the kids in our program so hopefully there were no injuries after they took them home. Keep in mind too that rubber bands can be dangerous to eyes if flicked around so we were pretty vigilant on this craft day.

Our kids program included kids from aged 5 through to around 12 and all of them loved these, although the youngest ones needed help twisting the rubber bands into place. Also note that the closer you pull the cross bar section (white on my example) to the join of the two blue sticks, the better it will fire. You might even need an extra rubber band to keep it in place.
Pop over to find the tutorial at Kids Activity Blog by clicking on the image below:


What a great activity. That’s another one that my big boy will probably like to try sometime!