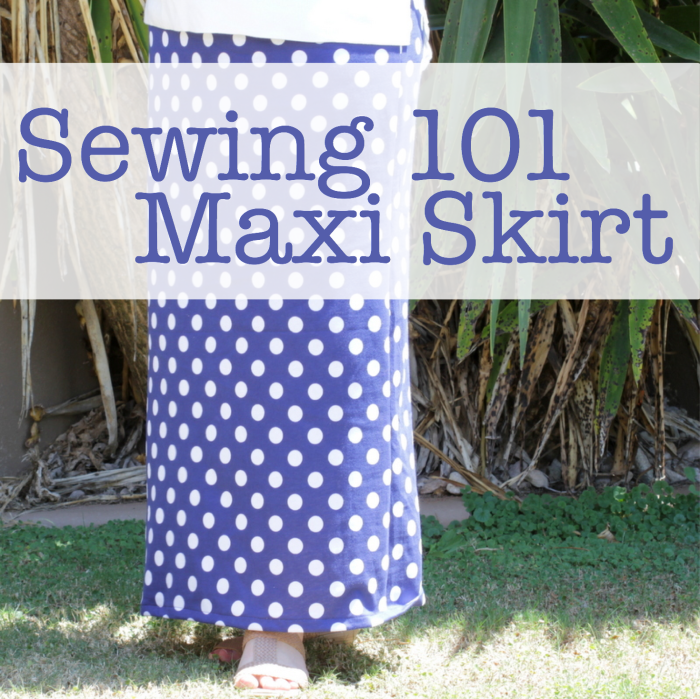
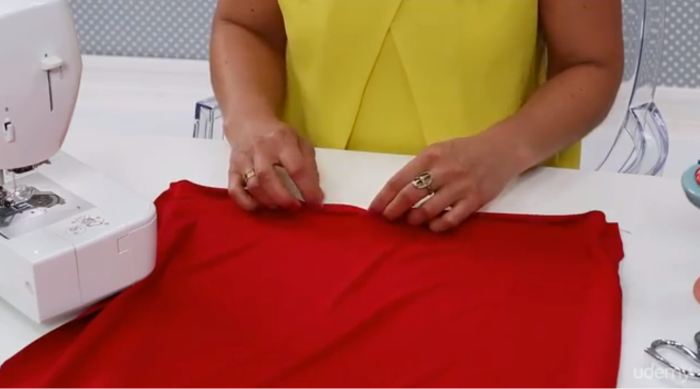
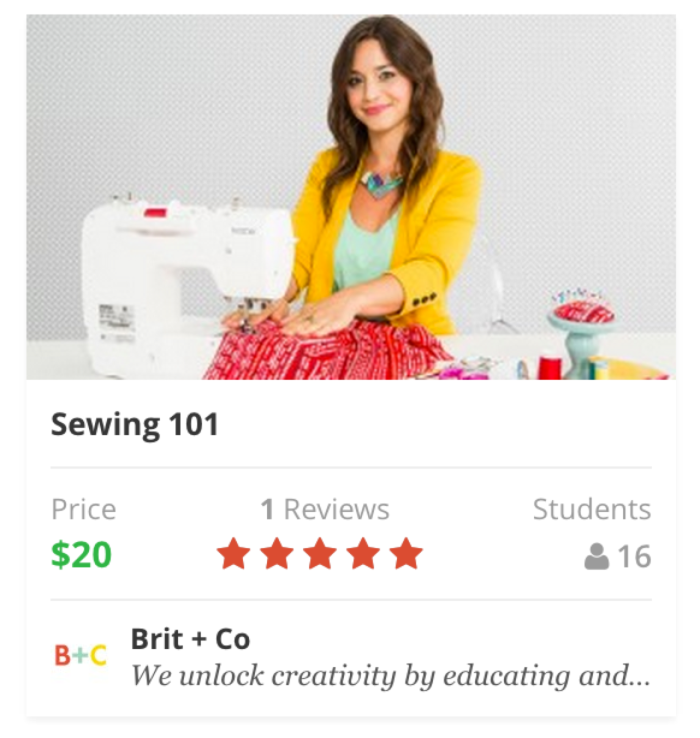
I made a skirt this morning! In less than an hour!
It was super easy thanks to a step by step tutorial from Udemy. If you haven’t heard of Udemy yet, it is an online classroom full of classes that you can take to learn all kinds of things. I was approached to review a class as they have a collection of crafty classes from Brit & Co. I often have readers comment about learning to sew so it was the perfect opportunity to review a beginner sewing class called Sewing 101.
First Impressions
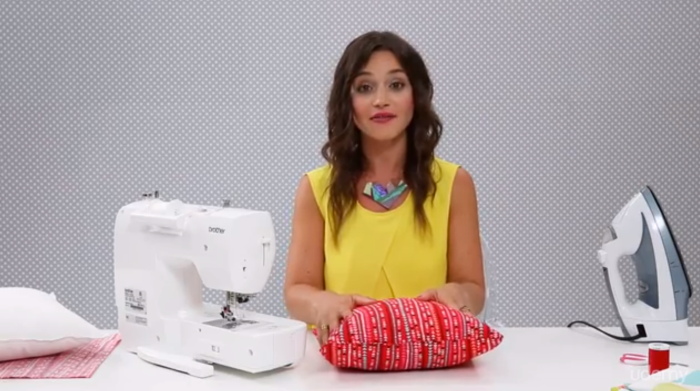
- The set was bright and light
- The sound was clear and the picture large enough to watch easily.
- The teacher, Roxy, was easy to listen to and dived right into the content.
Basics
The course was split into three section and the first one covered some sewing basics: Supplies, Fabric and the Sewing Machine.
There were great descriptions of a collection of basic tools that you might use for the following tutorials, and Roxy went through a bunch of different types of fabric, describing each one and suggesting what it might be used for. Although it is hard to really see the difference between the fabrics on video, it was still useful information to have in your head when you go shopping for fabric.
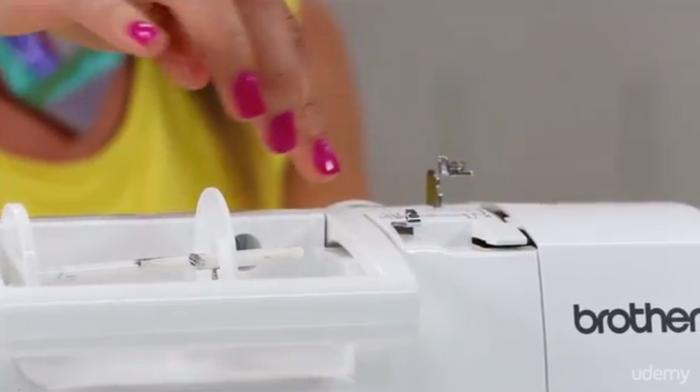
Next she went through the anatomy of the sewing machine. It was interesting for me to note that the machine was quite different to mine – I have a Pfaff machine and she was showing a Brother machine. As a beginner, make sure you grab your own sewing machine manual for this section so you can learn where each of the parts are on your machine. Also check how to thread your own machine because again I noticed that the threading of the Brother machine is very different to threading my Pfaff machine.
I don’t point these differences out to put you off doing the class but just to make you aware that there are LOTS of different sewing machines out there and the mechanics can be quite diverse between brands and models. It would be impossible for an hour video lesson to cover all the possibilities in this section so just keep that in mind as you watch.
Two Quick Projects
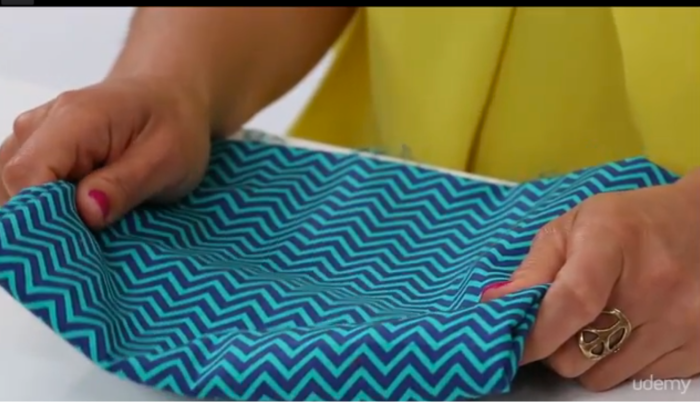
The next section covered two small projects to get a beginner started. First Roxy made a simple napkin showing how to hem the edges. This is one of those things that you will use on lots of later projects and I thought it was well explained.
Next she made a simple pillow or cushion cover. She explained how she had created the cushion cover then demonstrated how to hand stitch the opening closed. Again this is a skill that is used on lots of sewing projects and Roxy showed exactly how to slip stitch.
Maxi Skirt Project
The rest of the video was a detailed explanation of how to make a simple maxi skirt with an elastic waist from jersey fabric. Her skirt looked super soft and drapey and very cool. This is a great project for a beginner and really made me want to shop for some soft jersey.
Instead I grabbed some navy spot knit fabric that I had on hand and got sewing. In less than an hour I had my skirt ready to wear!
Roxy showed how to measure and cut the fabric using another skirt as a guide. She also showed step-by-step how to sew the side seams, add the elastic waist band and finish the hem. She even showed how to thread the elastic with a safety-pin. (Aside: I’ve never heard this called “filing” the elastic before – is this is U.S. sewing term?)
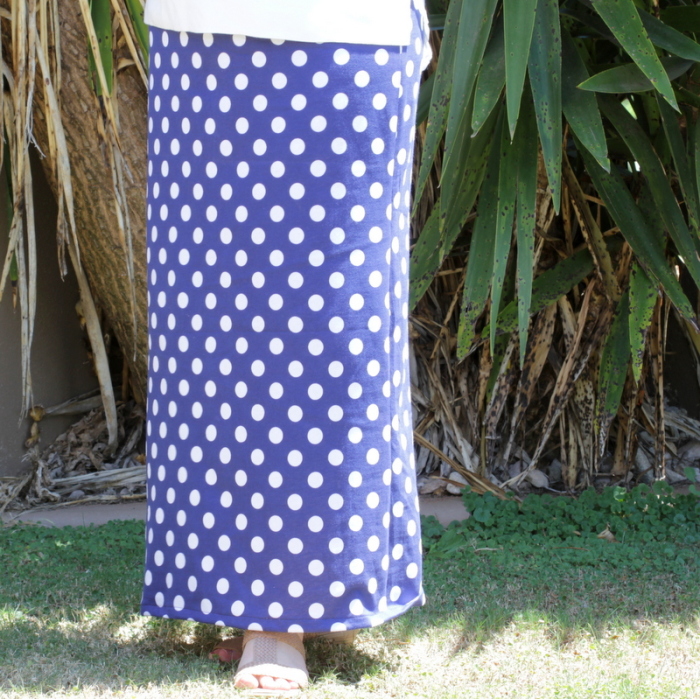
My skirt doesn’t look quite as nice as hers in the end. I think her fabric had more drape and she cut hers wider so there was more fabric to gather up. I wonder whether her fabric was wider to start with because I cut mine pretty much as wide as the fabric would let me.
Quick Tips
The video finished with a couple of quick tips – almost like an after thought. I thought the tips throughout the video were much more useful in context.
What I liked
- Easy projects – perfect for beginners.
- Short sections of video so you could watch it in parts and easily go back and watch the section you needed to review. The whole class was about an hour.
- There is a section on the website to ask questions and have discussions with your class mates.
- After the class, I was sent a bunch of emails offering discounts on future classes on Udemy – great for continuing to build your skills. (There were also encouraging emails throughout the class and a certificate emailed at the end.)
- This course is usually $20 and I think that is pretty good value for your money.
What could be improved
- I would have liked to see some wide-angle footage of the skirt, for example the entire piece cut out ready to sew so I could check mine looked the same.
- She didn’t use very specific measurements. I’m used to being told exactly how big to cut something, not “add a few inches” to a measurement.
- The skirt method will work fine for women up to certain waist measurement. A different method would be needed for larger sizes but unfortunately none was explained.
- I did ask a question in the discussion section just to test it out but now 24 hours later it hasn’t been answered yet. (I’ll update this when I see an answer.)
Overall
If you have never done any sewing and want to get started, this would be a great way to go. The information is good and not too overwhelming in its detail. You’ll create some super easy projects and you can watch the videos over and over again if you need to.
BONUS
Would you like to try this class or another class on Udemy for yourself?
Use the code CRAFTYMUMMY to get 75% off your class! (That means you could do this Sewing 101 course for only $5!)
Code valid until November 15th 2014
Disclosure: This is a sponsored post. As always all opinions are my own. Some of the images are screenshots of the actual class to give you a taste. There are also affiliate links in this post.
