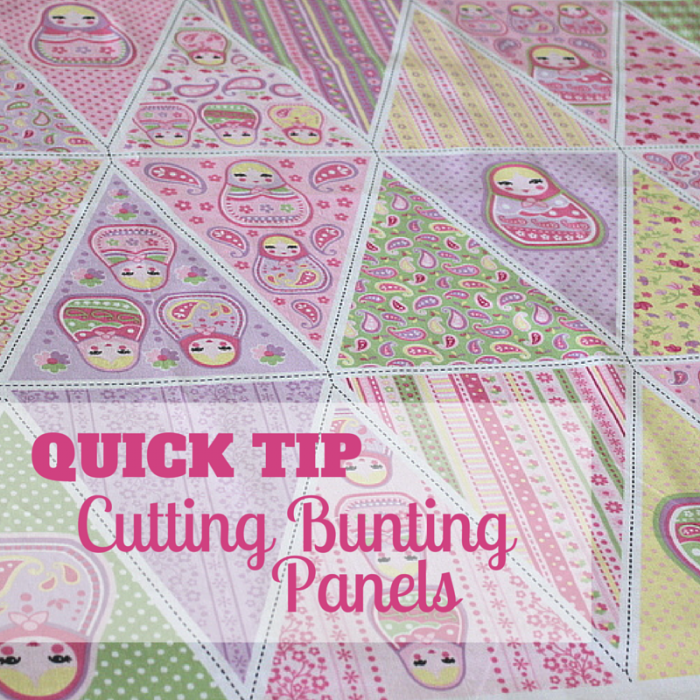
If you’ve ever used a printed panel to make bunting, you will know they are such a quick project. The panels come printed with triangular shapes and you only need to cut them up. It is much quicker than having to measure and cut triangles from plain fabric.
In the past I have used these panels to make Mini Bunting by backing the panels with other pieces from the same panels. For this project I wanted to use a different fabric for backing and I realise there was a quick way to cut all the pieces at once and save a little time.
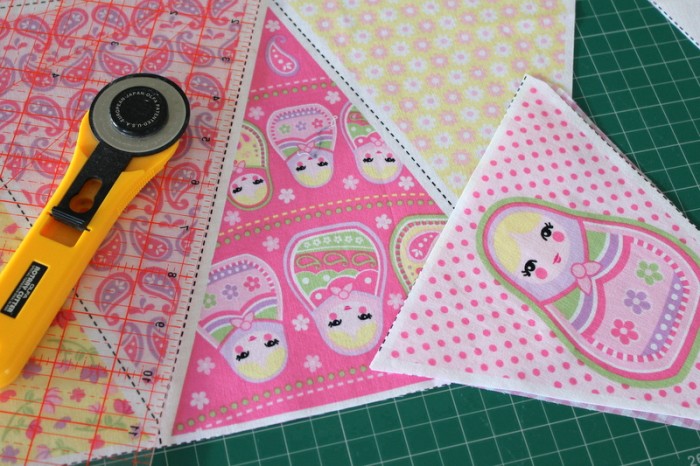
Cutting the Bunting Panel and Backing Fabric Together:
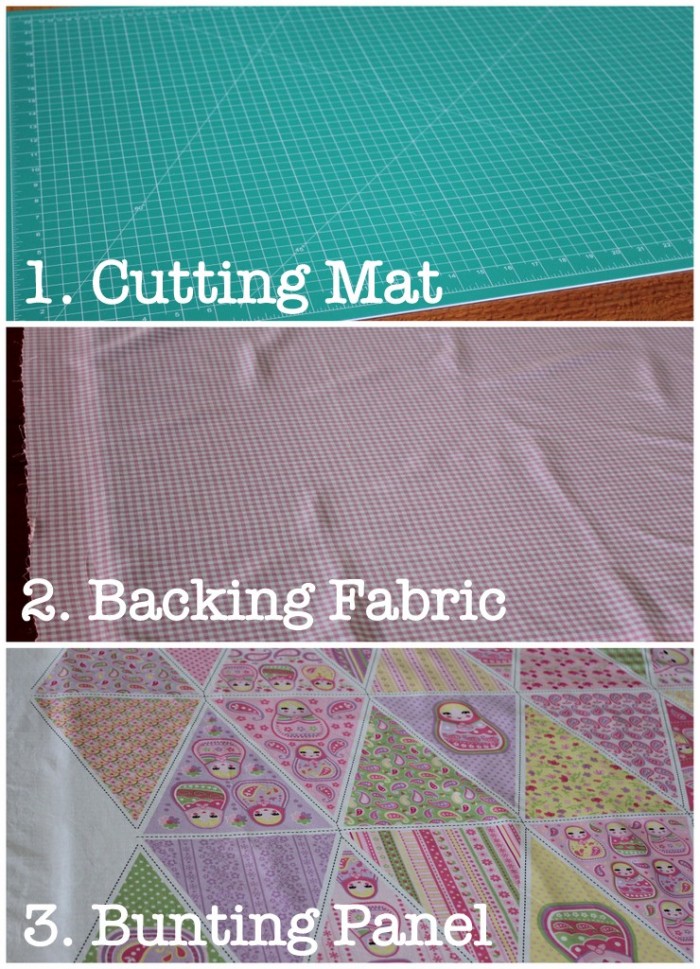
1. Lay down your cutting mat first. I’ve been loving this extra large mat that Mum gave me last Christmas as I can cut lots more fabric without having to move it. Thanks, Mum! (Find a similar mat here on Amazon – Affiliate link)
2. Lay down your backing fabric. I’d suggest you use a backing fabric that is non-directional. Mine is a small pink and white check.
3. Lay down your printed bunting panel on top.
4. Add a few pins to keep your layers together then start cutting out the triangles.
I used a rotary cutter and 12″ ruler, and had all my pieces cut in less than half an hour.
Just be careful to make sure that the section you are about to cut is over the cutting mat so you don’t damage your table top.
Look out for my finished bunting soon.
More Bunting Tutorials

