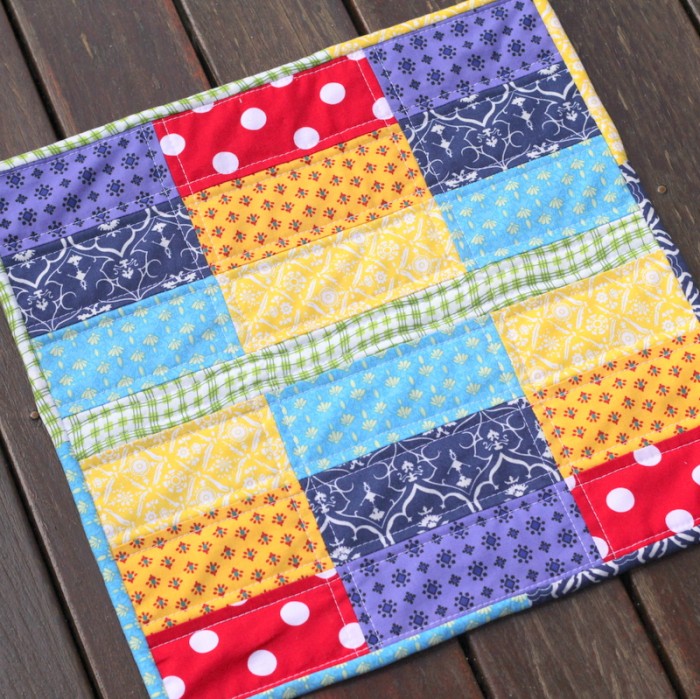
Another rainbow mini quilt – yay!
It is no secret that I love rainbows and mini quilts are so quick to make that this is the perfect match for me. When I stitched all my rainbow blocks cross stitch last year, I had this secret plan to make each of them into mini quilts as well and I’m gradually adding to the collection. This is the fourth mini quilt in the set and it is based on Block 3 of the cross stitch designs.
You can see the other rainbow mini quilts and more on this page.
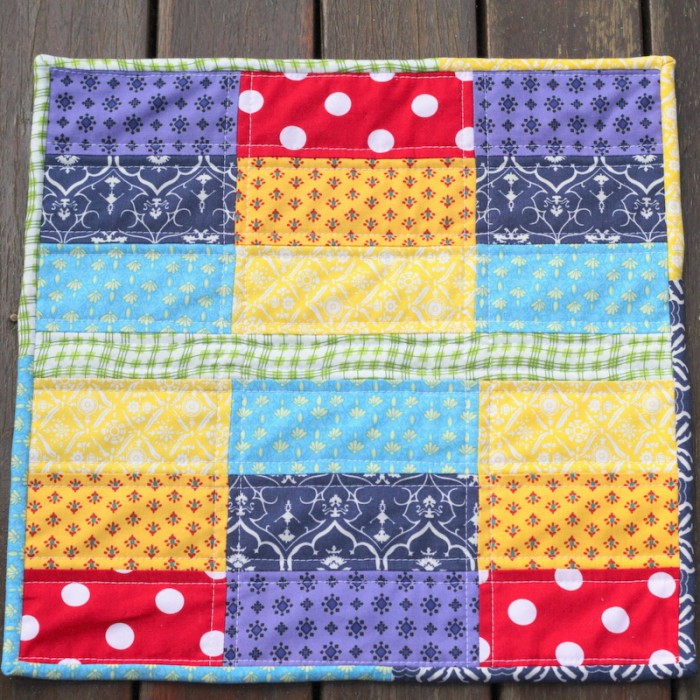
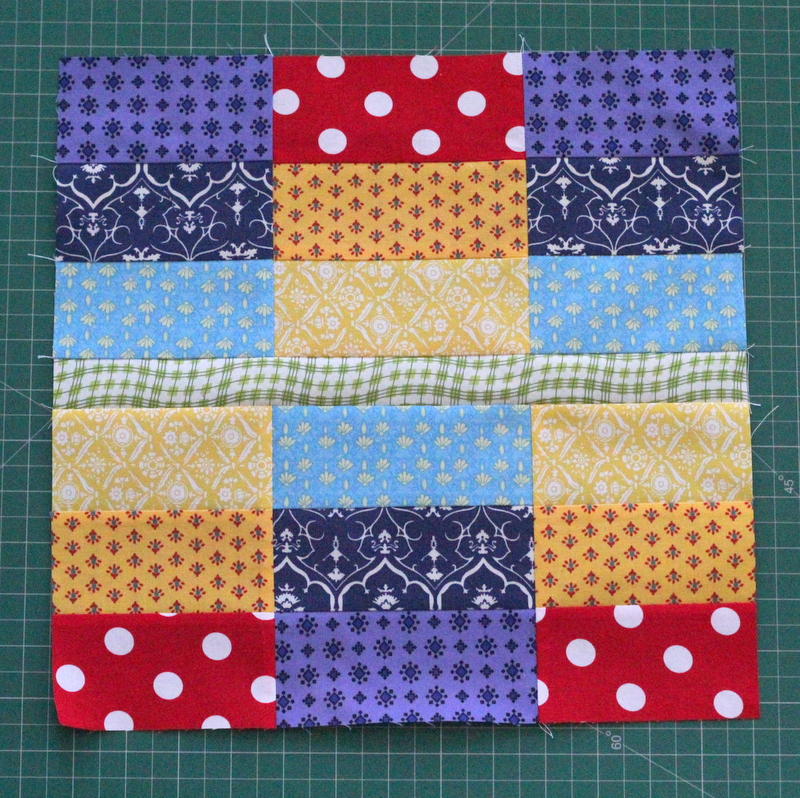
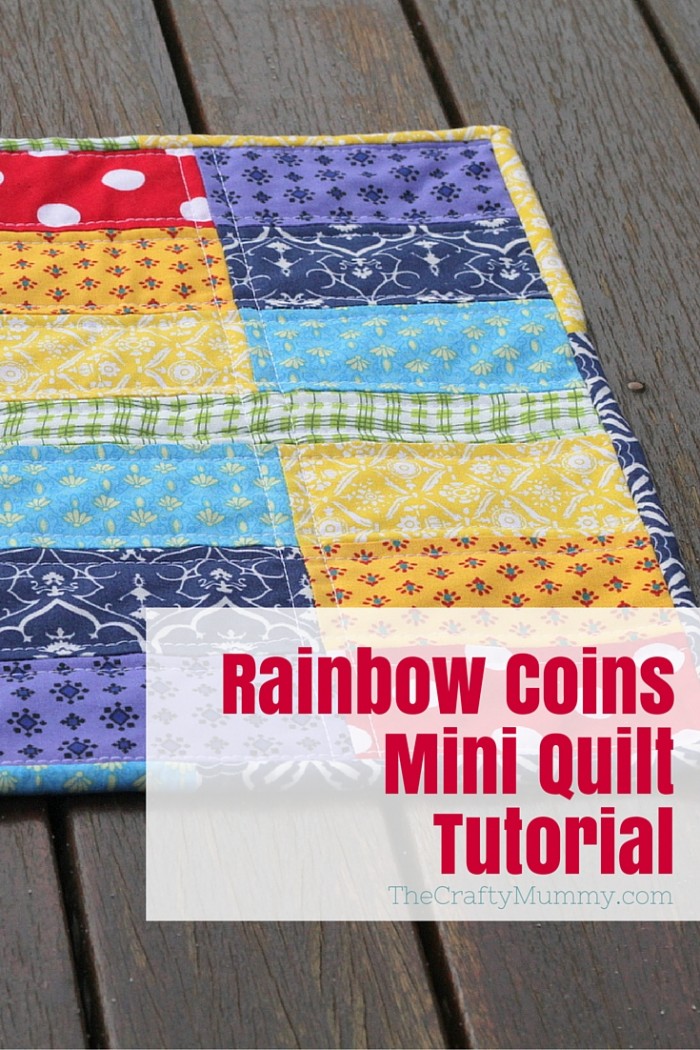
I’ve named this quilt the Rainbow Coins Mini Quilt because it reminds of a traditional quilt design sometimes called Chinese coins which stacks rectangles of fabric on top of each other in columns. My design has a green stripe across the middle of the set because the practical side of me didn’t want to chop it in rectangles only to stitch them together again! But the quilting really emphasises the rectangles I think.
I hope you enjoy making this one as much as I did. I’d love to see your finished mini quilts so tag me on Instagram or Facebook, or even Google+ if you’re over there.
What You Need
Rainbow Fabric:
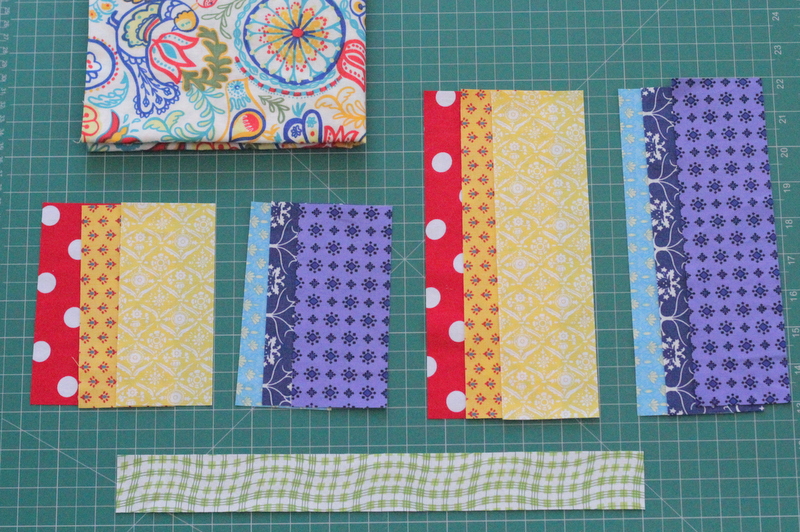
Green – 1 piece: 13.5″ x 1.5″
Purple, Blue, Light Blue, Yellow, Orange & Red – 1 piece in each colour: 9″ x 2.5″; 1 piece in each colour: 5.5″ x 2.5″
Backing fabric – 15″ x 15″
2″ x at least 65″ strip for binding – mine was made by piecing scraps of my rainbow fabric, this includes extra length for joining
Pellon or quilt batting – 15″ x 15″
Thread and usual sewing supplies
Finished size: 13″ square
What To Do
Note: all seams are quarter inch seams
Step 1
Cut all your pieces. Divide the pieces into groups: red, orange and yellow together; purple, blue and light blue together.
Step 2
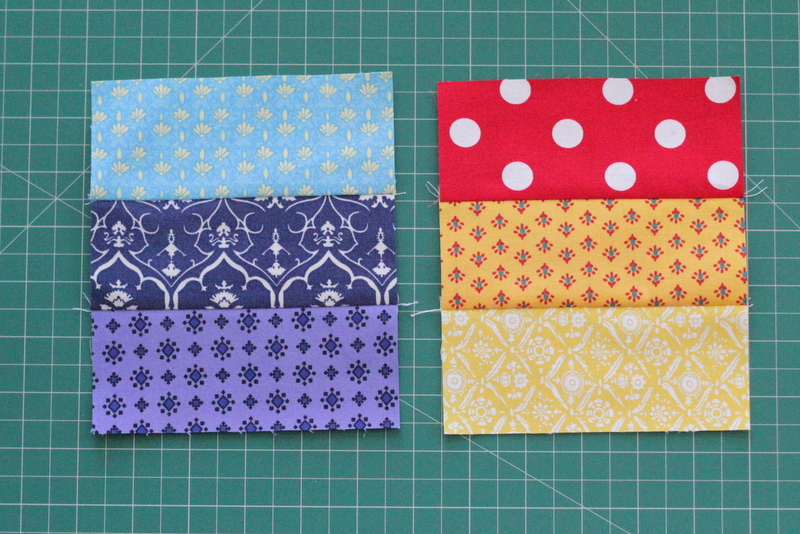
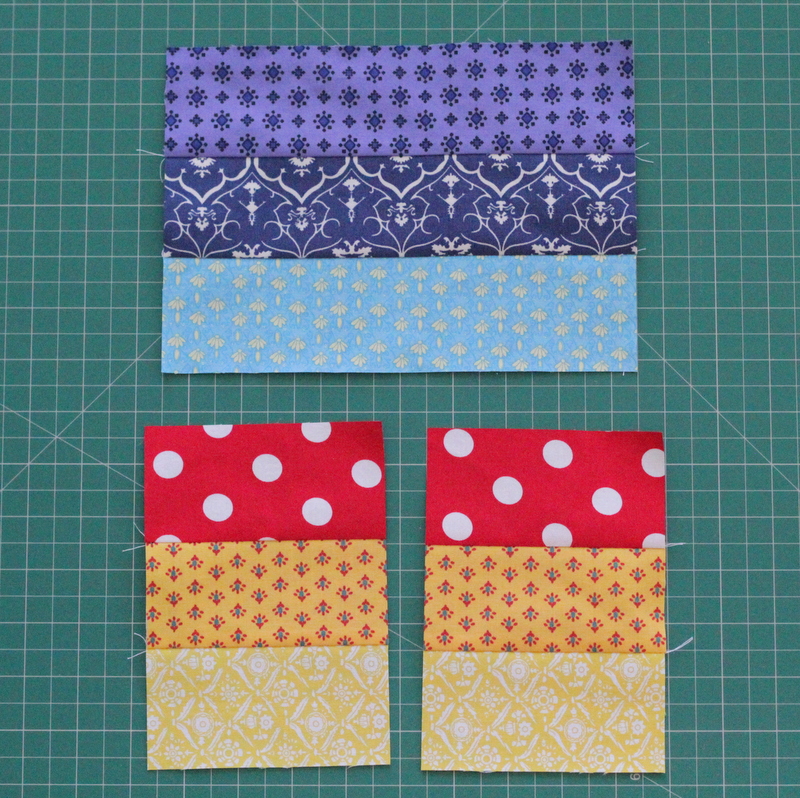
Join the red, orange and yellow pieces together in that order for both the 9″ pieces and the 5.5″ pieces, pressing the seams to the side as you go.
Then join the purple, blue and light blue pieces together in that order.
Step 3
Cut the 9″ sets in half to create to sets that are 4.5″ wide.
Step 4
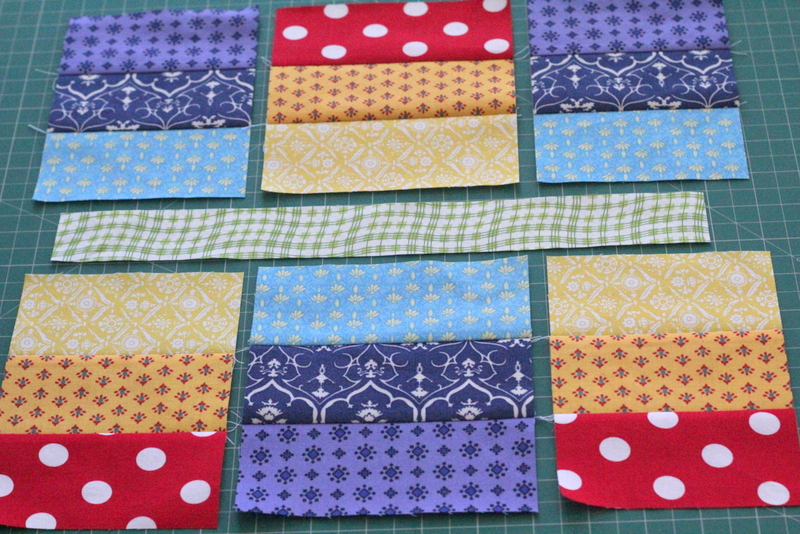
Lay out the pieces as they will join for the quilt top. Join the sets of three together as shown in the pictures. Press the seams.
Step 5
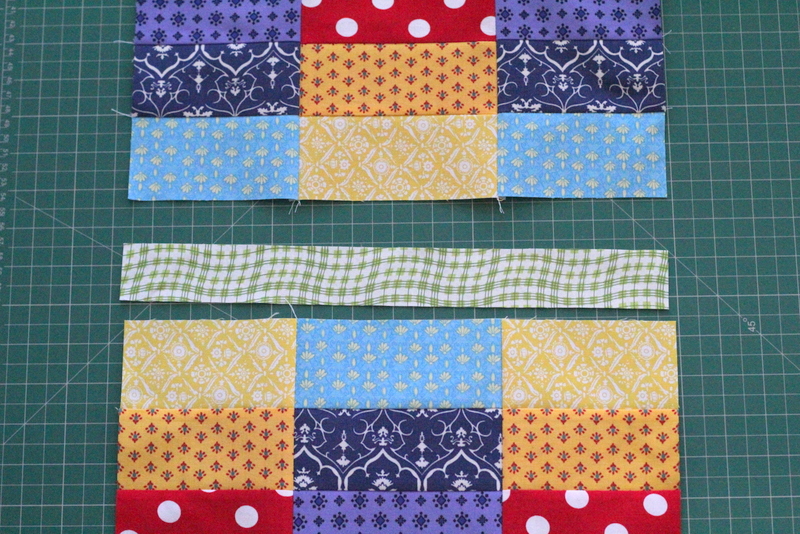
Join the top section to the green strip, then join the lower section. Press and you’re finished the quilt top.
Step 6
Layer the backing piece, right side down, then the batting or pellon, then the quilt top, right side up. Baste with spray or pins to hold.
Quilt as desired.
I quilted lines about a quarter inch from each seam to emphasise the rectangles.
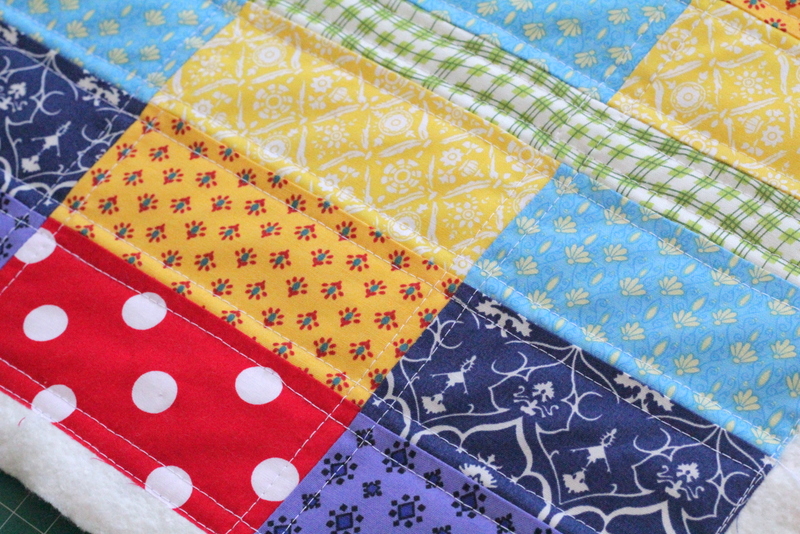
Step 7
Attach binding – I have a tutorial for my method here: Quilt Binding.
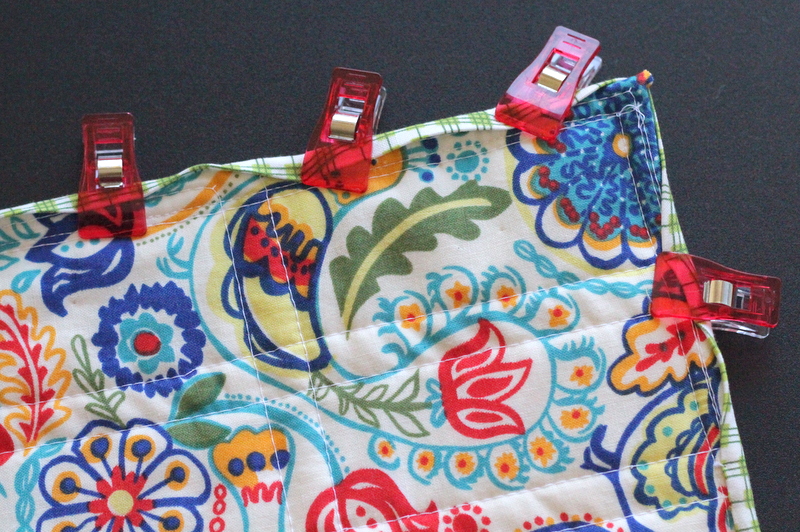
Tip: These Clover clips are great for holding the binding in place while you are hand stitching the back.
Look out in the next few days for a little bit of excitement with QuiltyBox and The Crafty Mummy… more soon! But get $12 off your first QuiltyBox with this special discount code: MUMMYSEPT12


This quilt is super cute! I love all the patterns and different fabric used! I am saving my little baba’s bibs and shirts hoping to create a memory blanket!
Hi Tonya – I got my first quilty box this week (unfortunately I had just joined before your special discount) and I was thrilled to see two specific things I had been thinking of purchasing as I wanted to start doing some hexagons and applique. What a treat to see the needle threader and the finger presser. The mini pattern idea is just a little bonus!
Awesome, Dottie! So pleased you like all the items in the box – I use my finger presser all the time!