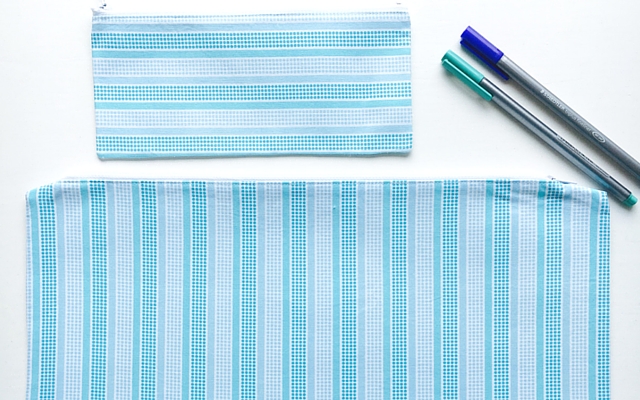
Each year I seem to sew pencil cases around this time. In fact some years I’ve sewn enough to sell some online. I quite enjoy sewing them and find them an easy project – a quick finish.
We sew new ones each year not because they are worn out but because it is a bit of a special tradition around here to start the school year with a nice new pencil case in fabric chosen personally by the kids.
Over the ears we’ve had dinosaurs, flowers, butterflies, cars, racing tracks and more. This year Little Miss starts high school so I notice her choice is a little more grown up – this geometric dots and stripes print in hr favourite colour.
I’ve shared my tutorial for making them before over on And Sew We Craft so if you need to read how to sew a simple pencil case just pop over there to this post.

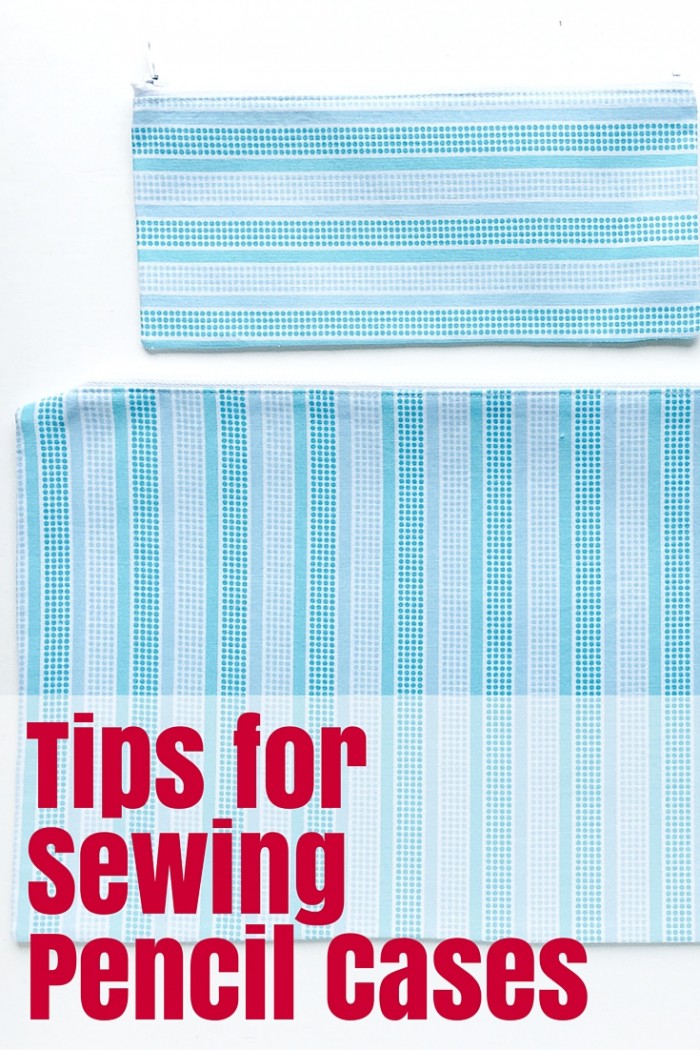
Today I wanted to give you my tips for making pencil cases:
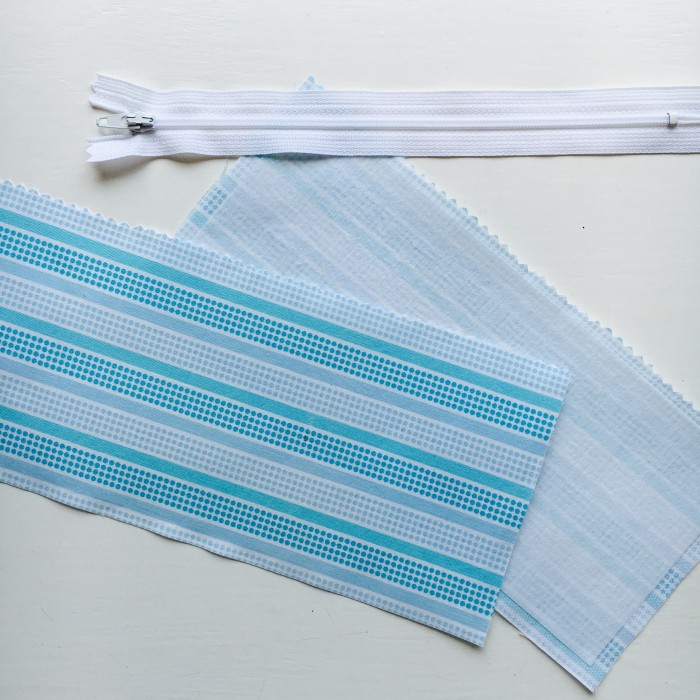
Use interfacing for extra stability and durability – I always use iron on interfacing. It means I can use even light weight quilting cottons for the pencil case and it won’t be too flimsy. Plus once it is ironed on it won’t shift as I’m sewing.
Trim the edge with pinking shears before you add the zipper to prevent fraying – I’ve only recently gotten an overlocker so this was how I stopped fraying on most of my projects. I usually trim the edge of the fabric that I will join to the fabric first then trim the other three edges later once I have completed the other seams.
Top stitch the zipper to prevent pulling away – An extra line of top stitching gives extra strength near the zipper as well as looking good.
Watch out for directional prints – racing cars driving upside down on your finished pencil case looks kind of odd! You just need to think about this as you are cutting your pieces.
Also watch out for stripes or distinct lines or patterns that they are parallel with the edges so they look straight. I like to cut fabric with a rotary cutter and cutting mat to get straight square edges.
Cut the fabric about 1 inch larger than the zipper – I find this gives just enough extra fabric at each end of the zipper to fit nicely. On my super large pencil case here I actually cut my fabric even larger than 15″ just to give extra length for the ruler she wants to carry.
Cut the interfacing half an inch smaller than the fabric pieces and use quarter-inch seams.
Dimensions for these two pencil cases:
Cut fabric 9″ x 4.5″ with 8″ zipper; cut interfacing 8.5″ x 4″: finished size – 8.5″ x 4″
Cut fabric 15″ x 9″ with 14″ zipper: cut interfacing 14.5″ x 8.5″: finished size – 14.5″ x 8.5″
My quilter’s brain works in inches even though I live in Australia – here’s the Aussie version:
Cut fabric 23cm x 11.5cm with 21.5cm zipper; cut interfacing 21.5cm x 10cm: finished size – 21.5cm x 10cm
Cut fabric 38cm x 23cm with 35.5cm zipper: cut interfacing 37cm x 21.5cm: finished size – 37cm x 21.5cm


Hello can I use any fabric for penicil cases even polycotton and if I use interfacing do I iron it on the fabric or on the inner lining for the pencil case.