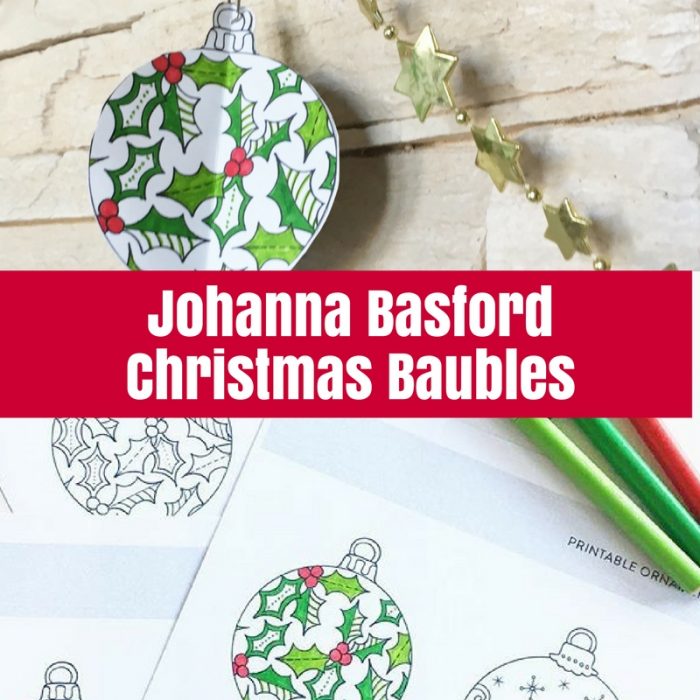
It has been ridiculously hot here for the past week or so. I do envy those of you who have a white Christmas, or even a cool Christmas, but here in Australia it is Summer for Christmas.
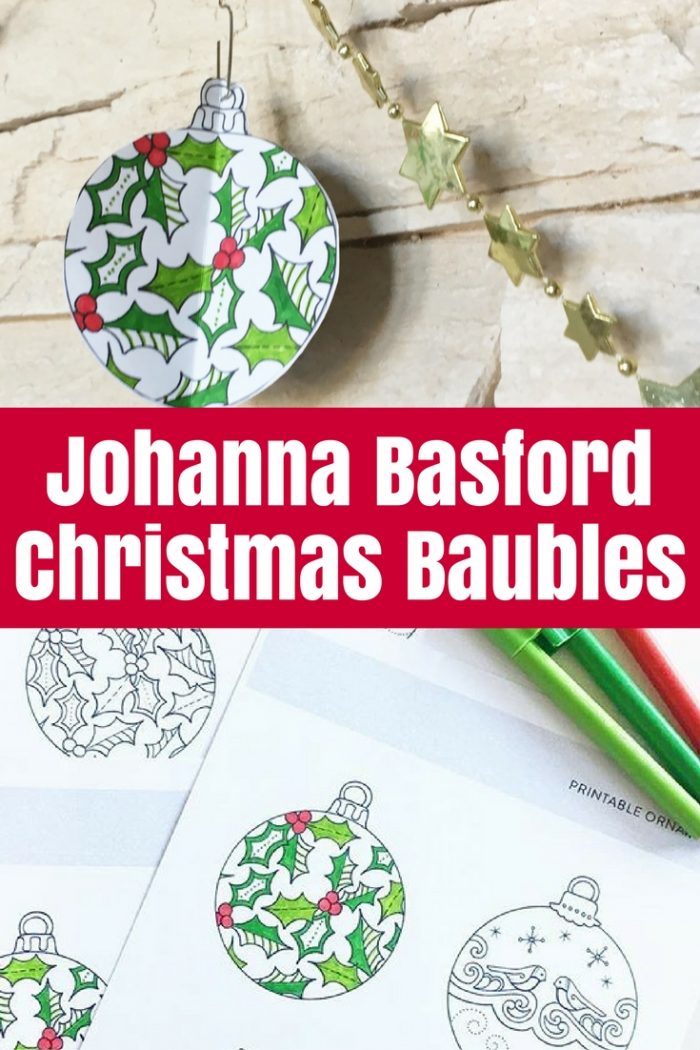
Colouring is the perfect activity for hot afternoons stuck in the house so when I saw the free printable baubles from Johanna Basford, I just had to download them. Then I realised these colouring in designs would be easy to make into Christmas baubles.
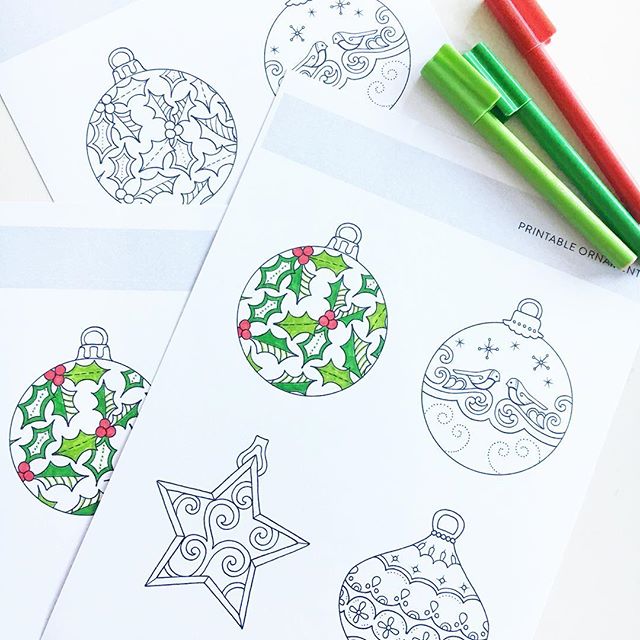
Johanna Basford is the creator of the most divine colouring books. I already have Secret Garden and Enchanted Forest and I notice that there are two more available as well – Lost Ocean and Magical Jungle. She even has a Christmas colouring book which looks beautiful.
{Click images below to learn more about each book via Amazon}


These baubles are sure to tempt you to buy her books! If you need inspiration for how to colour them in, look for the #JohannasChristmas hashtag on Instagram. There are some gorgeous examples there.
I coloured mine in a couple of different colourways – just to play! I love the traditional Christmas colours of ruby red and emerald green to which I added a lime green as well.
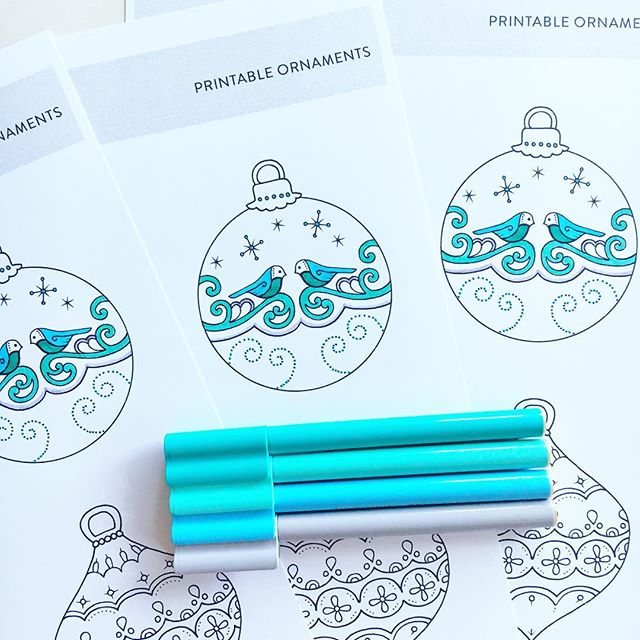
Then I had a Frozen version in icy blues and aquas with a soft silvery grey. So pretty!
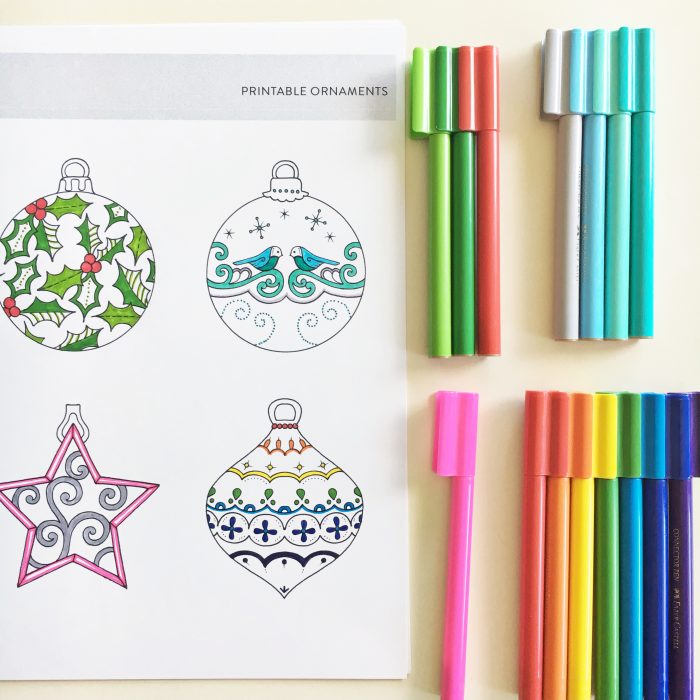
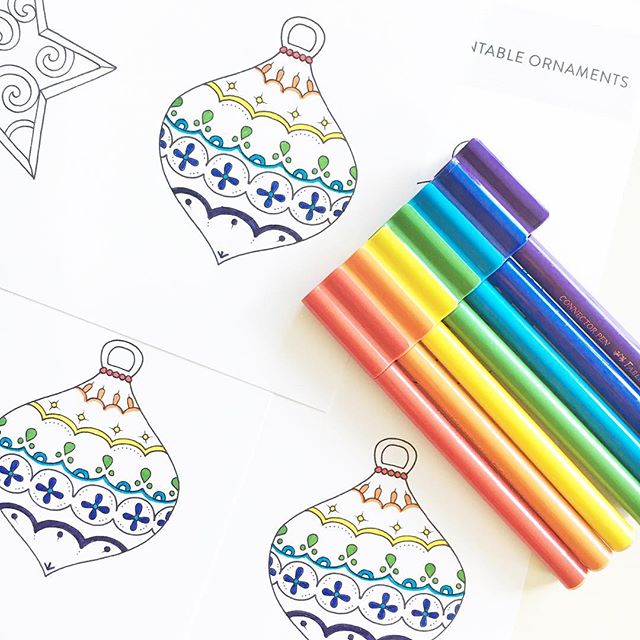
I couldn’t resist a rainbow bauble – being a rainbow girl at heart. Finally, I created a girly pink and silver grey one thinking of the little girl next door and what she would no doubt ask for!
What colours would you choose for your ornaments?
All of mine were coloured using Faber-Castell Connector pens because we have a bucket of 100 on hand and so many colours to choose from. They are easy to use and the tips are fine enough for the details but not too small to colour in the larger areas.
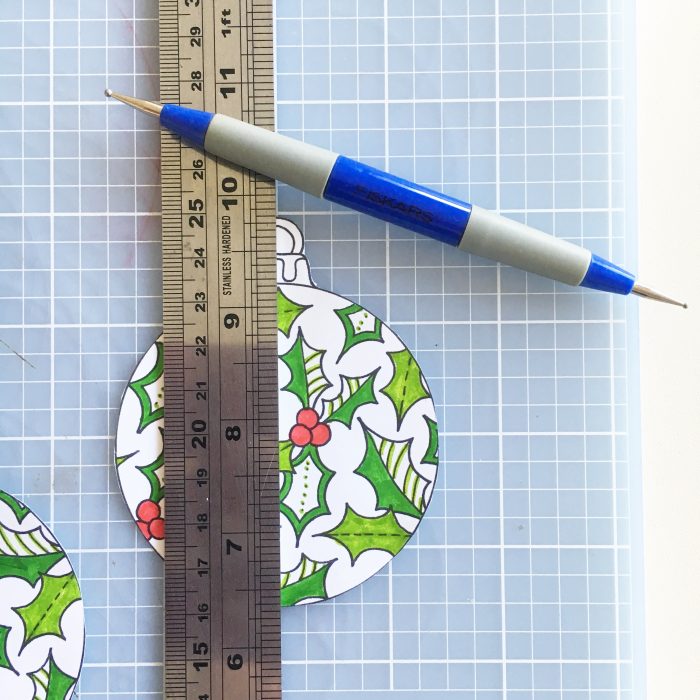
How To Make Paper Ornaments
1. Print three copies of the ornament sheet and colour them. Find the printable here. I printed mine onto A4 white card which I buy by the ream at Officeworks.
2. Cut all the ornaments out.
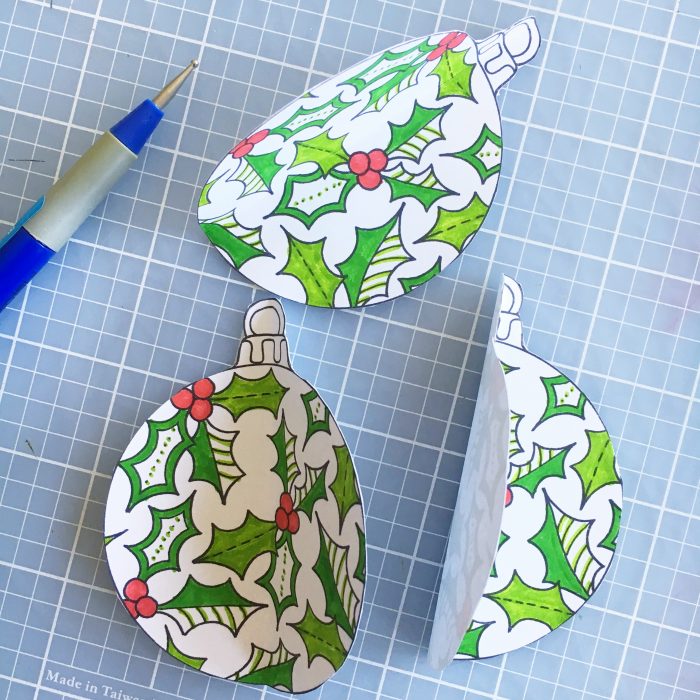
3. Use a ruler to score a line down the centre of each ornament. I used a Fiskars embossing tool but you could also use a bone scorer or bone folder. Then fold them in half with the coloured side on the inside.
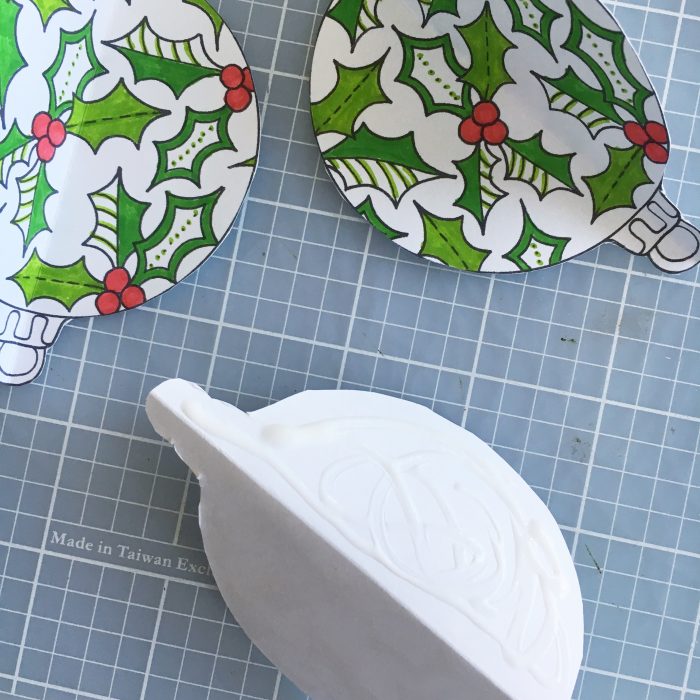
4. Glue the three pieces together. I used PVA glue but any glue stick or craft glue will do the trick.
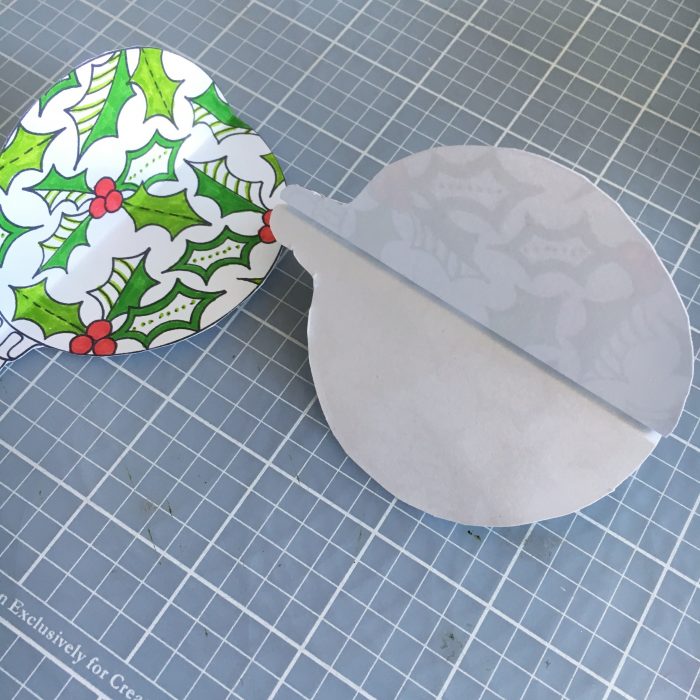
I glued two pieces and held them together for a minute or two for the glue to hold, then added the final piece.
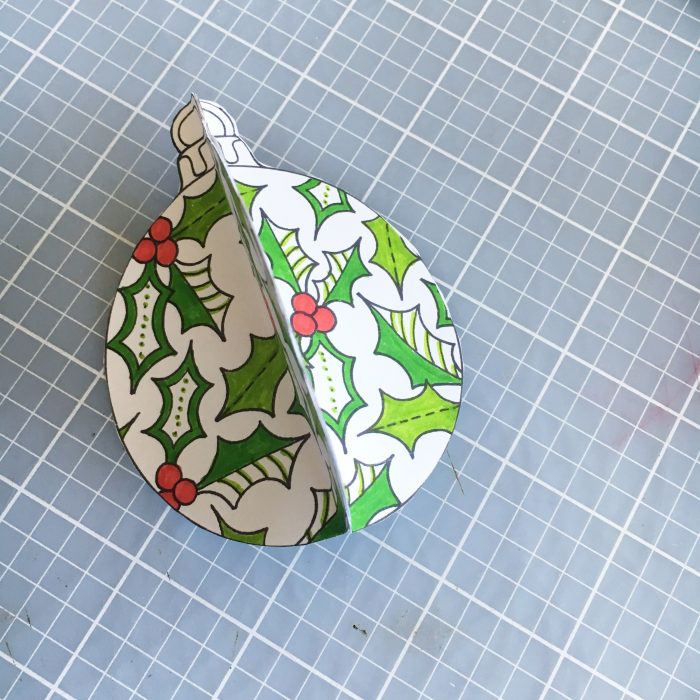
5. If you want to hang them, pierce the top carefully with a sharp needle and thread a fine cord for hanging.
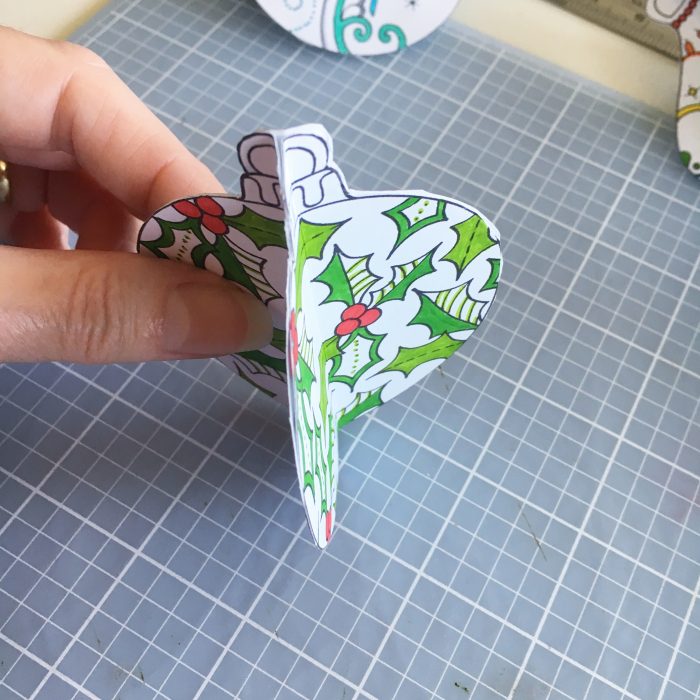
Or make do with a paperclip folded open!
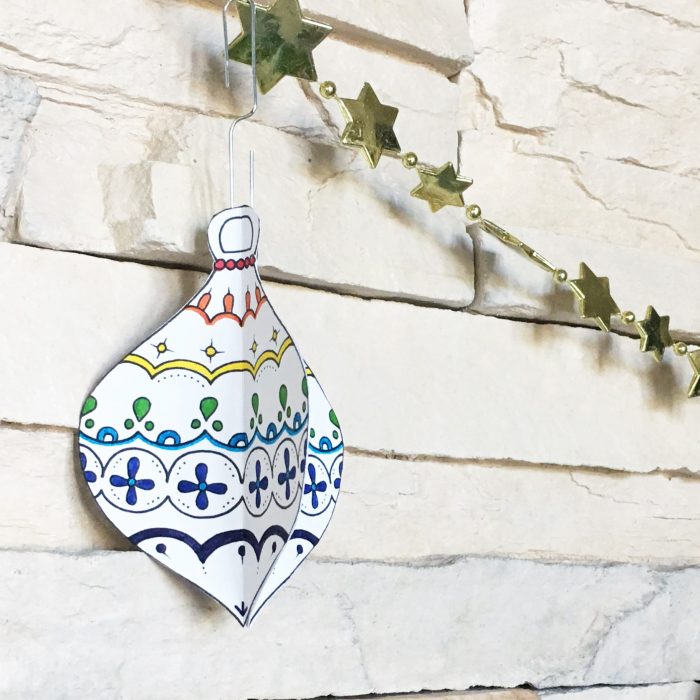
QUICK TIP: Open paperclips make great hangers for tree ornaments that have lost their hanging cord.
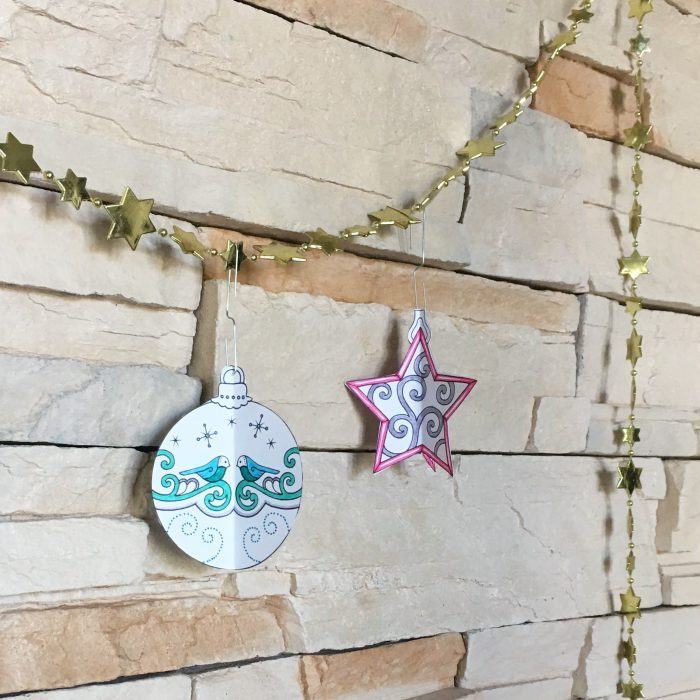
Simple ornaments that didn’t take forever and are easy enough for the kids to create. They’d also look lovely on gifts as tags.
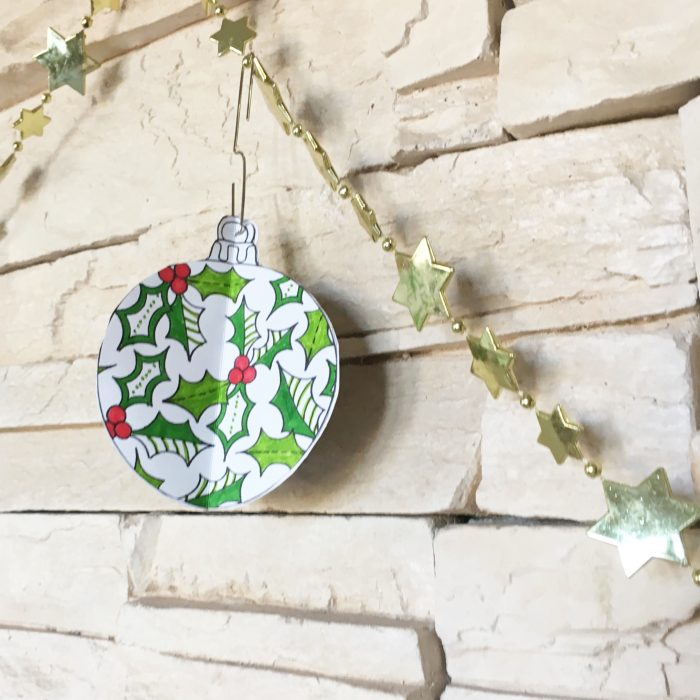
Find the free printable at Johanna Basford’s website here.
More Christmas Ornaments to Make:




Oh my! You’re a woman after my own heart. Having around 6 adult colouring books that I share with my almost 6 year old every Friday night (I realise as I’m typing this exactly how it sounds!), I know I will need to purchase this book too. Thanks for the heads up.