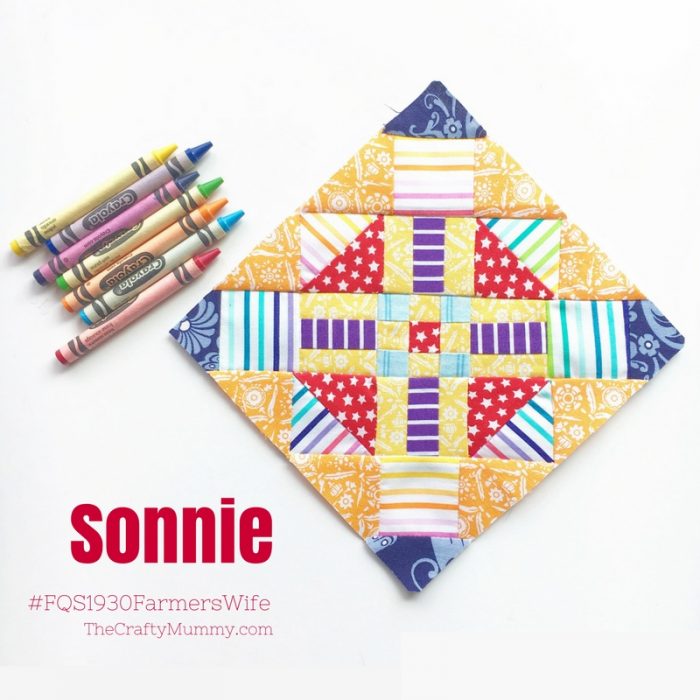
Welcome to another Farmer’s Wife block tutorial! It has been a while since I’ve looked at these blocks with all the other projects I have on the go, but it was fun to pull out my rainbow fabrics again.
Quick Tip: When you have a long-term project like this, keep all the pieces together in a box. I found a clear plastic box with a lid and it holds:
- the book
- a checklist of which blocks I’m doing and when
- all the fabrics I’m using, including scraps that might be useful for later blocks
- print outs of the blocks
- blocks I’ve already created
This block has lots of small pieces but I decided I would try to cut and piece it traditionally. I’m not entirely happy with the results so if you’re looking for super accurate finish, I would suggest that paper piecing would be more accurate than my method. Check out the tutorial over at GnomeAngel below.
If you’ve missed out on the previous blocks, I’m joining in with the FQS Farmer’s Wife 1930s Sew Along with Angie over at GnomeAngel. We are working our way through this book and making all of the blocks over the course of a year. Mine so far are all featuring my rainbow striped fabric.
The Farmer’s Wife 1930s Sampler Quilt: Inspiring Letters from Farm Women of the Great Depression and 99 Quilt Blocks That Honor Them by Laurie Aaron Hird for Fons & Porter/F+W; RRP $28.99 – Click here to purchase.
eBook also available: Farmer’s Wife 1930s Sampler Quilt
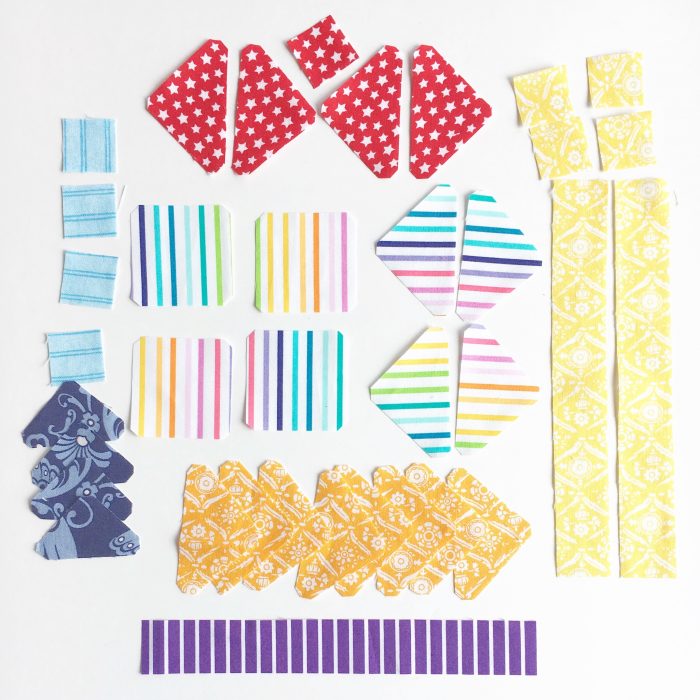
Cutting
I used Marti Michell Templates Set D & Set B to cut the larger squares and triangles – see her notes here.
The small squares and the strips are cut using my 12.5″ square quilt ruler. Those measurements are also included in Marti’s notes.
I decided I would see what a rainbow version of this block would look like so I’ve included all my colours except green. I was able to use some of my scraps from other blocks when I was cutting which always feels good – I hate to waste fabric!
As always watch out for stripes and other directional prints when you are cutting. Think about how you want them to look within the block.
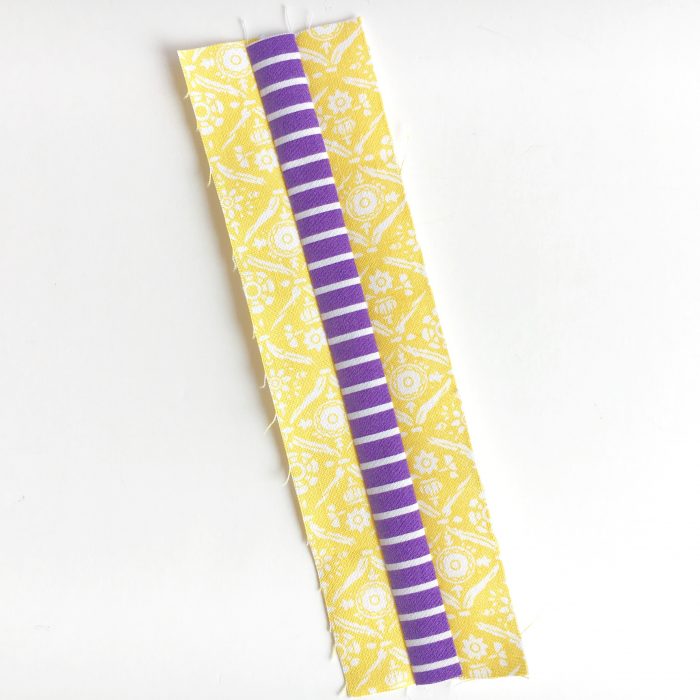
Piecing
I started with the central section of the block.
Piece the yellow and purple strips together then trim into 4 pieces. Trim these down with the square template that you used to cut the larger squares.
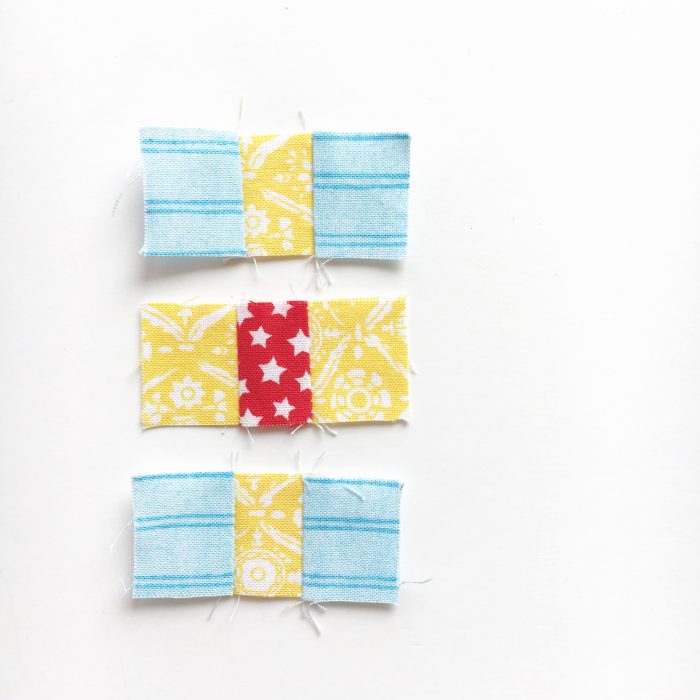
Join the small squares into sets of three then join the three sets to create the central block. Again trim this down using the square template piece.
Note: the trimming down is REALLY important. I think I did not trim mine quite accurately enough and that is why my finished block is a little off and my seams don’t match perfectly!
Lay out all the pieces to ensure your placement is correct then join the pairs of triangles – mine are red and rainbow stripes.
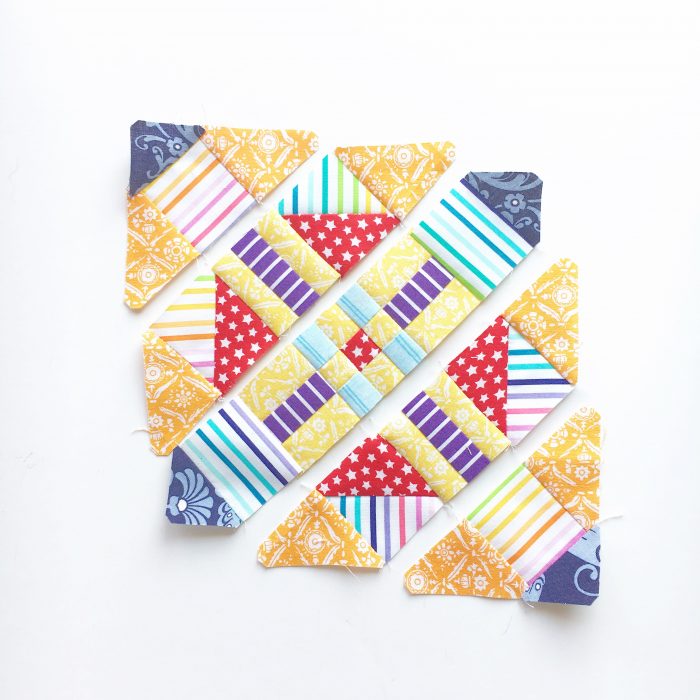
By now you should have a bunch of squares and some triangles around the edges. Join them into diagonal strips as pictured above.
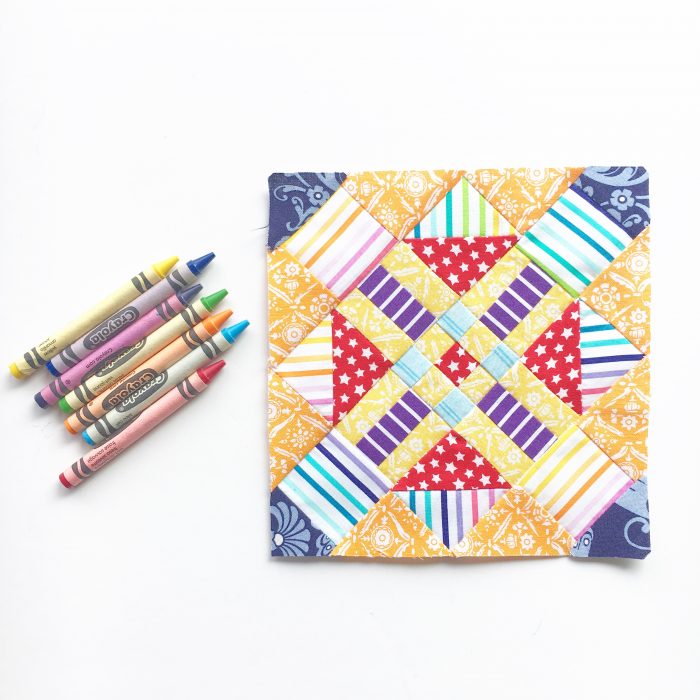
Finally join the strips together and add the last two corner triangles to finish.
Square up your block if it is a little off – like mine!
Find a tutorial about how to square up a quilt block here.
My Tips
I’m sure I could have made this block more accurately if I had just taken a little more care with the trimming of the squares. Don’t be tempted to rush and skip steps if you want a neat finish and matching seams.
Read more about nesting seams here.
More Tutorials:
Make sure you check out the hashtags on Instagram (#FQS1930FarmersWife and #FW92Sonnie) and visit the Facebook group. Thanks so much Angie from Gnome Angel for organising the #FQS1930FarmersWife Sew Along!
See the rest of my Farmer’s Wife Blocks here
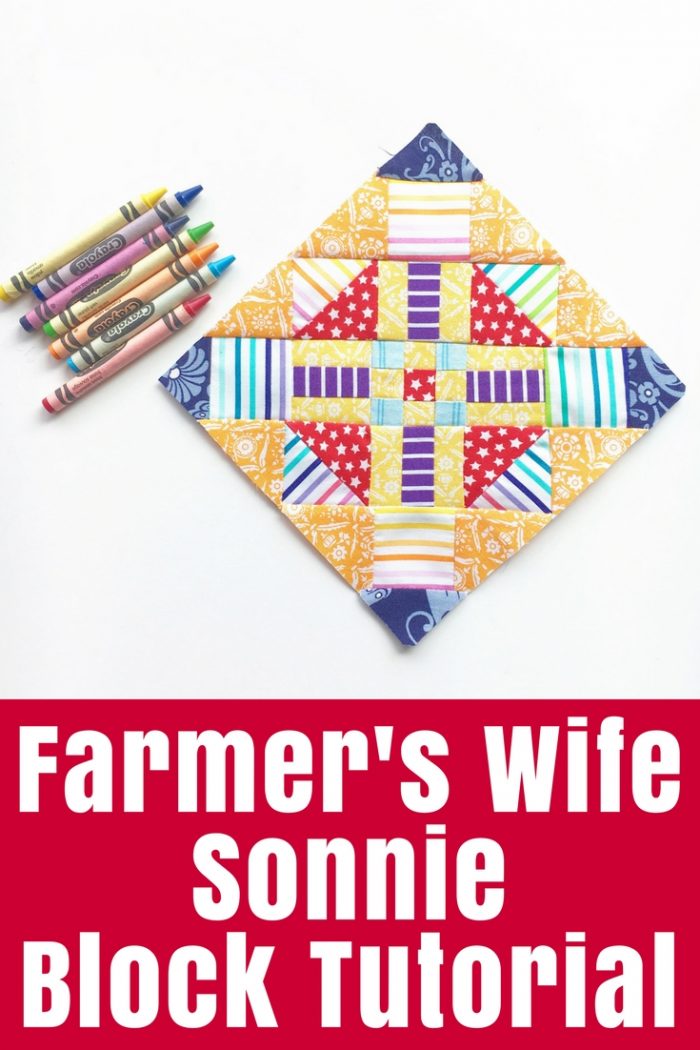
See more Farmer’s Wife posts via my Pinterest Board:


Thank you for your clear instructions about Farmers Wife 1930 Block 92. Particularly I want to thank you for the Pinterest postings with all the blocks. Very helpful to me in selecting fabrics.
You’re welcome! Glad to hear it was helpful
Hi Tonya,
Sharing with my quilting group today…we all love your ideas!