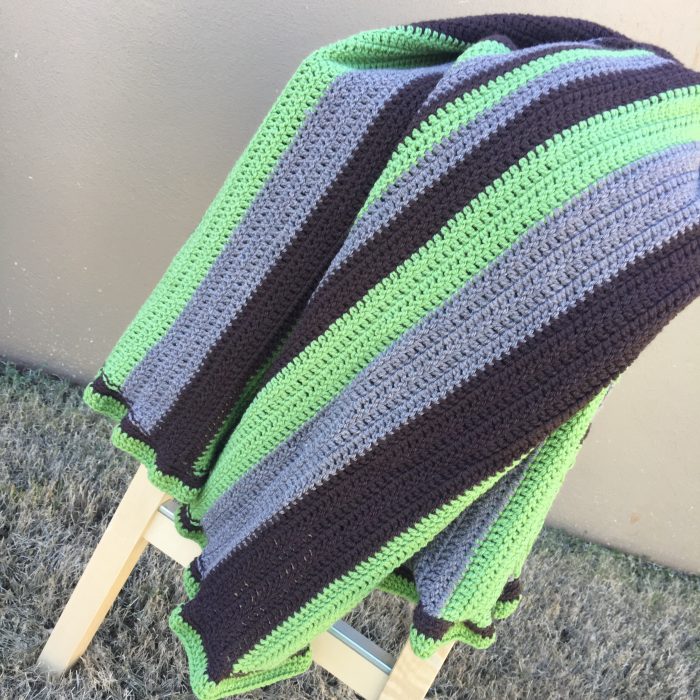
UFOs.
Unfinished Objects.
I have a large collection of these in my craft room. Quilt tops that are waiting for quilting. Crochet blankets that are half done. Stitching projects that are still waiting for more thread.
I’ve never really been one to finish one thing before I start another. I’m ok with having a few things on the go. Sometimes I just lose interest in something or another project becomes more important for whatever reason.
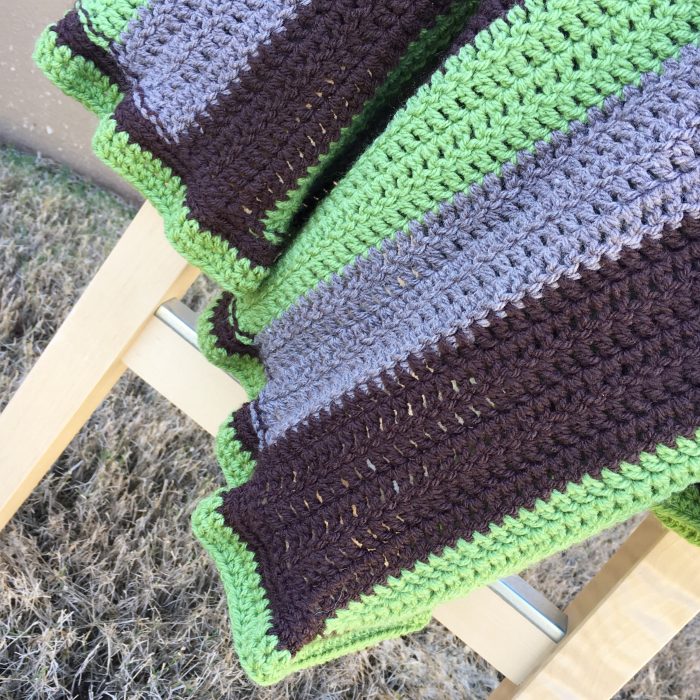
But on the weekend I finished a UFO.
Yes. FINISHED it!
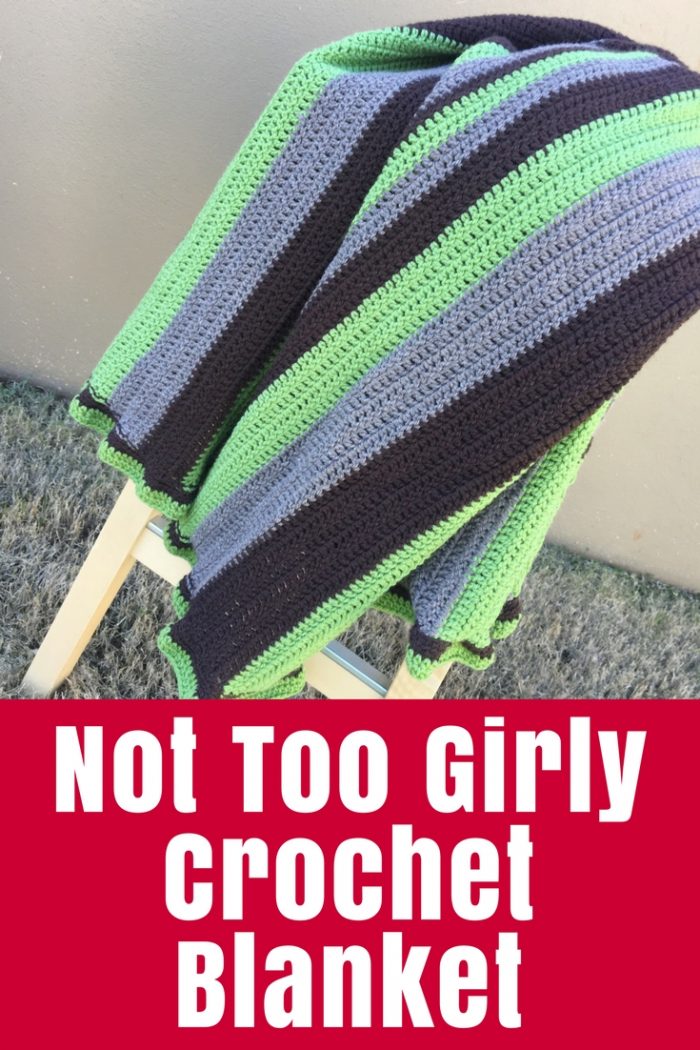
I’m calling this blanket the Not Too Girly Blanket. It started way back in 2014 – nope, just checked: 2013! I’ve been working on it, off and on, for more than 3 years.
It started as a crochet along over on And Sew We Craft blog. I wrote over there about how to get started, how to do the crochet stitch and how to change colours. But from memory, there were not a lot of folks joining in and I got distracted so it got put aside for other things.
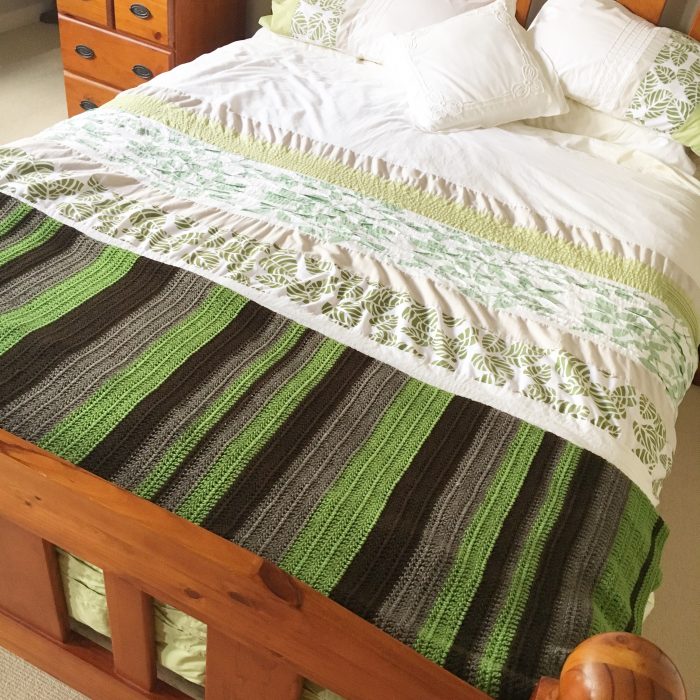
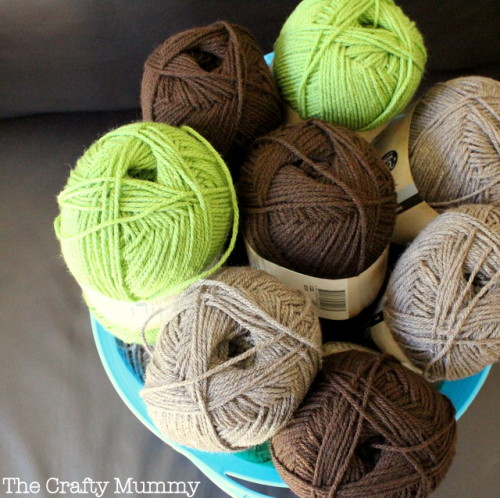
I chose the colours to match our bedroom. We have a green doona cover which I love so I picked up the green and added mocha and chocolate brown to make it ‘not too girly’ for my husband. It is no secret that he is not that keen on crochet blankets anyway but I figured I’d at least choose colours he wouldn’t mind. I’ll add this blanket to the end of the bed for those extra cold Winter night when we need an extra layer.

I wrote an update of this blanket in 2014 here. The stripes are a variety of widths but the colours repeat in the same order across the blanket starting and finishing with green. The whole blanket uses a US Double Crochet or UK Treble Crochet stitch.
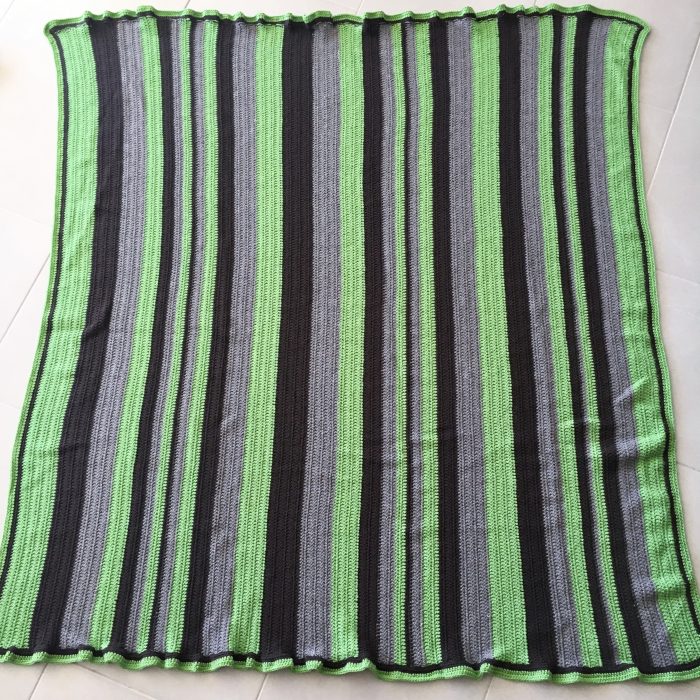
There are 127 rows all up and the rows are 228 stitches wide. The finished size with the border is approximately 1.72m x 1.65m or 68″ x 65″.
Around the whole blanket is a border of 5 rows of single crochet – two rows worked in chocolate brown and then three in green. I started working the border last year.
The border was frustrating! It looks great along the top and bottom of the blanket but along the sides, it is quite wavy. I remember I pulled it out and started again about three times, then decided to just go for it and get it finished. I decided it was better to be finished than perfect.
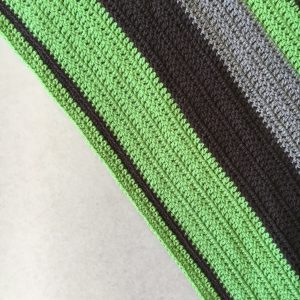

I recently came across this YouTube video by Heart Hook Home which I wish I had seen before I started my border. It is very clear about how to add the first row of the border consistently and avoid this wavy finish.
Question: Would you like me to make available a list of how many rows I crocheted in each colour? I’m not sure whether this is something that is really useful or not, so let me know in the comments.
Meanwhile, I’ll enjoy my newly finished blanket.
This blanket made an appearance earlier here:
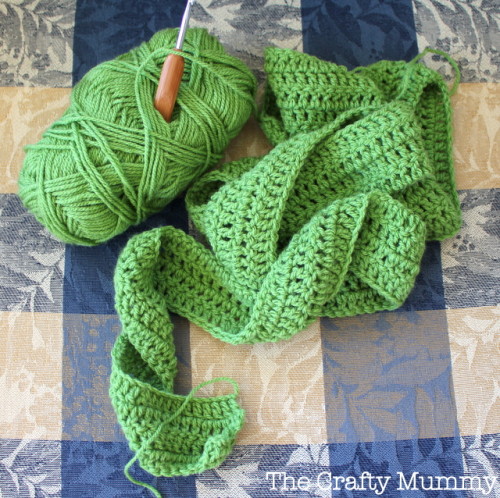
Crochet blankets I finished while this one languished in my craft room:
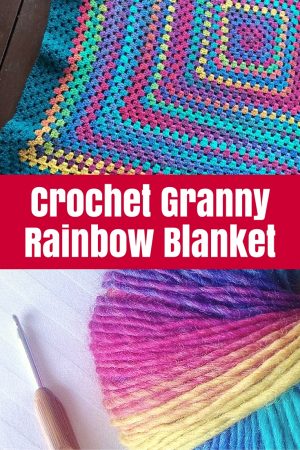
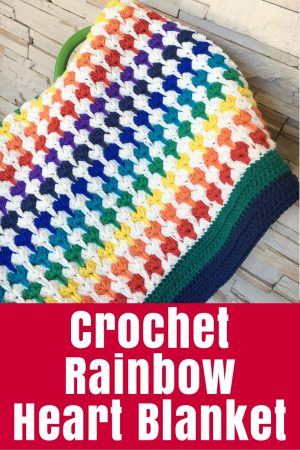



Would love the instructions/pattern for rainbow stripe afghan please. Love it and have been looking all over your beautiful site and can only find a little picture. Thank you so much. Can not figure how to do it from the little picture but know I could with pattern or picture of it laid out flat. Look forward to hearing from you. Please respond
Hi Dee, I’m not sure exactly which blanket you mean but here’s some links to possibilities:
Rainbow Stripe blanket: https://thecraftymummy.com/2014/01/rainbow-stripe-crochet-blanket/ This was made by a friend of mine but the post includes some instructions from her.
Rainbow Blanket: https://thecraftymummy.com/2012/07/crochet-rainbow-blanket-tutorial/ This includes the tutorial for this one.
I hope that helps,
Tonya