This has got to be one of my FAVOURITE projects recently! You know when you have a picture in your head of how something will turn out and then it turns out EXACTLY that way? Well, this is that project for me.
Plus it was SO EASY!
(Sorry, I’ll stop yelling now… just a little excited!)
Remember back a few weeks ago I went to the ProBlogger Event on the Gold Coast? One of the pre-events was a workshop with Annie Sloan Chalk Paint. I had a vague idea that this was “some kinda paint” that I had heard a couple of DIY bloggers mention and that was the extent of my knowledge. So I was interested to learn more and see it in action.
We learnt that this chalk paint is one of the easiest paints to use on the market. It was developed by Annie Sloan (you can read all about that story here) and is not smelly like most paints. Clean up is easy – just rinse your brushes in water – and the finish is a gorgeous matt colour.
But the best bit for me?
You don’t have to do any special preparation! Yes, it is best to start with a clean surface, but you don’t have to remove old paint or prime the surface. This paint just goes on nice and thick on top and often one coat is enough. Perfect for a “non painter” DIY girl like me.

There is lots of flexibility here though. If you do want a shiny smooth finish, you can sand it a little then wax it with Annie Sloan’s special wax product. It comes in clear wax and dark wax so you can get two different effects, and it seals the paint.
I even read that you can colour the clear wax with paint so you could paint your surface in one colour then wax it in a another colour for an interesting distressed look.
Speaking of surfaces to paint, this works on just about anything. You can use it on timber, metal, fabric, cane, glass, stone and more. It is quite a thick paint out of the tin, and if you leave it sit open for a little while, it thickens even more to adhere to shiny surfaces like glass. (I think I’m going to test this out next so stay tuned for that another day.)
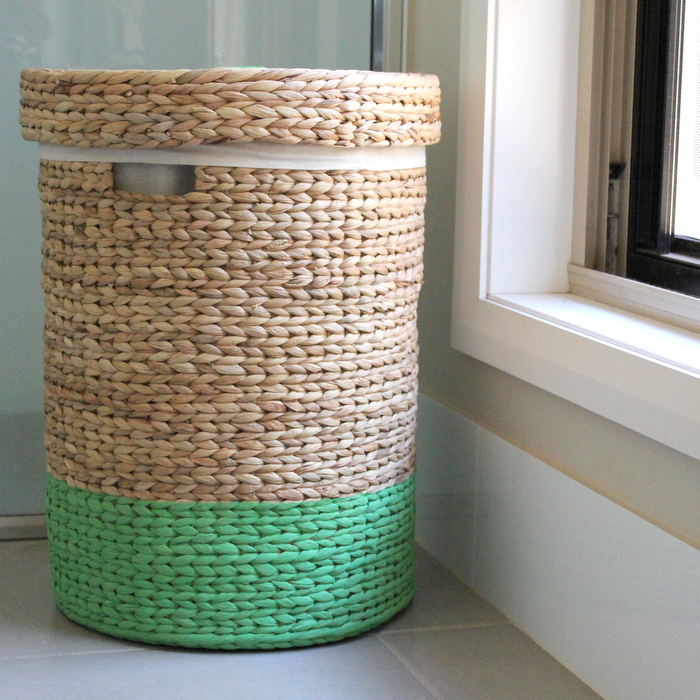
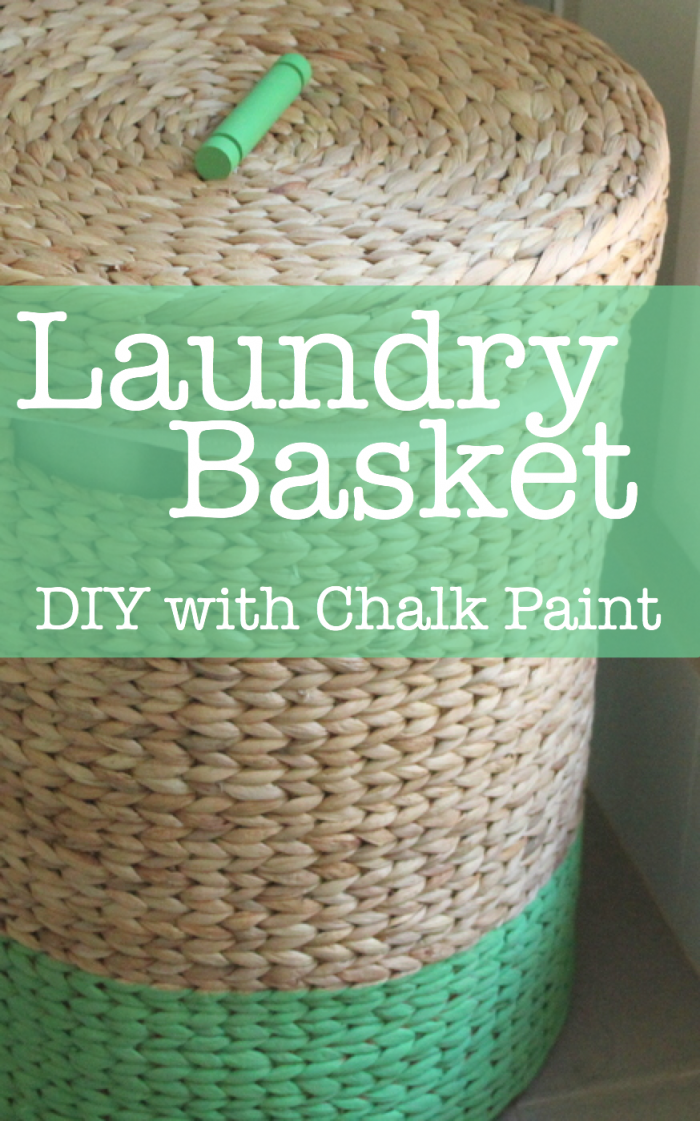
DIY Laundry Basket
For a little while now, we’ve needed a laundry hamper in our ensuite bathroom. Ever since we moved in, we’ve just dumped clothes in the corner and then I’ve carried them around to the laundry – super messy!
So when I was offered some sampled of chalk paint to play with, I knew this would be something we’d use. I chose gorgeous Antibes Green which matches perfectly with the bedspread in our room and is one of my favourite colours. (In fact, Carly from Smaggle told me once that my Instagram feed is always green – I hadn’t even noticed.)
Back to the basket…
This huge hamper came from Spotlight and includes a calico bag so that the clothes don’t get snagged on the reeds – apparently they are water hyacinth.
I wanted a simple splash of colour to tie it into the colour scheme of the bedroom, and although the dip dyed trend has been out there almost too long, I decided it would look great.
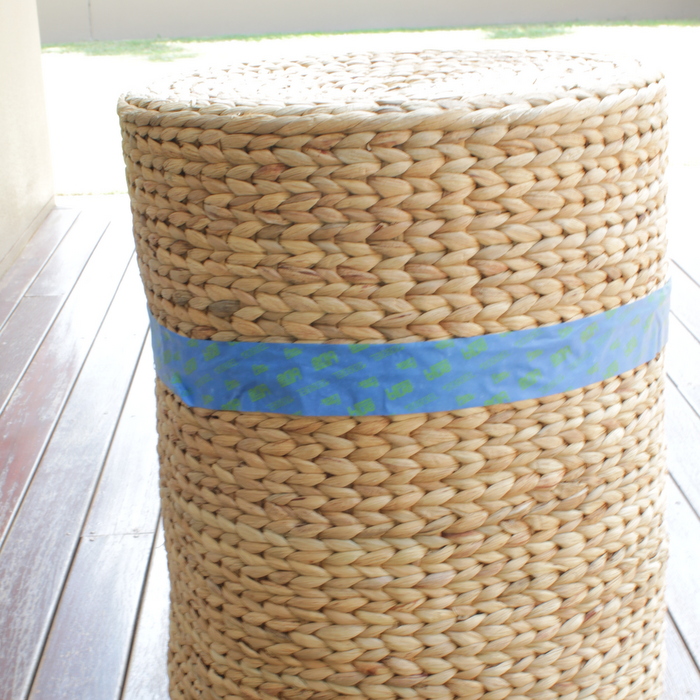
I picked up some basic painters tape and taped a line about a third of the way up my basket. It is very easy to reposition if your line gets a little wonky. I pushed my tape firmly into the bumps and grooves so that paint wouldn’t drip underneath it.
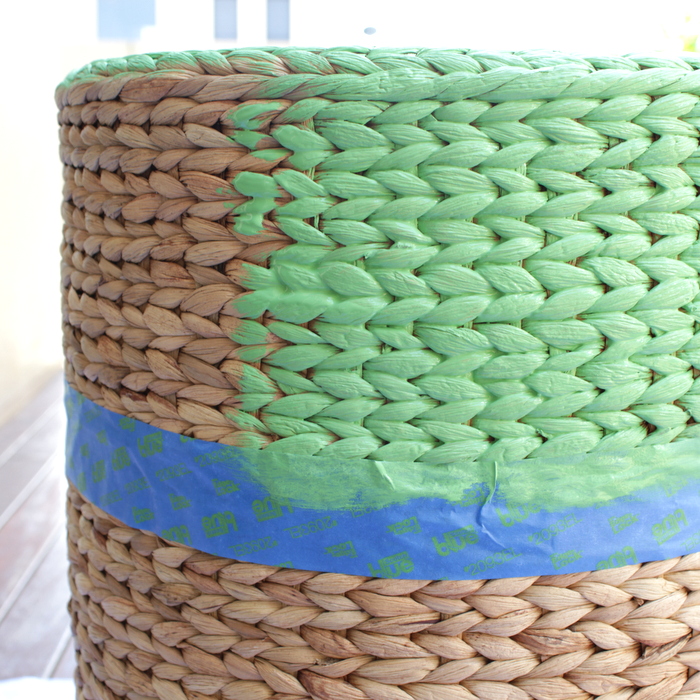
Tip: Use a ruler and measure up from the floor as you tape around the basket to make sure that the line stays even.
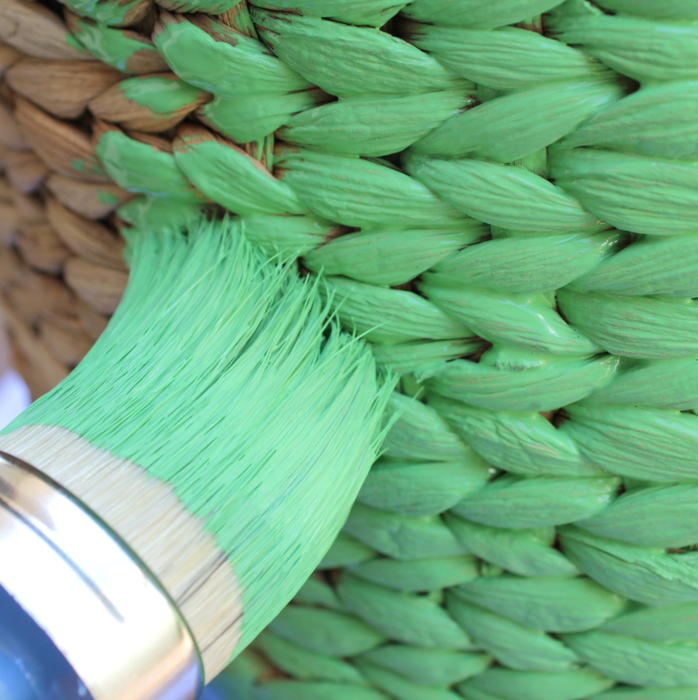
Then I tipped my basket upside down to paint. The woven texture took a bit of effort, but the thick round brush helped get into all the grooves.
Once you’ve finished painting leave it to dry really well before you remove the tape. Mine sat in the corner for a couple of days – which was probably more than necessary! – but the tape just peeled off leaving a nice sharp line.
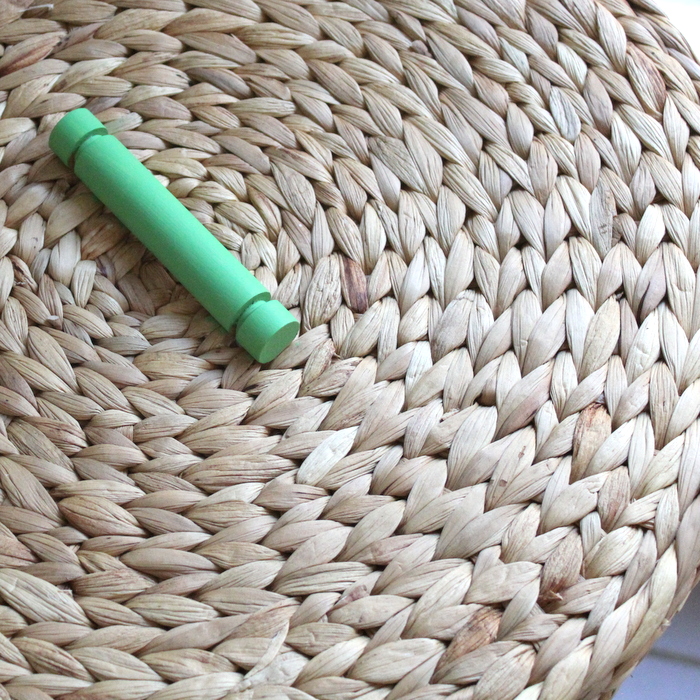
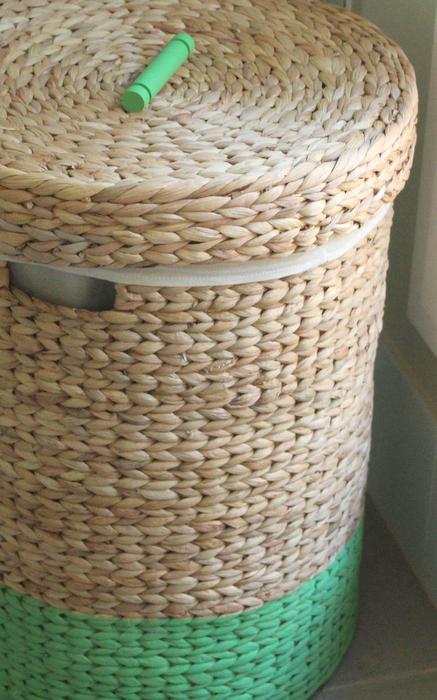
I also painted the handle of the lid and sealed this with clear wax to make it durable.
I considered waxing the basket with clear wax, and even tested it on a small section of the base, but in the end I decided to keep the basket un-waxed. The wax made it look slightly shiny and it was very hard to buff the excess out of the grooves. I decided it would actually be much more hard work than the painting had been.
My new basket is now gracing our bathroom and looking lovely, and I’m looking for another project to use my gorgeous green paint on!
Disclosure: This is not a sponsored post, but I was gifted the lovely paint, brush and wax. All opinions are my own, of course.
Have you tried Annie Sloan Chalk Paint? What did you paint?


You instagram feed IS always green. It’s funny how people don’t realise their own favourite colour until someone else points it out. x
I did kinda know but it made me smile that you had noticed too!
It does look lovely! The Annie Sloan chalk paint really does look like a great product.
This looks great – has the paint come off at all since you did it? I’m thinking of doing it for my daughter’s nursery but don’t want it to come off on her. Thanks x