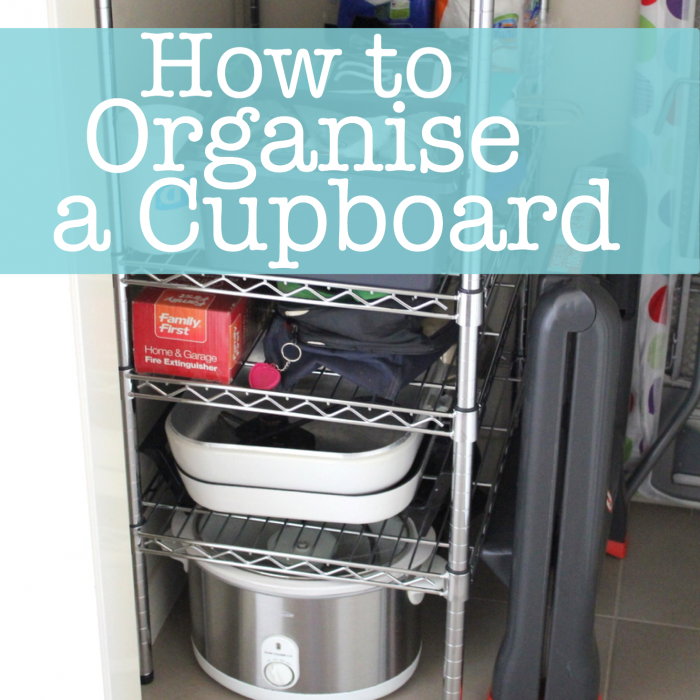
See how I organised our bigger-than-needed broom cupboard to be useful – finally! A simple set of shelves made all the difference.
Just near our kitchen there is a cupboard. It is tall like a broom closet, but quite wide with one built-in shelf at about head height. You could fit a small fridge in it, or a hot water tank, or a cubby house for the kids!
For about 6 years now I have vaguely thought I should do something about making this cupboard more useful. There was a lot of wasted space. Our kitchen doesn’t have a lot of storage – all my Tupperware lives in the hall closet! – but this cupboard wasn’t set up to store kitchen appliances or food.
It was time for a makeover!
Before
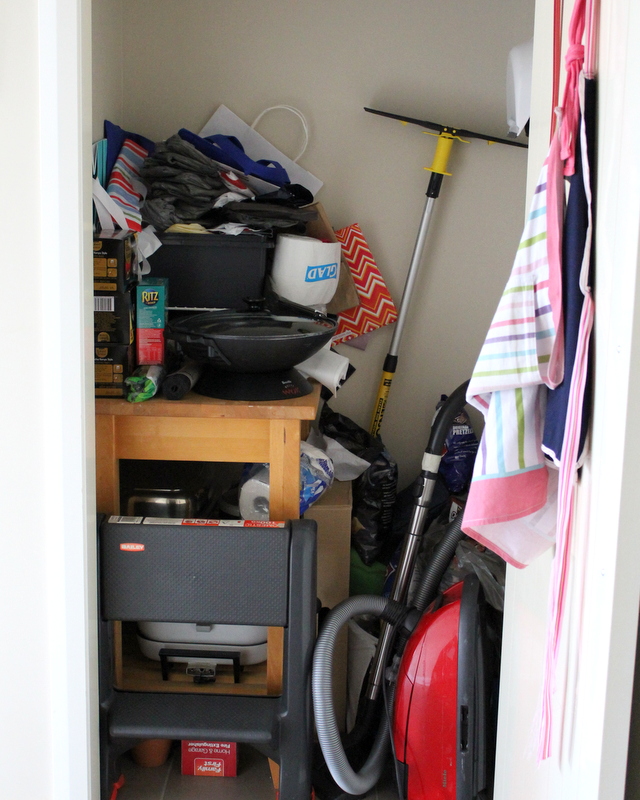
When we moved into the house we put a timber trolley that we had previously used in a kitchen in there and things got added over time. There were some tall things like the ironing board and mop. Some awkward things like the vacuum cleaner and a step stool that I use to reach the high cupboards in the kitchen. Some appliances from the kitchen that didn’t fit anywhere else were on the shelf unit which didn’t really fill the space, plus a whole lot of plastic bags and other bits and pieces that had gathered there over time.
The shelf up the top held our picnic basket and lots of empty ice cream and Chinese food containers. Hooks on the inside of the door hold some aprons, and another hook inside the cupboard holds the dustpan and brush.
After
The first step was to pull everything out.
I threw out lots of the old bags and containers, then sorted the rest of the things into piles for later. A few things needed a clean or some kind of container to keep them together – for example, the kids’ chalk and a little collection of bubble mixture.
Next we did some measuring and looked for a shelf unit to fill about half the cupboard. This would give a sturdy place to store things properly while still leaving space for the tall items that needed to live in there.
We looked at local furniture and storage shops as well as Bunnings, Masters, Ikea and Howards Storage World. Most of our research was done online where we could find dimensions and pictures of all the different shelf units on offer.
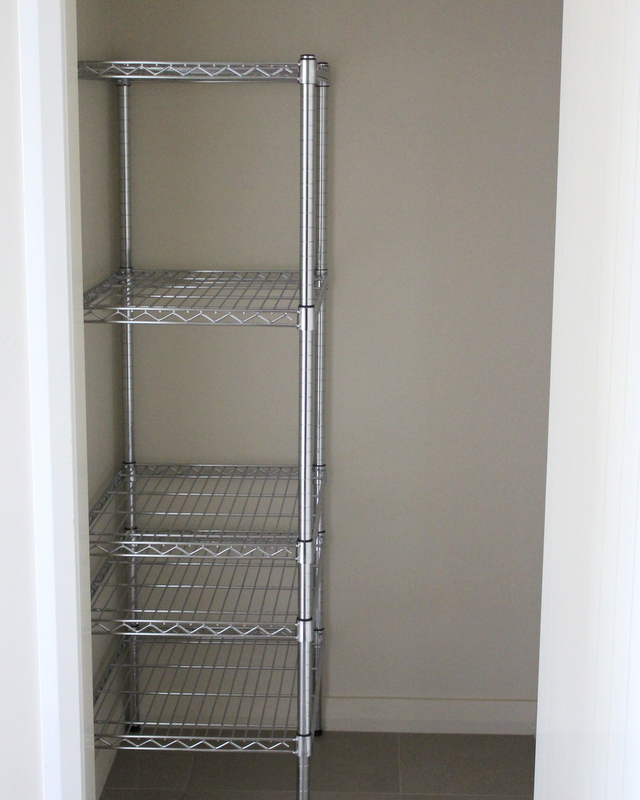
We ended up choosing this shiny Easy Build Shelving from Howards Storage. We ordered individual shelves that are 61cm x 46cm – the cupboard is about 65cm deep – plus poles that are 150cm tall. This gave us the flexibility to adjust the shelves and use the space above the unit as the topmost shelf. You can see all the components here. There are also solid shelves for some dimensions and accessories you can add like cantilever shelves and hooks.
They took a couple of weeks to come in to our local store (keep in mind we are in regional Queensland, not a major centre) but then were very easy to bring home and assemble. We actually worked out the lower shelf heights by building the shelves around the appliances that I wanted to store on them. This meant we slid the shelves down over the poles to work out the height, then attached the black shelf spacers to sit them into place one by one. We found that you can slide the shelves back up and reposition the spacers if you need to.
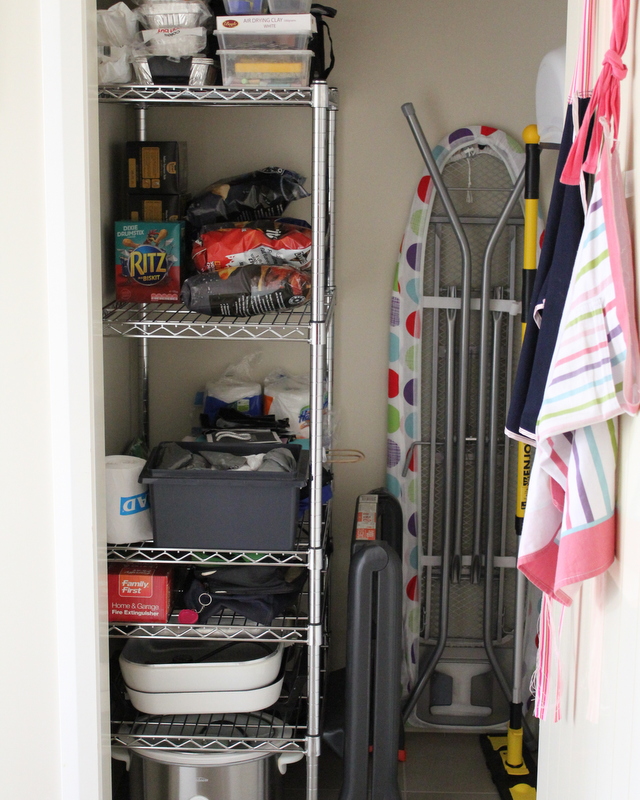
I was so thrilled to get my slow cooker off the bench and into a cupboard for the first time! Because the cupboard is deep, there are two appliances each on those lower two shelves – slow cooker, wok, fry pan and oven roasting dish.
There is a narrow shelf that holds a fire extinguisher for easy access from the kitchen and the lunch bags.
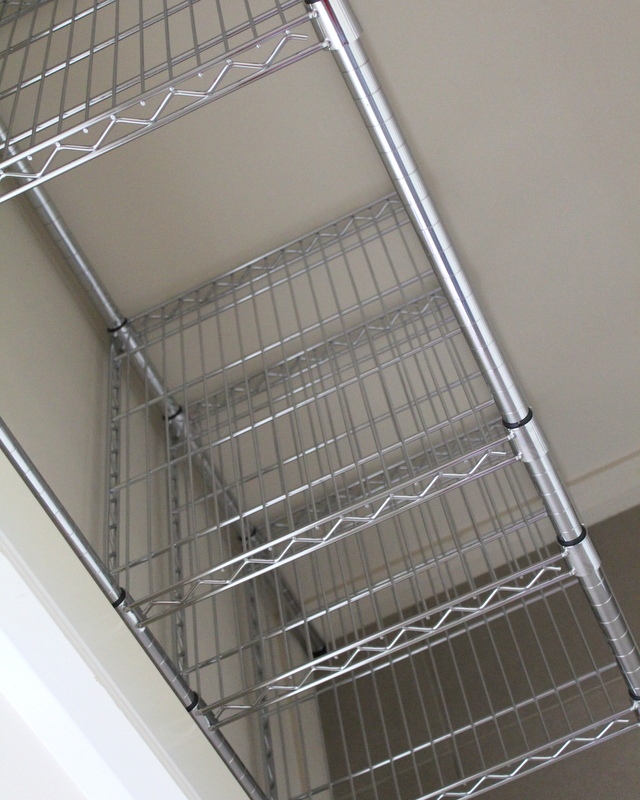
Once we had the first three shelves in place we divided what was left of the height in half so that we had two larger shelves. One of these will be used for storing boxed food where the kids can easily reach it. The other will be for garbage bags and various other shopping bags that come into the house. I have said when the plastic tub of grocery bags starts to overflow, it is time to purge some. I discovered that I can put them into a recycle bin at my local Woolworths so I will do that. I’ve kept some of the better quality paper bags too for re-using.
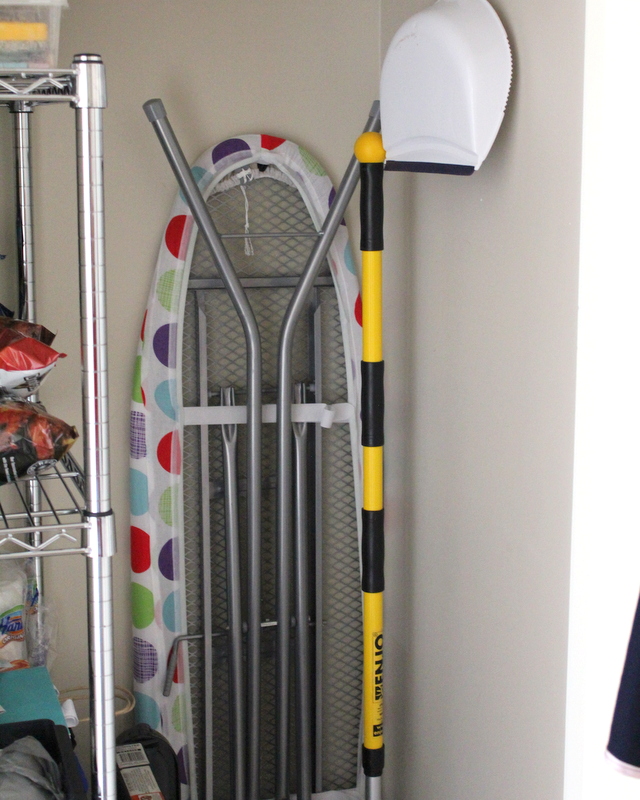
Next to the shelf unit there is space for the taller items – the ironing board (which has not actually seen the inside of the cupboard for about 6 months because it got too crowded!), the mop, the vacuum and the step stool. These fit nicely around the dustpan hooked on the wall so it will stay.

The very top shelf of the shelving unit has foil containers I use to freeze food sometimes, a small cooler bag that gets used quite often, and some containers of kids things – chalk, bubbles, clay and tools to play with it.
I am so much happier with this cupboard now. It is actually functional and neat after years of being a bit of a mess and having things falling out of it.
My Tips for a Cupboard Makeover
- Think about the best purpose for the cupboard.
- Purge items that don’t fit that purpose or could be stored elsewhere better.
- Find a shelving option that works in the space.
- Adjustable shelves mean you can really customise your shelving to the items that will be stored there.
- Store items that don’t get used often up high or towards the back.
- Store often used items close to the front.
- Create a “second pantry” area for boxed food items.
- Don’t be afraid to reassess after a couple of weeks to make sure it is working.
In case you are wondering: Although I shopped at Howards Storage, this is not a sponsored post for them. That was just where I found what I needed and I wanted to share my tidy cupboard with you!


Tonya, great job! I love Howard’s Storage…it is all so neat and tidy there. 🙂 Have you ever heard of Sandra Felton..The Organizer Lady http://theorganizerlady.blogspot.com.au/ ? When I was your age she was just starting to write her books on being organised and I bought one of her first ones. Then I forgot about her till recently and discovered her on the internet which wasn’t around when my children were little. She has so many great tips and YouTube videos on how to be organised and your post reminded me of her so I thought I would let you know about her in case you hadn’t heard of her. Although by the looks of your blog and the amount of crafts you are able to complete etc. I would say you are already a very organised lady.
Oh, this is a great makeover! I’m a big fan of Howard’s Storage World and their systems. That’s a tricky space and you’ve maximised fabulously.