As a teen and young adult, cross stitch was my craft of choice. I stitched A LOT! I loved to challenge myself with difficult designs and smaller Aida cloth. I suppose it kind of reminded me of another of my favourite pastimes – jigsaw puzzles. Carefully stitching all those small sections of colour to create a beautiful picture just made me smile.
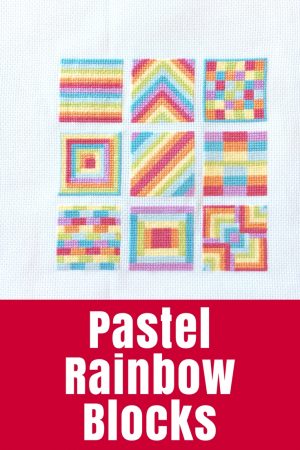
It still does. I recently created a series of patterns for Rainbow Blocks and was thrilled to see readers sharing their stitching on Instagram as they stitched along with me. Thank you!
Today I want to share a basic after being asked this question a few times recently and have a few comments saying people wanted to cross stitch but really weren’t sure how. I’m not going to go into the fabric or the threads just the basic stitch. (If you’d like a post about fabric or threads, let me know in the comments and I’ll add it to my list.)
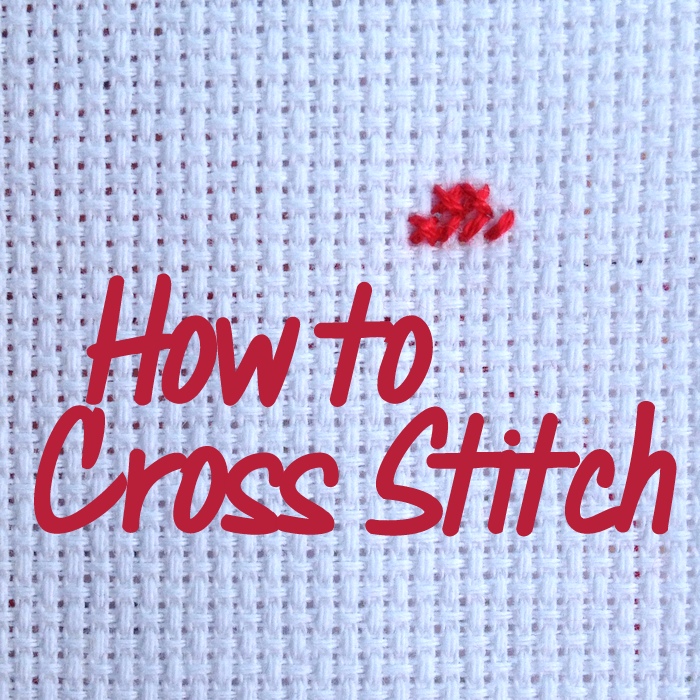
How to Cross Stitch
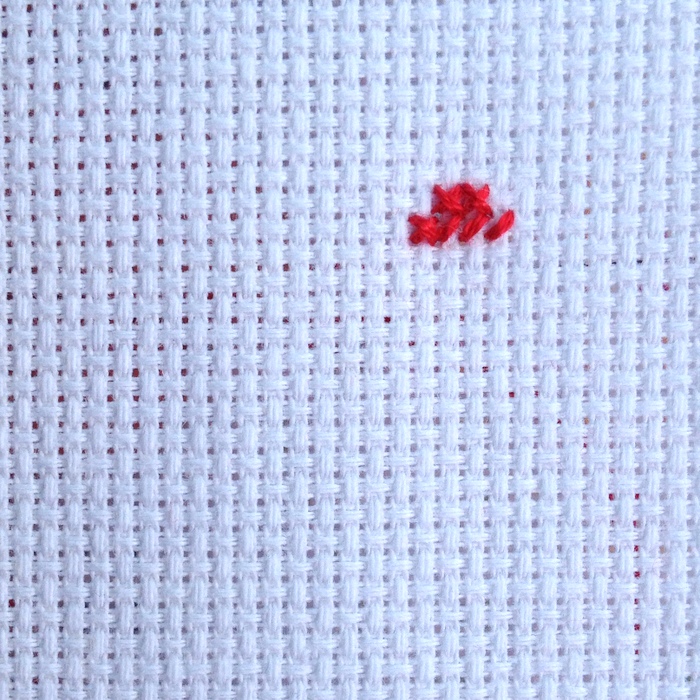
A cross stitch is really just two stitches that create a cross when they are complete. These pictures show how I create a row but the principle is the same for a single cross.
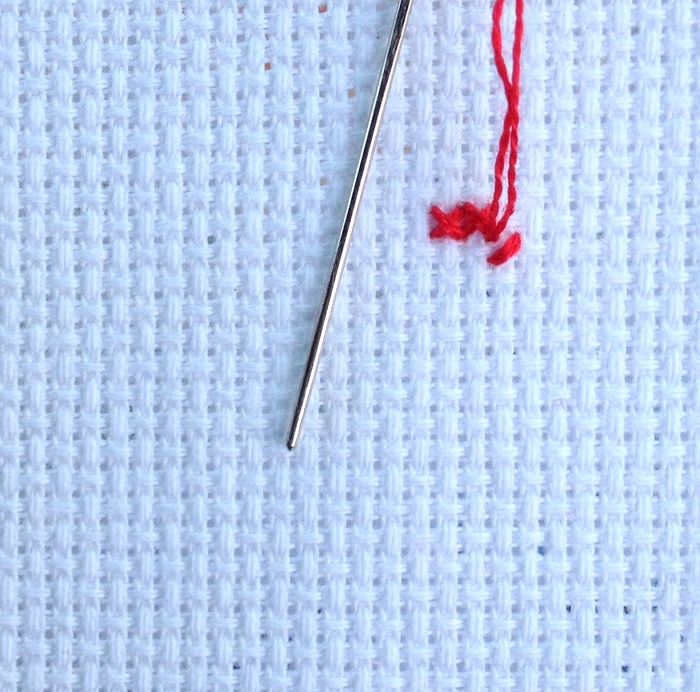
I’m stitching on Aida cloth so imagine that the holes create squares. Bring your needle up in one corner of a square where you want the stitch to be. I’m starting in the top right corner but any corner will work.
Then stitch down into the diagonally opposite corner and pull the thread flat – not tight, just flat against the fabric. If your stitches are tight they will pull the fabric and make it uneven.

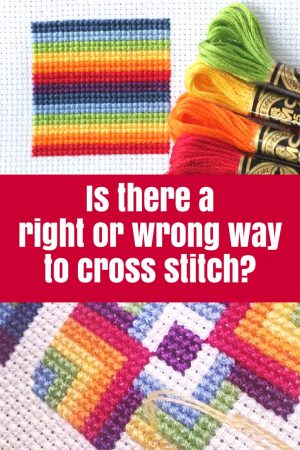
Come up in the hole directly above where you went down and you will be ready to complete the cross or start another cross stitch in the row. I often work across rows of stitches in this way. It is easier to work than doing individual crosses one by one – but you can do that if you prefer. (I’m a big believer in there is no right or wrong way!)
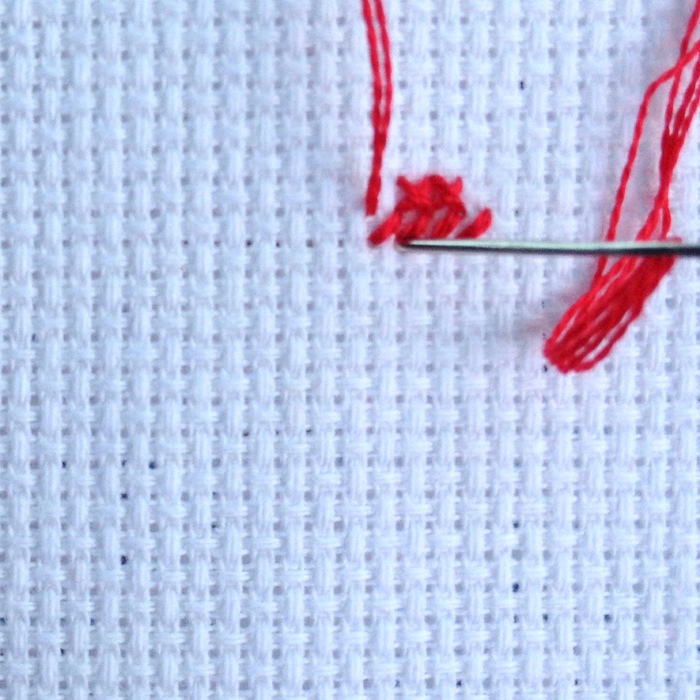
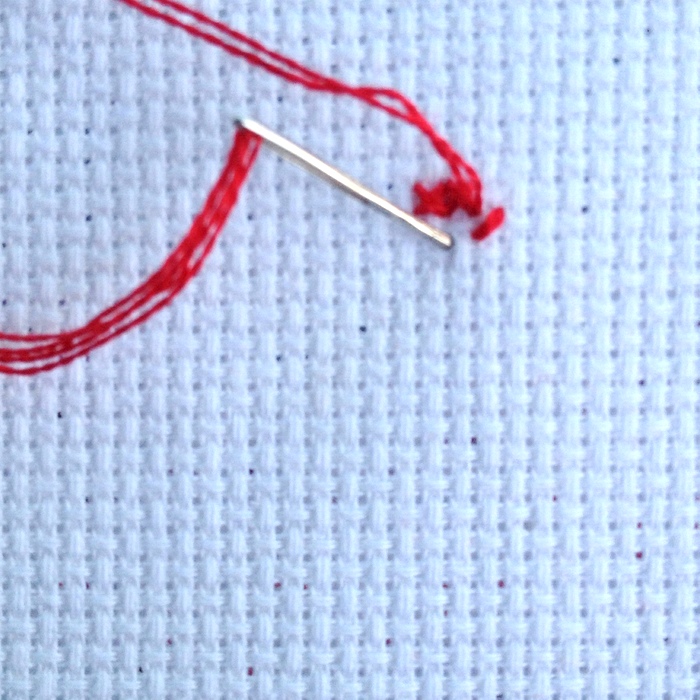
When I’m at the end of my row, in this case just four stitches, I’m going to create the top part of the cross by stitching down into the diagonally opposite corner hole so the thread crosses over the first part of the cross stitch.
Again come up directly above where you went down and you can continue to finish the crosses for the whole row.
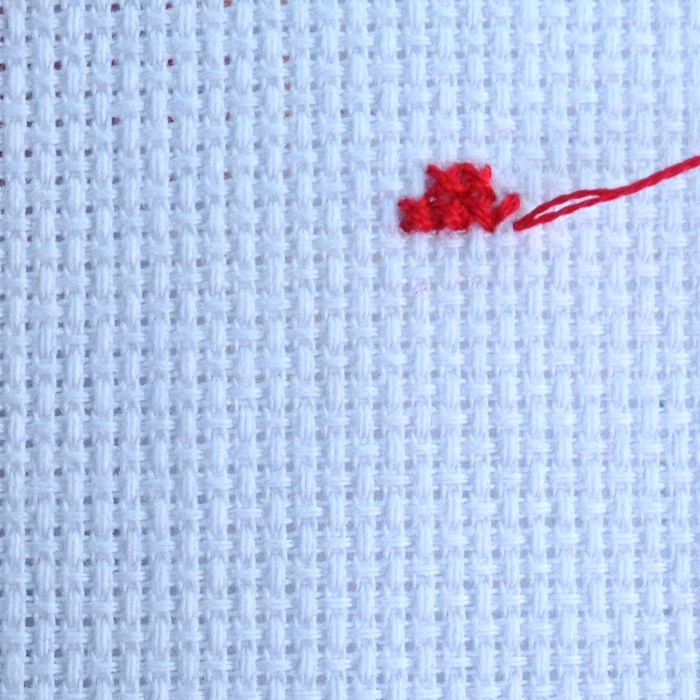
At the end of the row, I often do something a little different to make it easier to start the next row of cross stitch when that next row will be directly below the last stitch. Instead of working the last stitch from top left to bottom right, I come up in the bottom right corner and go down into the top left. Then I can come up in the bottom right corner to start the next row.
A Few Notes
- I always work my stitches with the “top left to bottom right” section on the TOP. ALWAYS. By having the top section of your cross stitch always go the same way, you will end up with an even look across your whole project. If you want to have the other section on top, that’s fine – just do them ALL that way.
- Working left to right: You can easily work the row starting at the other end. Start at the bottom left corner and go to the top right corner first, then at the end of the row work back stitching from bottom right to top left.
- It is OK to work some rows left to right and others right to left, as long as the TOP section of the stitch is always the same direction.
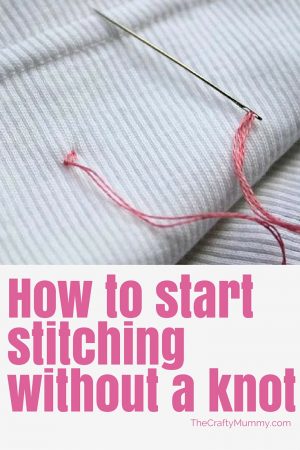
- I start my cross stitching without a knot using this method.
- Using a hoop will help keep your fabric flat while you are stitching – read how here.
- I store my thread on small cards in a plastic box – see pictures in this post.
- If you are teaching kids to stitch, here are some of my tips.


I am older than most students,but I love the cross stitch work I’ve seen,so I decided I learn how.
Thank you for providing these wonderful tutorials.
“Instead of working the last stitch from top left to bottom right, I come up in the bottom right corner and go down into the top left. Then I can come up in the bottom right corner to start the next row.” — THANK YOU so much! I could not figure this out for the life of me and it was driving me crazy.