Do your kids do school swimming? Mine do, every year in first and fourth term. Here in Queensland, lots of families have pools at home so we get kids swimming early to make sure they will be safe in the water. Our school has a pool too so the students do swimming as part of the school curriculum every year.
Practically speaking, that means each week they have to take togs, towels, caps and goggles with them – and try not to get them mixed up with their friends’ gear in the change rooms – then bring them home wet after school. I’ve always sent the swimming gear in a separate bag so that they can just take that to the pool area, but it needs to be waterproof for the wet gear coming back home.
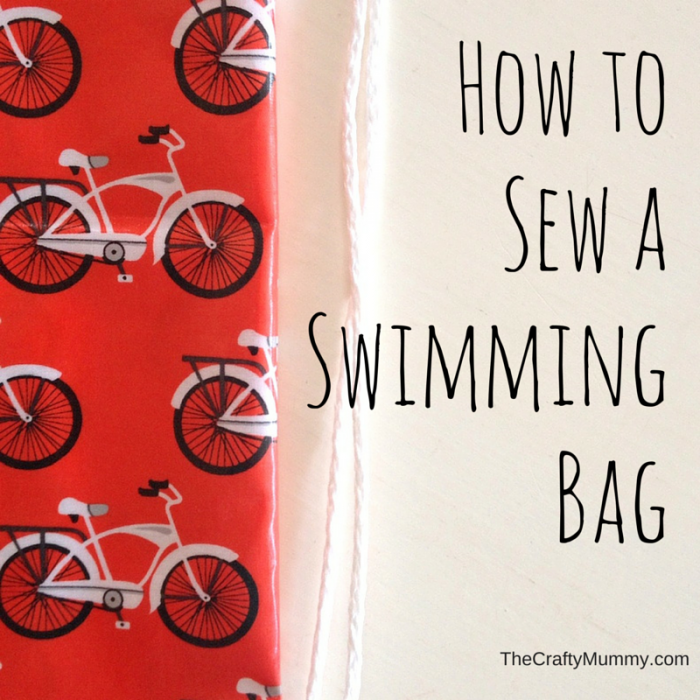
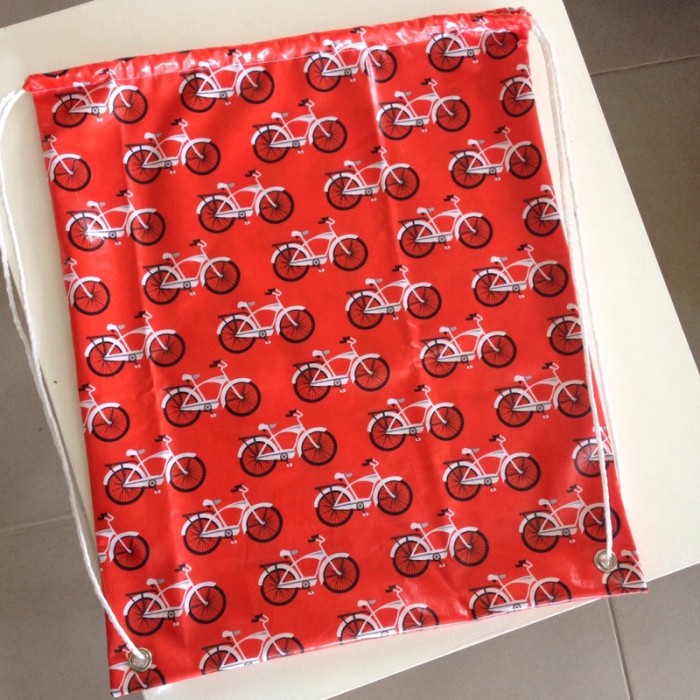
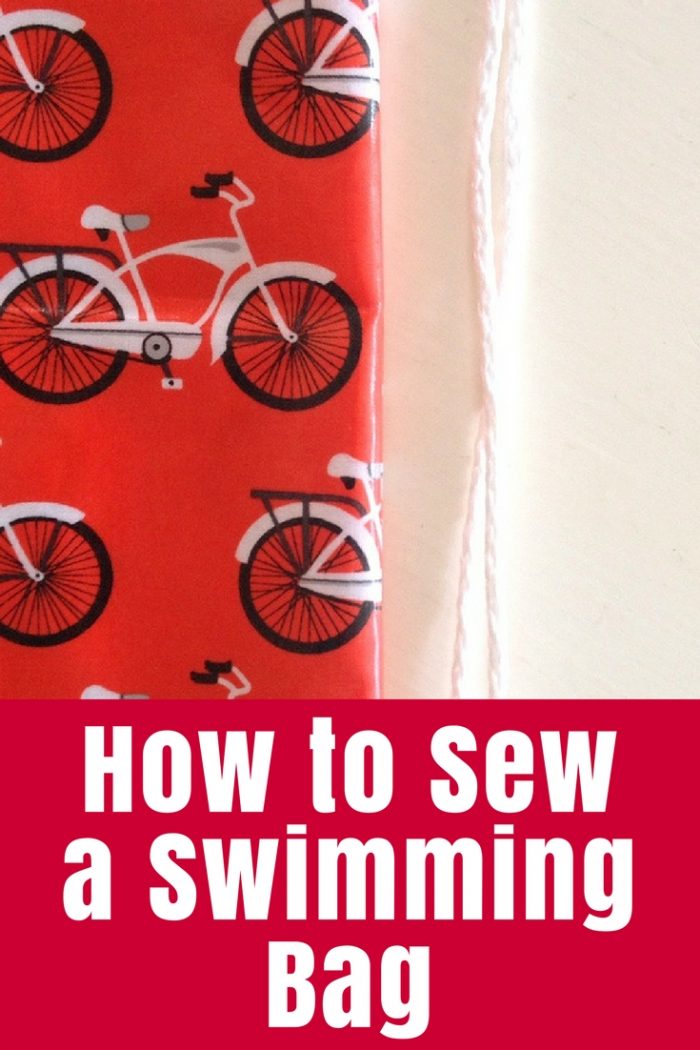
This year I decided to make a swimming bag for Mr Happy using laminated cotton. You might remember that I used laminated cotton a while back to make a bag for Little Miss’ sleeping bag and shared the tutorial over at Sew Mama Sew. This laminated cotton is bright red with bicycles all over it – very funky! – and distinctive enough that he won’t lose it.
While I was sewing I snapped a few pictures so you can make one too!
What You Need
- 2 rectangles of laminated cotton – 50cm x 45cm (20″ x 17.5″) each
- 2 lengths of cord – 190cm (75″) each
- 2 metal eyelets and kit to attach them – mine 11mm
- Usual sewing equipment
Note: I use a 90 needle in my sewing machine when I sew laminated cotton, just to compensate for the thicker fabric.
What To Do
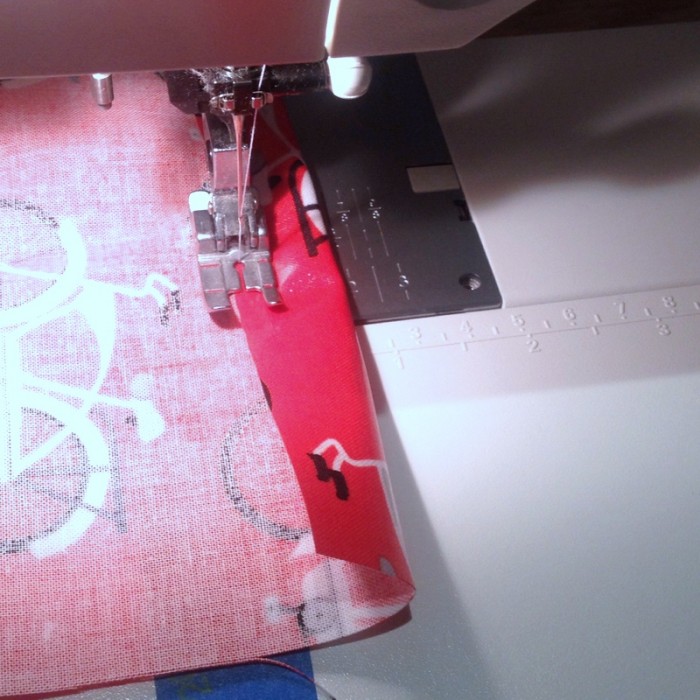
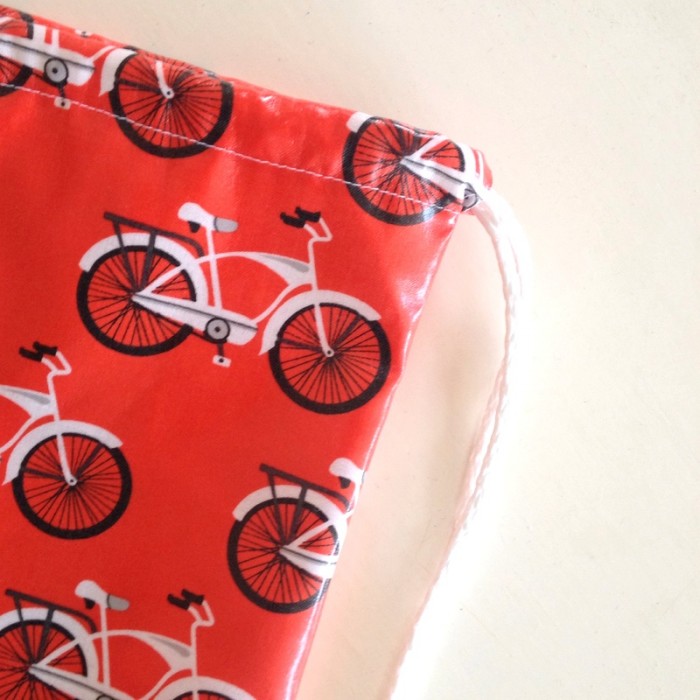
1. On one short end of each rectangle, fold over a hem of about 15mm to the wrong side of the fabric and stitch in place to create a casing for the drawstrings later.

2. Place the two rectangles right sides together with the casings at the same end. You could pin them in place ready to sew, or you could use pegs or Clover Wonder Clips (like in my picture) to hold the pieces. The clips don’t put holes in the fabric which is great for laminated cotton that you want to be water tight.
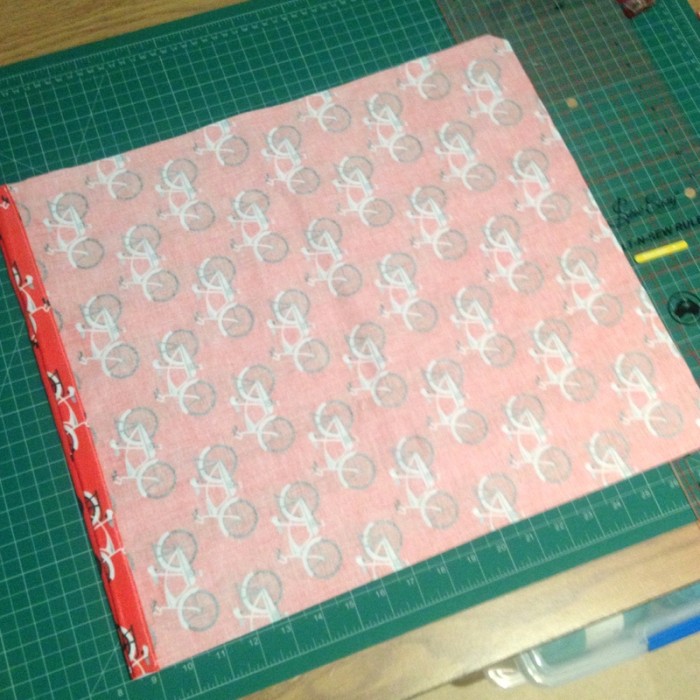
3. Sew the two pieces together on three sides, leaving the casing end open.
4. Clip the corners and turn through. You don’t need to finish the edges because laminated cotton doesn’t fray – so easy!
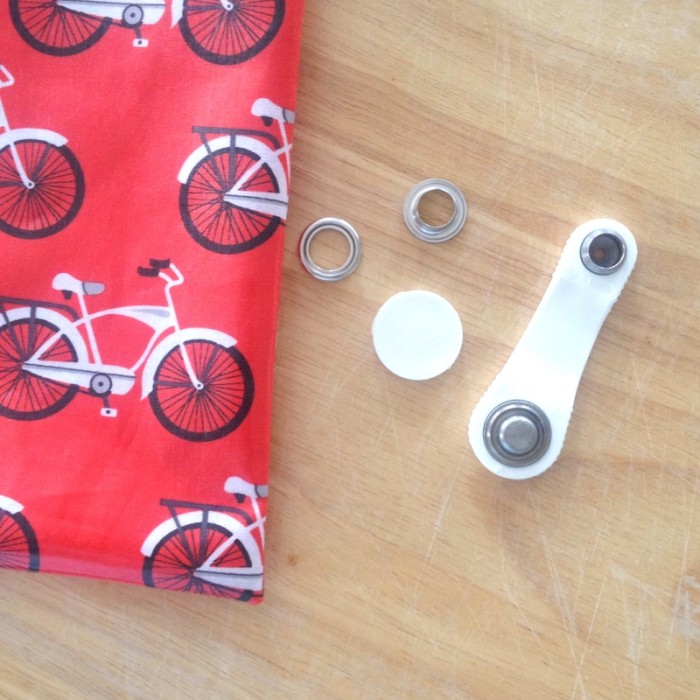
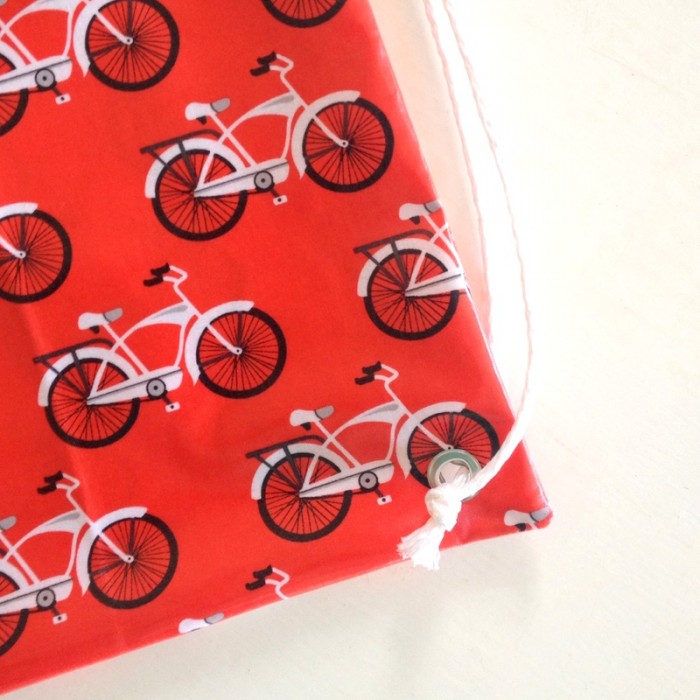
5. Add eyelets to the two bottom corners using the instructions on the packet. (In brief: create a hole in the fabric where you want the eyelet, then put the piece with the tall centre through the hole from underneath. Sit the other half on top, then use the paddle piece and a hammer to flatten them together.) Find similar on Amazon: Dritz Eyelet Kit (affiliate link)
Sadly, my eyelet skills were pretty off and my eyelets look terrible. Not sure where my brain was when I used the wrong plastic piece to hammer them down! I’m sure yours will be much better.
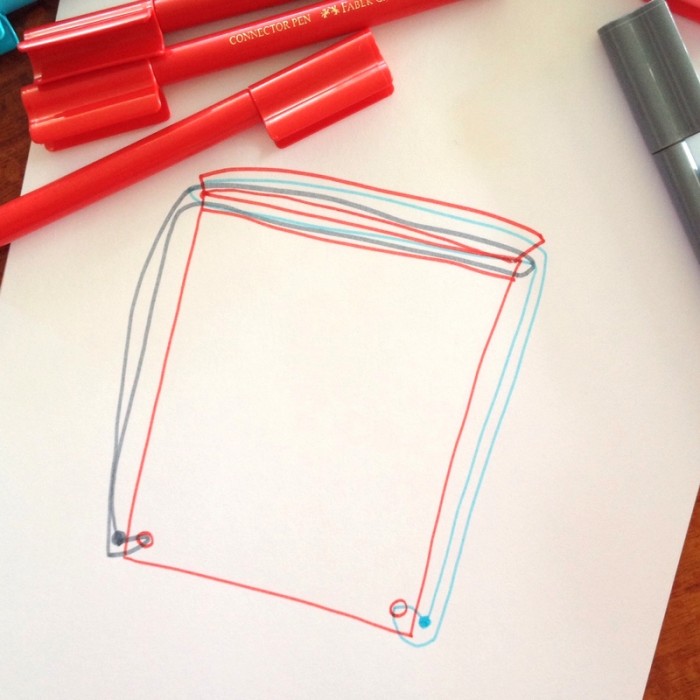
6. Finally thread the two cords. Take one piece and thread it through one side of the casing then fold and through the second casing. Even out the ends and loop one through the eyelet on that side of the bag. Tie the two ends together with a knot.
Take the second piece of cord and thread it through the casing starting on the side opposite the eyelet you’ve just used. Go through the first casing then fold and back through the second casing. Even up the ends and thread one through the empty eyelet on that bottom corner. Tie a knot.
Here’s a diagram that will hopefully make the threading clearer:
Your bag is all done! When you pull the two cords, it will draw the top closed, and you can even wear it as a back pack.


Oh, I love this idea! I can’t sew past sewing on a button, though. Looks like I need to learn how – I have two in a swim/gym class once a week and my oldest is thinking of becoming a lifeguard. We all swim almost every day in the summer. Definitely have to get some sewing skills!
I love this bag! I have always wanted to work with laminated fabric, but never had a reason. Even though I don’t have little ones, I can see other uses for this bag. Thanks for sharing this great post at the This Is How We Roll Link Party. I can’t wait to see what you bring next week! I am sharing this on one of my social medias!
I don’t think you can ever have enough of these Tonya, for swimming or anything. Thanks so much for linking up to Thriving on Thursdays. Love your tutorial. I’m featuring this one at tomorrow’s party. Thanks for stopping by.
Anne xx