Recently I was asked to do craft with the girls from our church youth group. What a fun opportunity! They were having a sleepover and I got to come in and make something with them. The girls were all high school age so we’re talking “tweens” and “teens”. Finding something that they could all enjoy and take home finished was a bit of a challenge but I put my thinking cap on and here’s what we made.
I started with the idea of doing string art. This involves putting nails into at piece of timber then wrapping string around the nails to make a design. However, I didn’t have enough time to source timber so I considered trying this on stretched art canvas. Sadly the nails or pins wouldn’t stay in place securely enough and I had visions of pins all over the floor and girls with bare feet – OUCH! Instead, I decided to take the idea of string art and do it with stretched art canvases. We would stitch the designs with a needle and thread. Much easier, something all the girls could do, and not so much potential for injuries!
The girls loved it! Our 30-45 minute slot grew to over an hour as the girls happily created designs then threaded needles and got stitching. In fact, they had to have an extra session later in the schedule to finish their artworks off. Mother’s Day was the next day so some of the girls created gifts for their Mums while others made something to go in their bedroom.
What You Need
Canvas: My samples were 22cm square but the girls used 30cm squares because I found them at Officeworks at $12 for 3 which fit my budget! Any size canvas will work, of course. Find similar here
Thread: Iris Craft Thread – looks like stranded cotton skeins but not divisible. I found mine at Spotlight in a pack of 50. Find it here
Needle: Birch Needles – Straws Size 1 – sharp with a nice big hole to thread through. Find similar here
Needle Threader: Worth using with this thicker thread to save time and frustration! Find similar here

What To Do
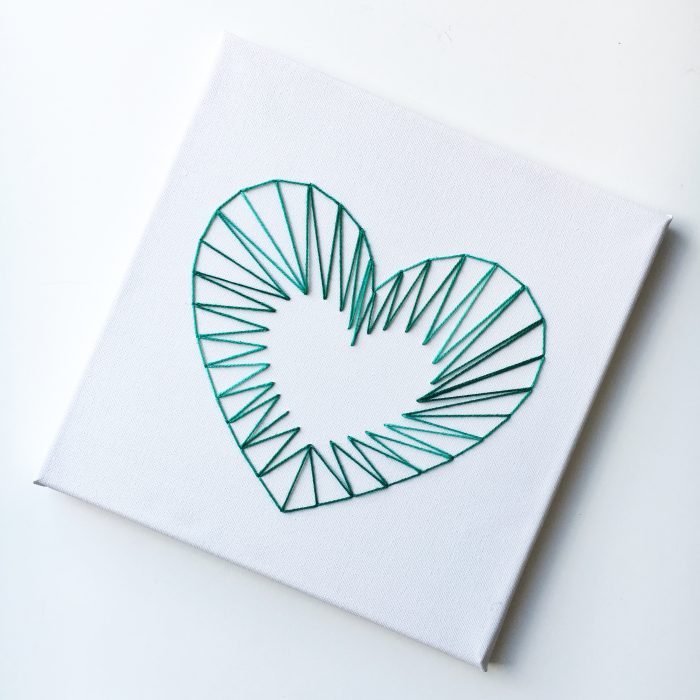
Start by deciding on your design. I kept mine simple so they didn’t take forever to create but you can certainly use any shape. I started with string art ideas but instead of using nails or pins and wrapping the thread, I used the design ideas as a basis for my stitching.
Find some more ideas over on my Pinterest board: String Art Ideas
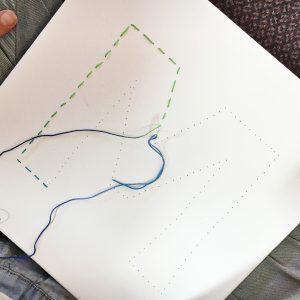
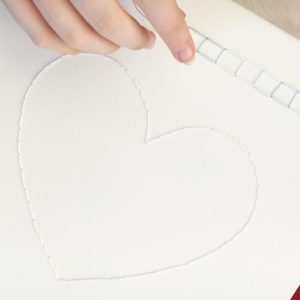
Once you have a shape or design in mind, draw it up on paper. You could draw on your canvas, but I found that I couldn’t fully erase my pencil marks later and was left with light grey lines so be aware of that chance.
Find my hearts in three sizes ready to print here: Heart Templates (PDF file)
Next lay your design on your canvas and carefully punch holes with your needle all around the lines. I’d suggest that you make your holes about 1cm apart but use your judgement based on the size of your design and how close you want the stitches to be. Punching the holes up front will make it easier to stitch.
Once your holes are punched, it is time to start stitching!
Cut a length of thread around 30cm long and use your needle threader to thread your needle. Tie a knot in one end of the thread to stop it pulling through.
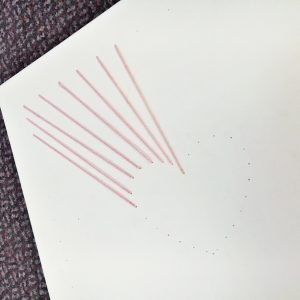
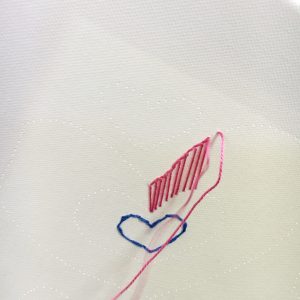
Stitch from the back of the canvas into your first hole and pull the thread all the way through. The knot should hold the end in place. Decide on your next hole and stitch down into it. Continue stitching up and down, pulling the thread firm before the next stitch.
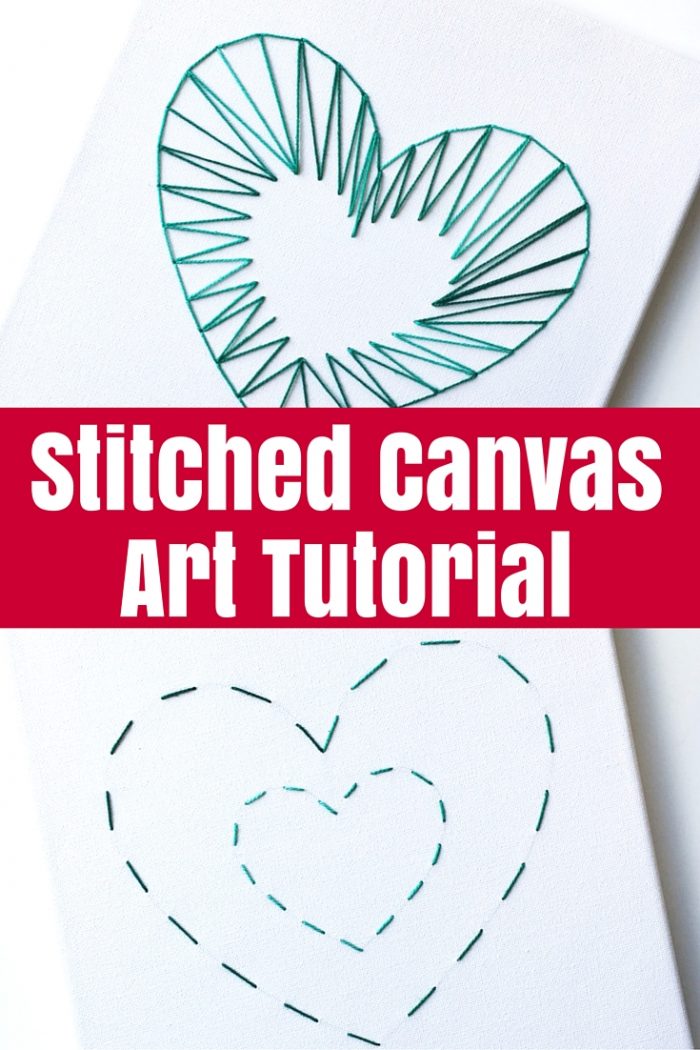
For a solid line, use a backstitch pattern: Up one hole, down the next hole, up the next hole, then back down the previous hole, up the next spare hole and back down the previous hole, so you gradually create a solid line of stitches with no gaps.
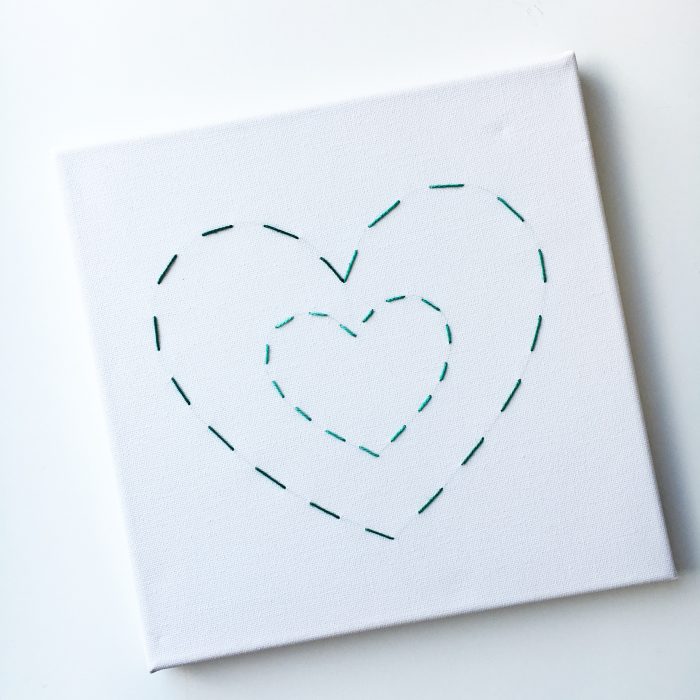
For a dashed line, use a simple stitching pattern: Up one hole, down the next, up the next empty hole, down the next and so on.
When you get to about 4cm from the end of the thread, you will want to tie that thread off on the back of your canvas. Just loop the finishing end around the back of another stitch and tie a know then trim the excess thread. Start a new piece of thread to continue just as we did to start.

More ideas:
- Stitch from the shape outline to the outer edge of your canvas to gradually create a blank shape in the middle.
- Overlap your lines to look like string art.
- Change colours fo different parts of your design, or use variegated thread like we did.
- Stitch a large letter monogram or a short word.
- Stitch the same shape multiple times to create a pattern.
My Tips for doing this craft with a group of girls:
- Leave plenty of time. I always forget when I plan these sorts of things that the girls will take longer than I did with my sample.
- Have some helpers on hand to make design suggestions and help thread needles.
- Encourage the girls to keep their designs simple so they can get them finished.
- Have some samples to show them. Not everyone can picture a finished project in their head like a seasoned crafter can!
- Punching the holes can make their fingers a little sore so encourage them to be careful to not punch their fingers as well.
More Canvas Art Ideas


I so love this idea. My mind is running away with so many possibilities. Thanks so much for sharing .. This will be something that I will do with my grandchildren this summer.
Such a fun idea! I’m going to try this with my boys and some simple shapes. Thand for the inspiration. .
I saw something similar done with the Batman bat which would be great for boys. Or stars are another of my favourites.
This is a great greeting card activity for children, also. Instead of canvas, use cardstock to make a card or buy the blank precut cards and envelopes. Variegated threads and metallic or silk threads can add lots of variety. You can use the same pattern and change the threading/sewing pattern or the colors of thread can add hours of creativity to this simple project.
I have done string sewing for Christmas cards and that was fun. Will be trying this soon