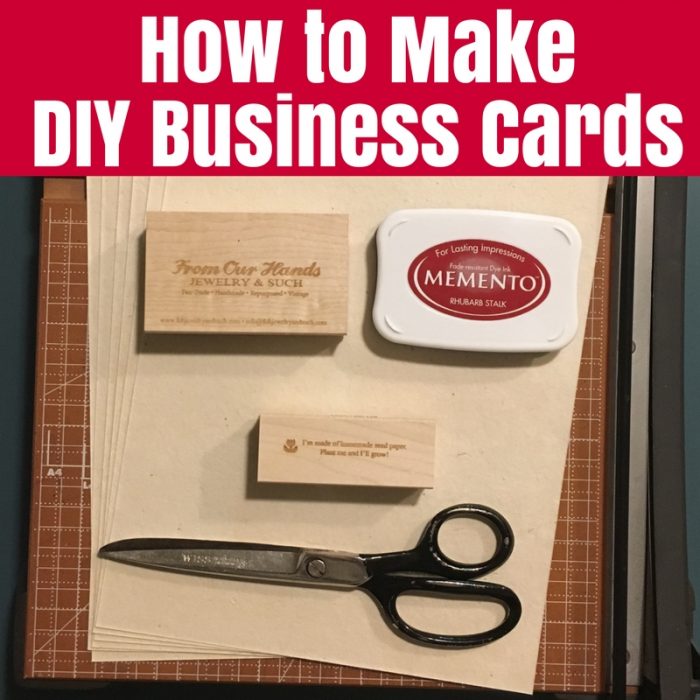
Today I’m welcoming the lovely Savanna from From our Hands who is teaching us how to make our own stamped business cards. Thank you so much for sharing with us, Savanna!
Stamping Your Own Business Cards
Creating your own business cards is a great way to add a personal touch to your interaction with your customers. It shows how much you care about your business and gives you the opportunity to get creative! Creating professional, cost effective handmade business cards is simple and only requires a few steps.
Related: Why do Crafty Bloggers need Business Cards?
Create Your Image
The first step on your DIY business card journey is to create your initial image. Business cards should generally be fairly simple with a few pieces of important information; try not to overload your card! Since you are stamping rather than printing, it’s important to choose images and text sizes that will not be too small for customers to see. This would also be the time to decide if you can use one large stamp with everything on it or if you need several smaller stamps.
Remember, since you are stamping yourself you can have front and back images without added cost. You will be converting everything to black and white when submitting to your stamp creator so don’t use images that have shading or gradients.
Tip: If you need to create your image and you don’t have a software like Photoshop or Illustrator, try Pixlr which is like a free version of Photoshop online
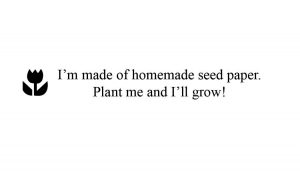
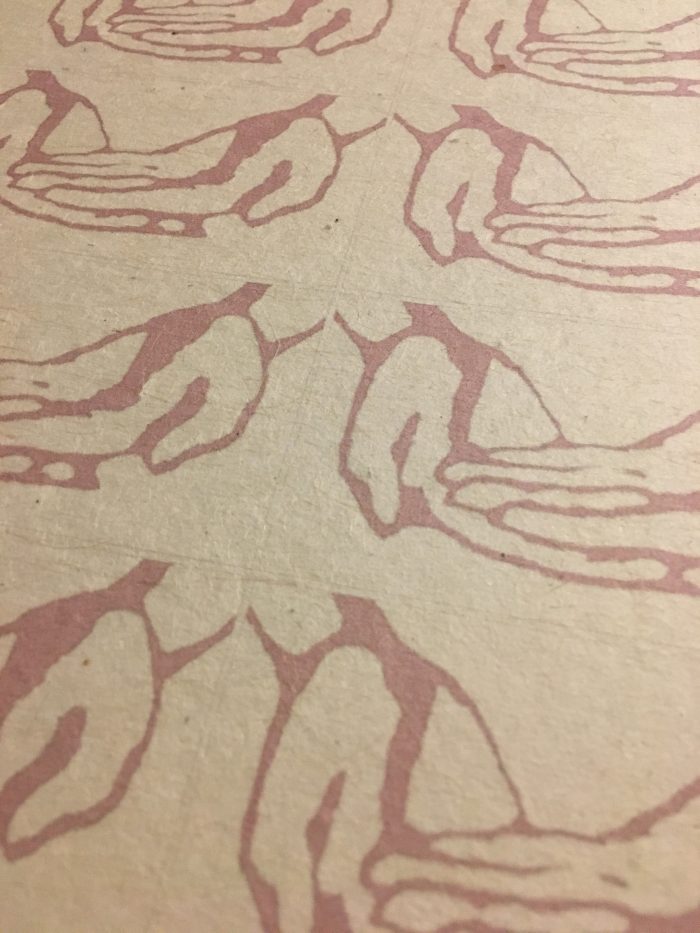
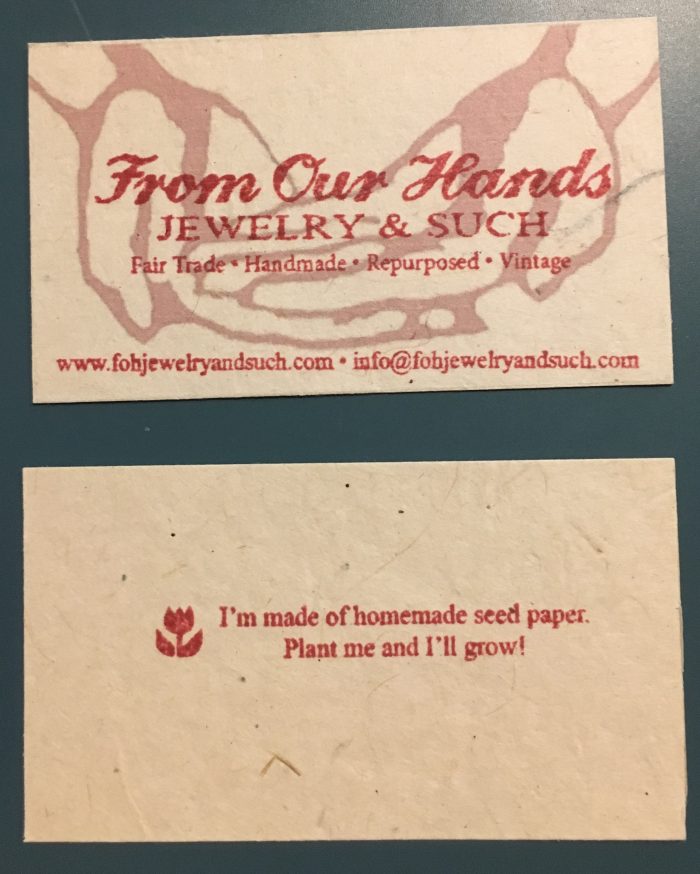
You can see below I chose to separate my card into 3 parts: the background hands, the front text, and the back text.


Choose Your Provider
Now that your image is ready, it’s time to pick a company to create your stamps. There are many custom stamp companies so do some research and find the one that fits your needs. Consider things like how quickly they can get it to you, if their prices will give you a good return on investment, and if you can follow their submission requirements. I personally used Rubberstamps.net simply because their process was easy and they had a variety of stamp sizes and styles to choose from.
Pick Your Size
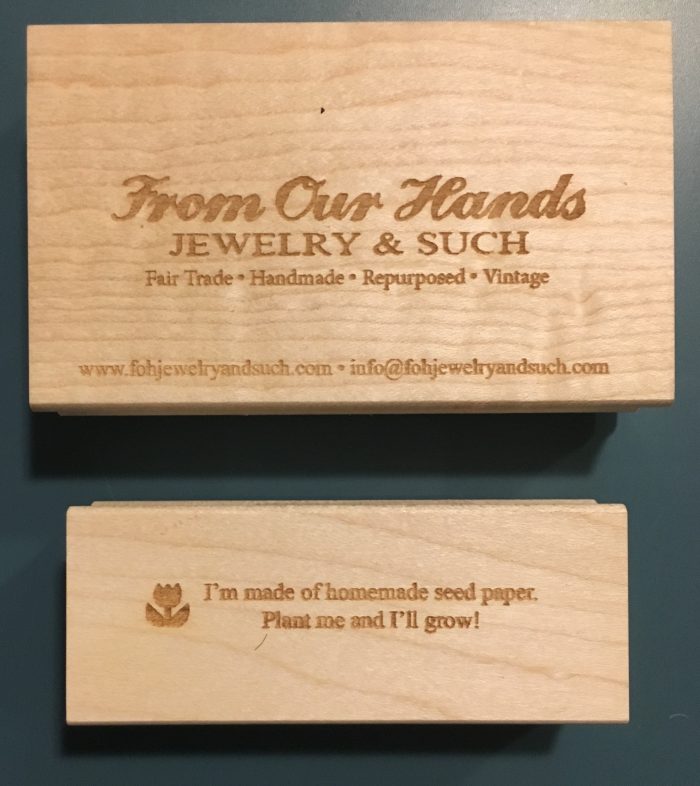
Your stamp provider will have many different sized stamps for you to choose from. Standard business cards are 3.5” x 2”. (Here in Australia the standard size is 85mm x 55mm or 90mm x 55mm, depending on the supplier – Tonya) You want to get a stamp that will not go over your edges but still fill up the whole card. It’s also a smart idea to leave a little room on the edges just in case you don’t get the stamp perfectly centred. I chose 2 different sizes: a 2” x 3.5” for my front image and a 1”x 3” for the back. I made sure my images didn’t touch the edges of the stamp to avoid any issues later.
Choose Your Stamp Style
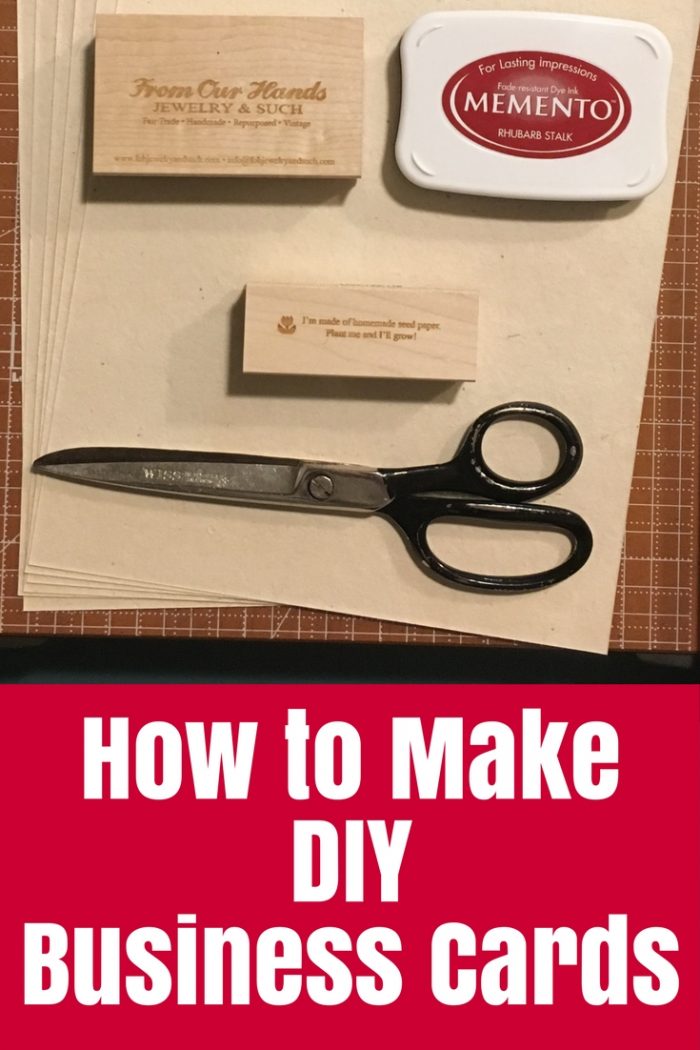
There are a variety of stamps to choose from: self-inking stamps, stamps with handles or just plain old traditional stamps. Pick something you know you will use and that will work well in your hands. I chose the traditional style of stamps since that was what I was most comfortable with and that was the most cost effective.
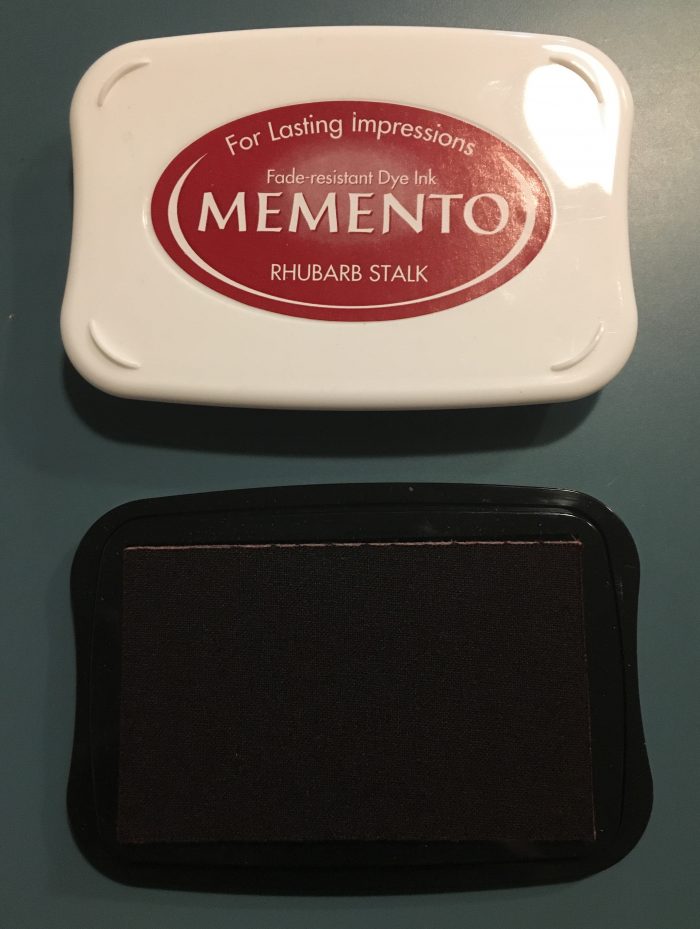
Choose Your Colour
Most local craft stores have a variety of colours and you can pick one of those if it matches your business colours. I got lucky and was able to find a colour that matched really closely with my business colours.
If you need a custom colour you need to determine the Pantone colour. There is a great site that converts a hex code to Pantone that I like to use here. Note that coated and non-coated colours will appear differently on paper. Stamp pads need to be non-coated colours so keep that in mind if you want to get custom ink.
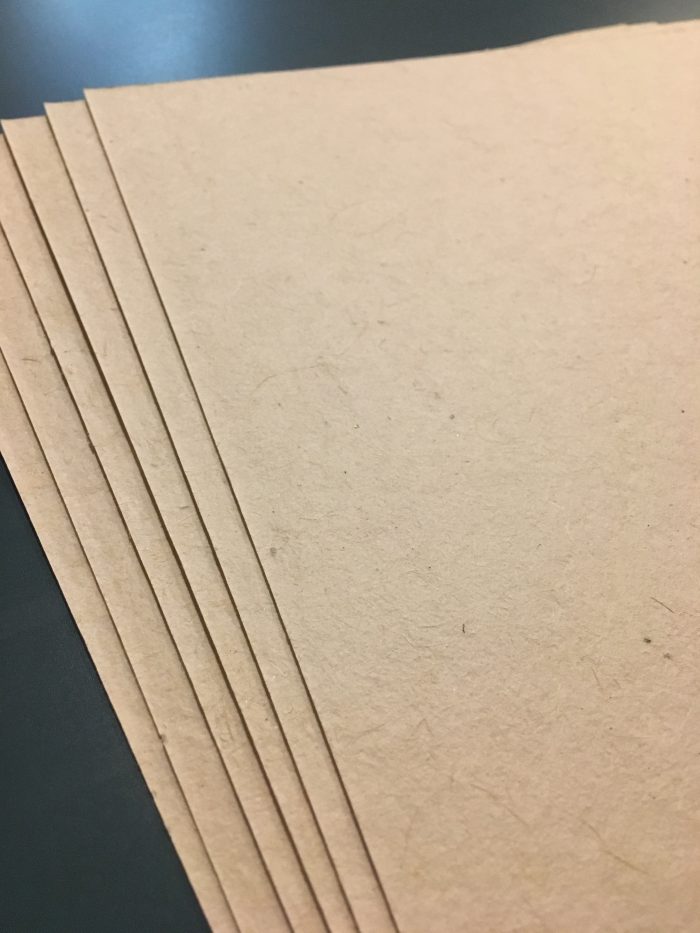
Choose Your Paper
One of the most important things to consider when making your own business cards is the paper. Unlike normal business cards that can be on shiny or special paper, it’s smart to choose paper that will absorb your ink correctly. You don’t want it to be absorbed too much, but a shiny paper will cause the ink to run and smear. This can be trial and error until you find something that works and that you like.
Tip: If you are looking for an eco-friendly paper try seed paper like the one I use pictured above. Seed paper is absorbent enough to hold the ink and your customers can then plant your business cards once they are done with them!
Stamp Away!
You are now ready for the fun part! Stamp away! I would suggest drawing or printing lines on your paper so you know where to stamp your images. For my business cards, I decided to print the image of the hands on the cards since I needed them to be faded and light. This reduced the cost of getting another stamp and ink pad since it would be a lighter colour. It also greatly reduced the amount of time it took for me to print my card. Feel free to play around with the idea of printing parts of your cards to reduce time and money spent on making them. I also printed very faint grey lines to help me when stamping and cutting out my cards.
A paper cutter makes cutting out your cards super easy and quick. If you are stamping on both sides leave ample time between stamping for each side to dry.
And there you are! Your finished cards look beautiful and have a wonderful handmade touch! It took me a few times to get the hang of stamping, but once I got comfortable with the process it took me no time to push out 500 cards. And the best thing….no one else can say they have as unique business cards as you do!
Hello! My name is Savanna! I recently opened my own online business selling handmade, fair trade, repurposed and vintage jewellery from around the world. I graduated with a Marketing Degree from Shippensburg University in Pennsylvania and worked a few jobs for small businesses including two different jewellery shops. (Is it obvious I love jewellery yet?) I’m a total DIY-er. I’d rather make it myself than buy it from a store! I love sharing what I learn and learning from others to continually expand my DIY knowledge. The way I see it, we are all in this world together so why not make it as colourful, beautiful, and handmade as we can!
Find my website here: Foh Jewelry and Such or find me on Instagram: @fohjewelryandsuch
Pin for later


Love the traditional look of your business card stamps. This would work well for a lot of our customers. Thanks for the tips.