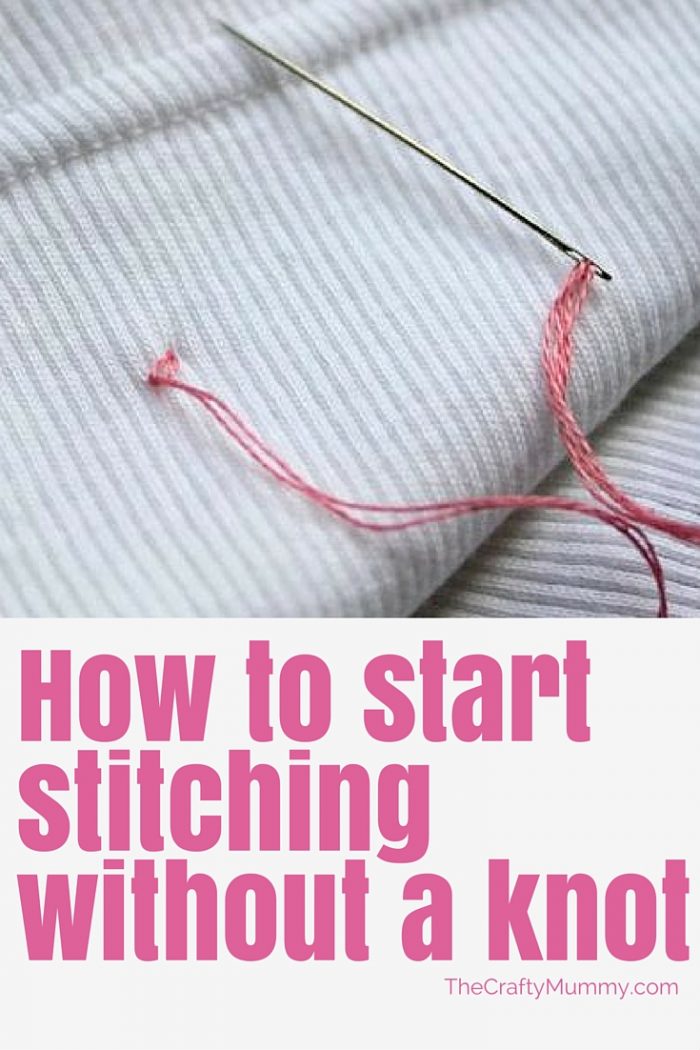
Learn how to start hand stitching without a knot at the end of your thread creating a neater, smoother finish. You can use this for any hand stitching.
I love hand stitching. I find it relaxing after busy days with kids! I used to do a lot cross stitch pictures but these days I seem to do more little bits of stitching on gifts for people. When I make baby singlets, I like to have no knots in case they irritate baby’s skin. Here’s how I start my stitching without a knot. Keep in mind you’ll end up stitching with a double strand of thread which I do for most cross stitching.
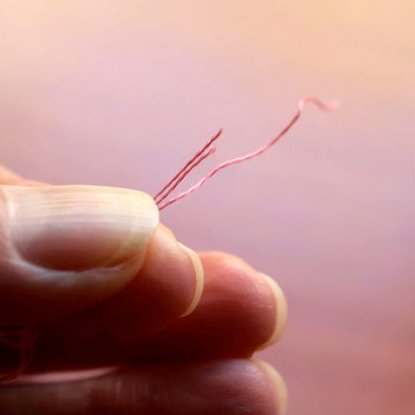
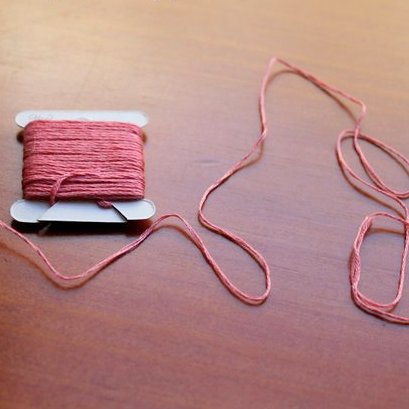
Cut your thread to double the length you want to start with. I go for about 20″ or 50cm. I find that’s long enough to stitch without getting tangled. My picture is stranded embroidery cotton so the next step is to draw out just one thread.
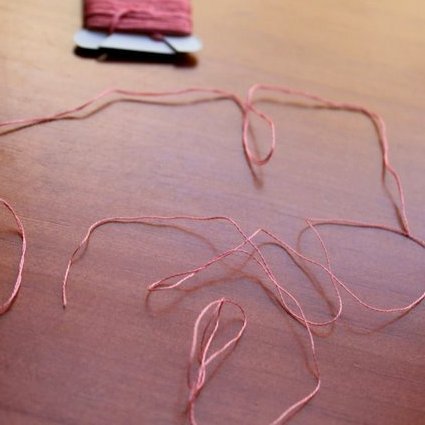
I use DMC stranded thread and you can see the little cards I keep it on. I have gathered quite a collection over the years so I have two boxes with all my little cards in them. Each one has the DMC number on it so I can buy more if I need to. (Yes, I may be a little OCD {wink}) Once you have your single thread, fold it in half so that the ends are together and you have a loop at the other end.
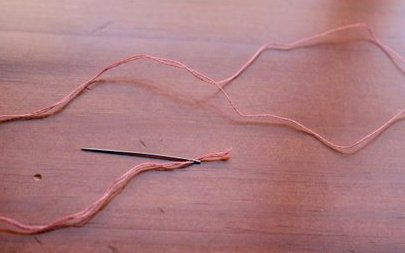
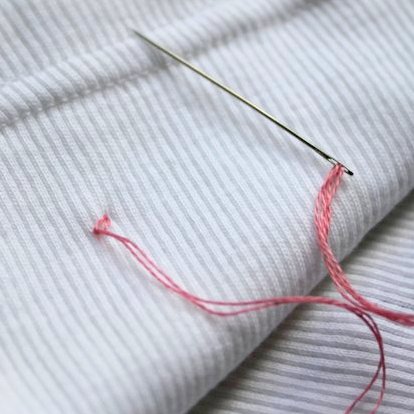
Thread the two ends through your needle.
Now take your fabric and come up from the bottom and down into your first stitch, but don’t pull the thread through yet.
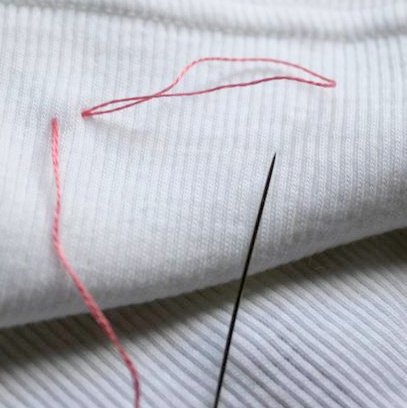
Flip over to the back. You should see your loop end.
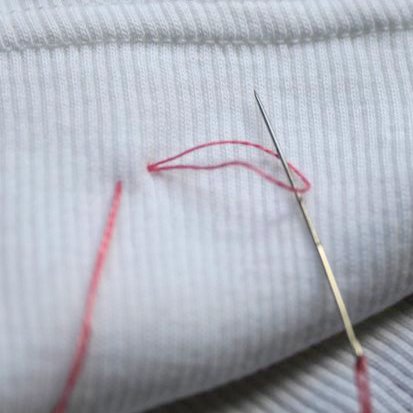
Slip your needle through the loop and then finish pulling your thread through so your stitch lays flat front and back.
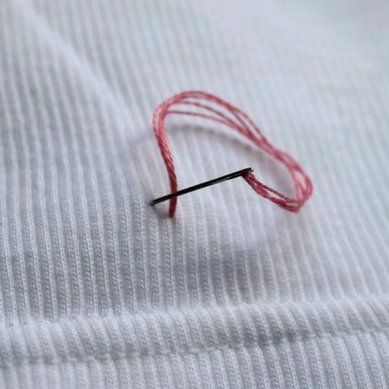
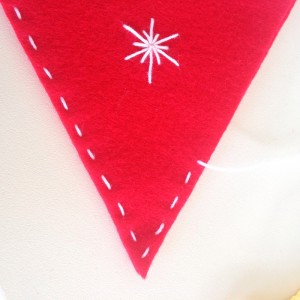
That’s it! You’re all ready to keep stitching. See how your loop ends up laying flat against your fabric? That means less bulk if you’re eventually going to frame something and no
See how your loop ends up laying flat against your fabric? That means less bulk if you’re eventually going to frame something and no knot to rub against skin in clothing.
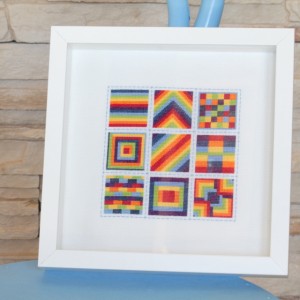
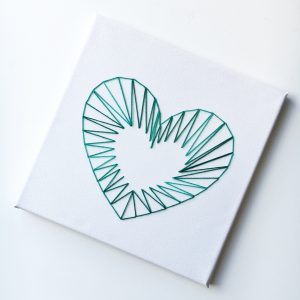
Things to Stitch:


This is a great idea ! I have never thought of doing it this way. Thanks for sharing!
Wow! I never thought that it can be done without knots. I will surely try this. Thanks.
My mother use to cross stitch so I told my sister I wanted to learn because it was something my mom loved dearly bf she passed away so for Christmas my sister gifted me with quite a few new project my ho0e is to carry this on I already crochet was having some problems but after reading this I believe I’ve got it!
I’m so pleased to hear it was helpful, Cathy
I would never have thought of that. How clever!
Wonderful idea! I can't believe I never heard of this.
totally cool tip!! thanks!
This is going to come in handy.It will take some practice for me but thanks so much. An other lesson on my journey to teaching myself to sew. Thanks.
Wow! So simple but so clever.
Excellent! I'm going to give this a try!
Great tip! How do you avoid knotting off at the end, though? Is there another trick you can share? Thanks!
I’ve always just slipped that end of my thread underneath my stitches
This is a wonderful idea. I have to ask though, do you notice you go through allot more embroidery floss using this method? Also love, love, love the card idea for storage. Thanks for the tips!
No I don’t notice using extra. I perhaps use different lengths than I would if I was starting with a knot – I cut longer pieces when I’m going to fold the piece in half first. I’m glad you’ve found it useful!
Great idea when using just 2 threads but many of my projects call for 3. Any suggestions for this?
I’m afraid not, Sandy. This trick only works for even numbers of threads unfortunately.
I think I’d be considering whether I really need three strands or whether I could just use 2 – or perhaps even 4 strands instead. The key is to get the coverage of the fabric that you want so perhaps test it on the edge of you project to see how it will look with different thread counts. You may find it works just fine with two strands.
Sew simple and easy to understand. I love tips and can read and watch tips all day! Thank you so much!
Thanks Deborah – glad to help!
Duh! How can we handsewing folks NOT know this?! I didn’t! and I am a prolific sewing lady. Unfortunately, my late grandmother of Belgian descent (needlework is important there) knew all of the needleworking arts – beading, knitting, sewing, you name it- but she never taught me. I don’t know why, but we weren’t instructed in these home-y things at all growing up. I even collect excellent examples of hand sewn items such as antique handkerchiefs, doilies, also antique needlework texts (archive.org has tons of free titles check them out 🙂
but, I was at a loss for another way to secure thread without knots. Embarrassed I did not know a better way, I found your instruction. Here we are- what a goodie it is too! It takes a lot of schlepping to put it all online, with the proper photos and everything. Thank you.
great idea! I hand-stitch a lot, i might use it in my sashiko, don’t have to found that lump edges ever again since i found this. thank you for sharing.
Great idea; well-explained, nicely illustrated. One tiny suggestion: where you say the thread is LAYING FLAT, it should be LYING FLAT. Everything else is so perfect, I thought you would want to know.