
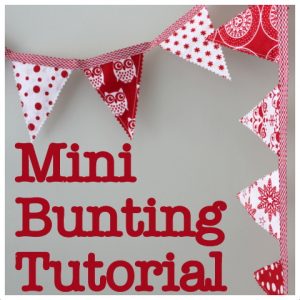
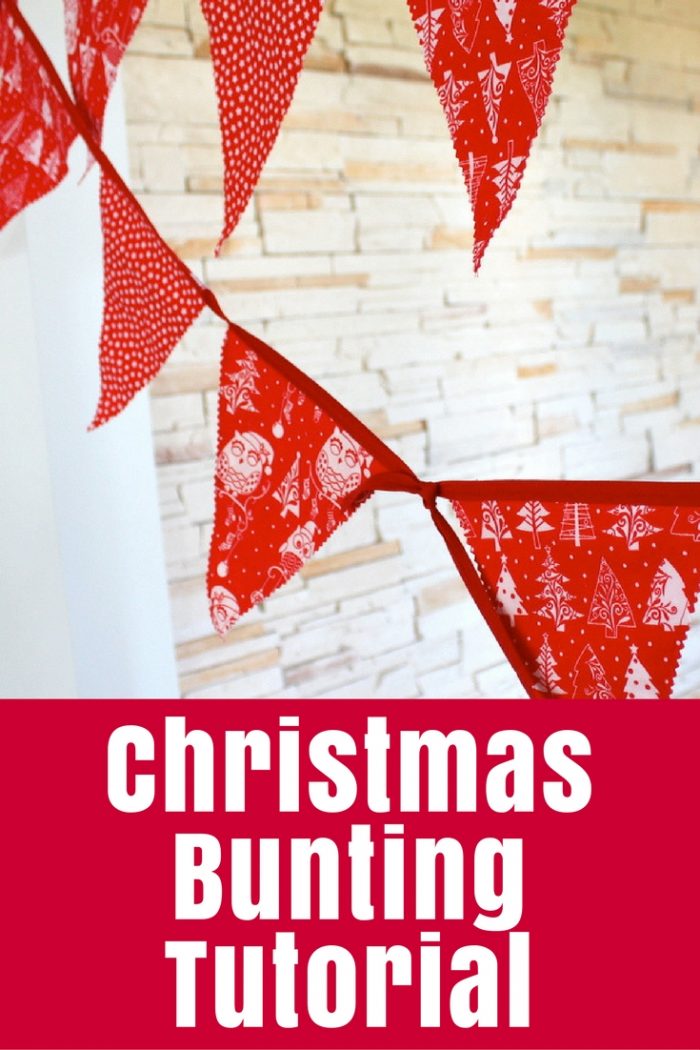
I’ve been seeing bunting everywhere lately. You know, those little flags that you can string up for decorations. So when I found some very cute red and white Christmas fabric in Spotlight recently I had to make some of my own. Here’s how I did it.
What you’ll need:
- Fabric – I used about half a metre of three different ones
- Ribbon or bias binding – I used 2 packs of 12mm x 5m bias binding and I still have some triangles left so I’ll be buying another lot
- Usual sewing stuff – matching thread, sewing machine, pinking shears, pins, etc.
What to do:
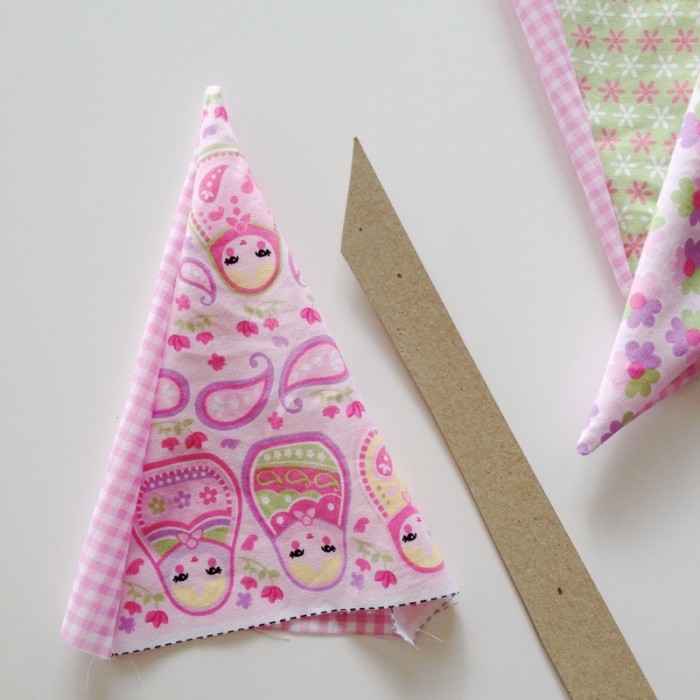
 Create a template for your triangles. I used a piece of A4 paper, folded it lengthways down the middle, then used a ruler to rule one side of my triangle. Fold the paper in half again and cut along the line. Unfold and there’s your template. My triangle is 18cm along the base and 21cm from the point to the base line (along the centre fold).
 Cutting your triangles. I started by cutting a strip of fabric the height of my triangle (21cm) wide. I used my rotary cutter and ruler but you could easily use scissors. Then with my fabric still folded in half, I started from the fold end and laid my template with the base point at the fold. (See the picture). Laying my ruler over the template edge, I cut first one side then the other of that triangle. Turn the template upside down and lay it against the cut edge. It should fit perfectly. Cut along the other side of the template to make your next triangles. Keep flipping and cutting until you can’t cut a full triangle. Cut as many triangles as you want. I had lots – about 100!
 Sewing your triangles. Now we’re going to sew all your triangles back to back so that both sides of your bunting looks nice. Match all the triangles together in pairs with right sides facing out. Stitch each one together down each side about 5mm from the edge. I went down one side from the base to the point, then pivoted the triangle with the needle in the fabric near the point before sewing up the other side. I didn’t stitch the bases closed because my binding will cover that edge in the end.
 Trimming the edges. After sewing the triangles, I used pinking shears to create a pretty zig zag edge.
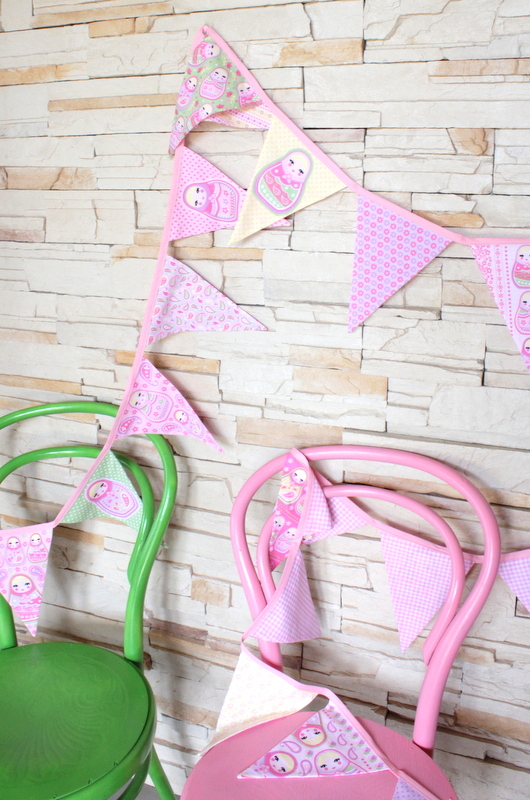
 Joining the triangles to the bias binding. My bias binding was only 12mm wide so rather than folding it in half (as I would do with wider binding) I pinned all my triangles with the base tucked into one fold of the binding. (See the photo) Then I used a zig zag stitch to sew straight along the length of the binding.
- That’s it! All done!
A few options:
- If you don’t want the zig zag edges I created with my pinking shears, you can stitch your triangles with right sides together, then turn them through so the raw edges are inside the triangles.
- You could use wider bias binding or ribbon, and attach the triangles by folding the tape in half lengthways and stitching the triangle bases into the fold.
- Alternatively, you could trim the bases with the pinking shears, then just sew them straight onto the back of a ribbon.

Not Christmas? Other ideas for bunting:
- red, blue and white fabrics for Australia Day or any US holiday
- pink, white and green for a little girl’s bedroom
- bright primary colours for a circus party
- shades of green for St Patrick’s Day
- orange, red and yellow for Autumn
- red, pink and black/white for a Valentines Day party
- silver and blue for Winter
- rainbow colours for Spring
- pastels for a baby room
- black, red and white for B!
Don’t sew?
I have written a no-sew version of this tutorial for Melissa at Suger Coat It. You can also read my tip about directional fabric over there.
More Bunting Tutorials:


Summary
Article Title
Bunting Tutorial
Description
Create easy strings of bunting or flags in any size with this step-by-step bunting tutorial - perfect for Christmas, birthdays and more.
Author
Tonya Grant
Published on
TheCraftyMummy.com


I always think that bunting looks so great.
Thanku for your tutorial. What do you think is the recommended flags to have on a bunting?
I don’t think there is a perfect length for bunting but you’d certainly want more flags on a longer bunting. I only left about 1cm between flags. Perhaps think about where you intend to hang your bunting first and work out a length, then see how many flags you would fit in the length?
Just seen your Chsitmas bunting tutorial, just what I was looking for. I’d thought about putting HAPPY CHRISTMAS on the individual triangles (H on one triangle A on the next and so on), perhaps in felt. Any easy way of doing this?
Thanks, Gill
Found the bunting tute while admiring the yo yo tree – love making yo yos, but always thought bunting must be simple. . . but never did it! I think I will now that the logistics are right here! Thanks! So many possibilities, & I have a ton of fabric just hanging around. . . Thanksgiving? St. Patrick’s Day? Patriotics! Halloween! Sooner or later I’ll get one done for some holiday, I’m sure!!
Do you have to be careful about the direction of the fabric pattern? As you reverse the triangle template, the top of the flag will also be reversed so you’ll get alternate upside down Christmas trees, robins, whatever. Best to choose a non-directional all-over print?
Yes, you do need to be a little careful. But I found they were not super obvious once my bunting was hung up.
Just to say thank you; I found the tutorial really easy to follow. I know it’s only spring but I just fancied making some bunting with my new sewing machine and a re-discovered desire to sew!