The Crafty Mummy

Crafts. Sewing. Quilting. Crochet. Tutorials.

  • Start Here
  • Welcome
    • Subscribe
    • About Me
      • Copyright
      • Disclosure
      • Privacy Policies
    • Advertise
    • Sharing
      • Recommendations
      • Shopping & Coupons
      • Books
  • Explore
    • Crafts
      • Beading
      • Kids
      • Paint
      • Storage
      • Christmas Crafts
    • Sewing
    • Quilting
    • Stitching
    • Crochet
      • Yarn
    • Life
      • Food
      • Organisation
    • Blogging
      • How To
      • Social Media
      • WordPress Plugins
      • Photography
  • Tutorials
    • Tips
  • Shop on Etsy
  • Shop on Redbubble

Mini Notebooks Tutorial

by Tonya Grant |Filed Under: Crafts, Tutorials Tagged With: Gifts, Notebook, Papercrafts Get a Weekly Update of all Articles

matchbook notebook tutorial

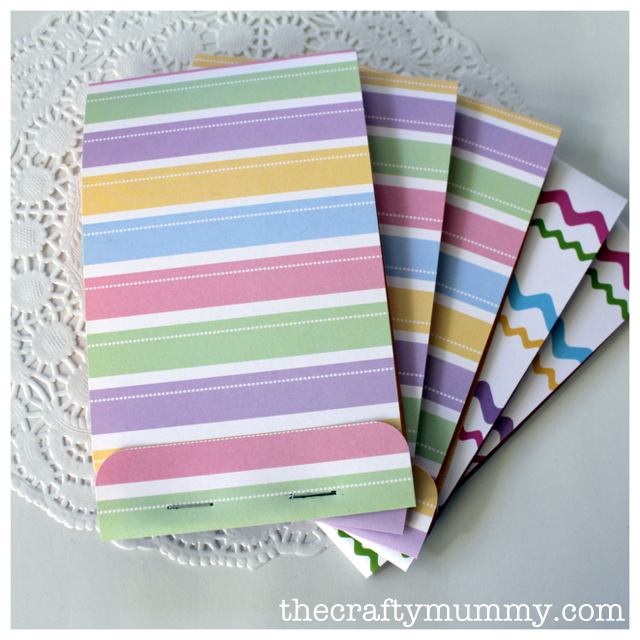
I often find myself out and about and needing a notebook to write something down or give details to someone. So I’ve been wanting to make these little notebooks for a while now. Mind you, now that I’ve made them, I think I’ll pop them into my present stash! They’d be the perfect gift for a little girl’s birthday along with a packet of pencils or pens and a cute bag.
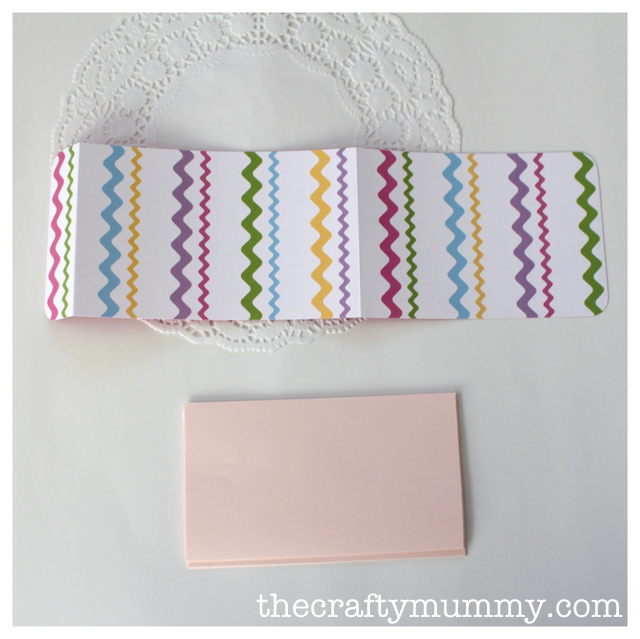
notebook tutorialWhat You Need:

  • Cardstock for the cover – mine is 12″ x 3.5″ (30cm x 9cm)
  • Paper for the pages – I used 5 sheets of A4 copy paper cut down to 3″ x 5.25″ pieces (7.5 x 13.5cm)
  • Stapler, Scoring tool, Corner rounder

notebook matchbook tutorial What To Do:

1. Cut your pieces to size. My sizes are above, but you could adjust them for a smaller or larger notebook. Remember to make your pages smaller than your cover.

2. On the back of your cardstock, score a line about 1″ (2.5cm) from one end. Then score another line 5.25″ (13.5cm) from the other end. My cardstock is double-sided so the back is a plain colour.

3. Round the corners.

4. Fold both ends in.
matchbook notebook tutorial

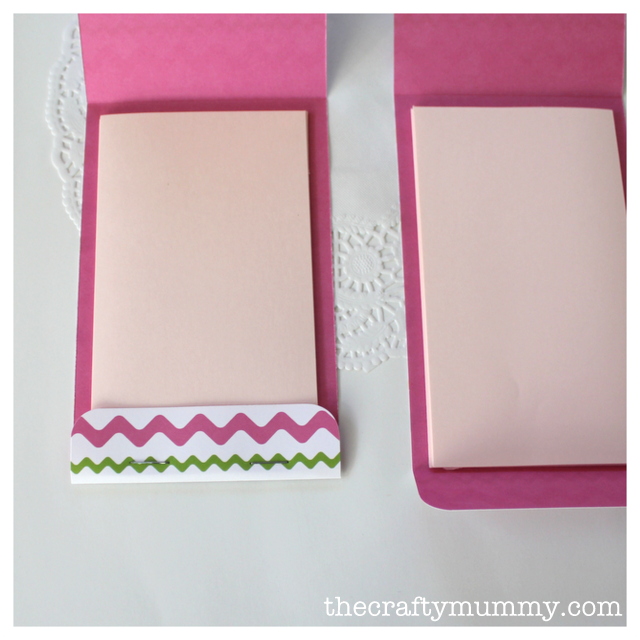
5. Sit the pages into the inch fold and staple them in place about a quarter inch (6mm) from the edge.
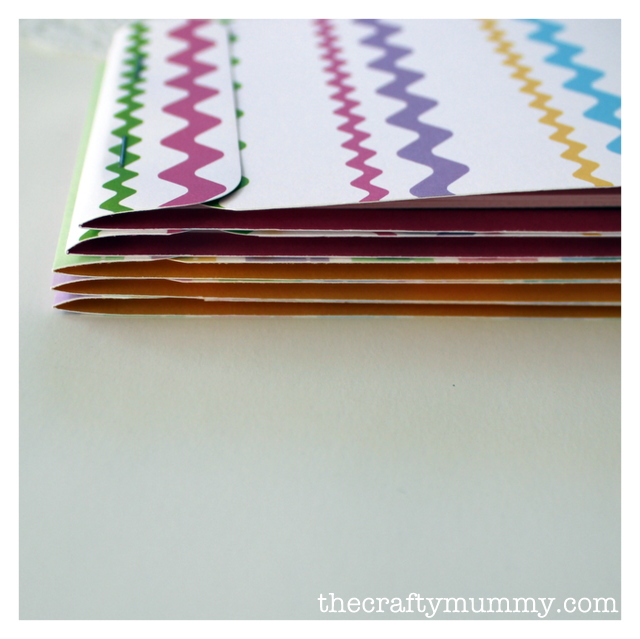
matchbook notebooks

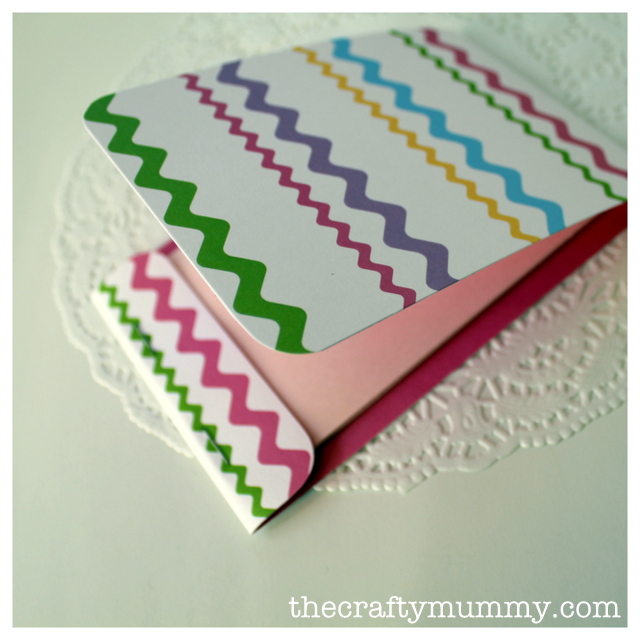
6. Tuck the larger flap under the smaller flap to close.
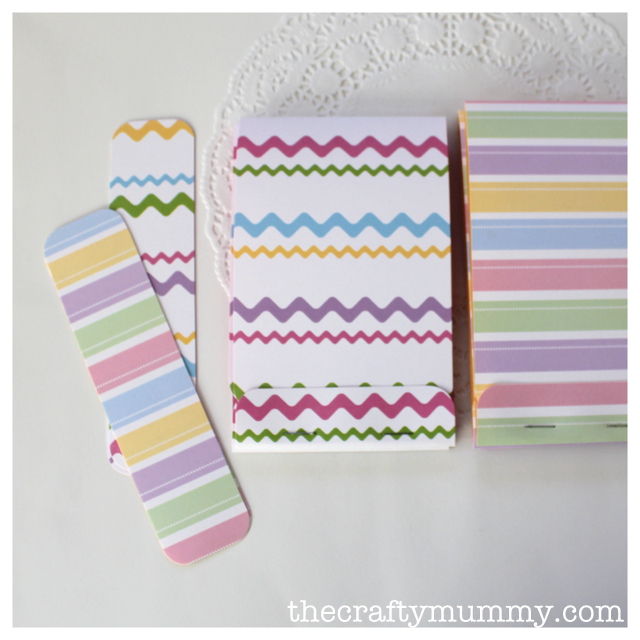
matchbook notebook tutorial

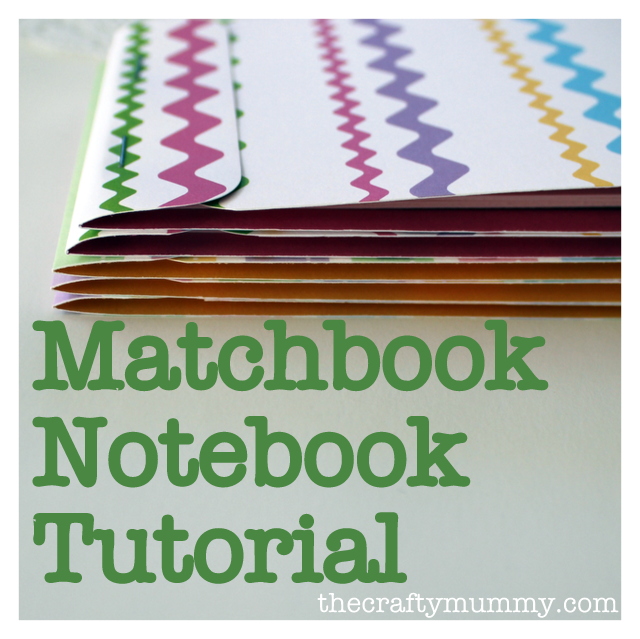
I found I could make 3 notebooks out of each sheet of cardstock with a little leftover. I turned the leftover bits into a couple of bookmarks.
tutorial easy notebook


Filed Under: Crafts, Tutorials Tagged With: Gifts, Notebook, Papercrafts

« Lego Sewing Machine
Top 10 Posts in May »
Disclosure: There are affiliate links in this post.  This just means that if you click through and choose to purchase something I may get a small commission - at no extra cost to you, of course.  This helps me keep the content here at The Crafty Mummy free for everyone.

I love to chat so please leave me a comment or ask a question.

Don't stress if your comment doesn't appear immediately - sometimes I have to moderate comments thanks to spam visitors, but the comments from real readers will always get published. Scroll down to add your thoughts or ask a question.

Comments

  1. SameliasMum says

    June 6, 2012 at 11:42 AM

    I love this idea! What a fantastic gift for a little girl (or boy).
    Thanks for the tute x

    • CraftyMummy says

      June 7, 2012 at 3:12 PM

      Thanks Anorina. I’m intrigued by your blogpost title: Cuzco by Kate Spain… I’ll have to go and look now!

  2. Stacey-Lee says

    June 7, 2012 at 1:21 PM

    What an awesome idea! They definitely would make a great present idea.

    • CraftyMummy says

      June 7, 2012 at 3:12 PM

      Thanks Stacey-Lee. I’m going to make the next lot in more boyish colours

  3. Caitlin says

    June 7, 2012 at 3:01 PM

    Woo Hoo! Guess what, I’ve jumped onto your page, and I can see pictures! Hooray for small miracles! Your little notebooks look so very sweet!

    • CraftyMummy says

      June 7, 2012 at 3:11 PM

      Yay! I’ve been tweaking things so it’s good to know that it is loading better.

      PS loving your FB picture that I see popping up in my sidebar now and again – clever shot!

  4. Paula says

    June 7, 2012 at 7:22 PM

    Cool !!!
    I am gonna try this today….:) Your notebook is so cute. Great post and I am feeling lucky to know about this.
    Thanks a lot for sharing this valuable tutorial.

  5. Amy @ MahliMoo says

    June 10, 2012 at 9:03 AM

    Love these AND I love your new colour scheme!

  6. Kristen S- Craft Gossip says

    June 10, 2012 at 10:40 AM

    These are perfect for summer art inspirations for little ones! We love to spontaneously go on nature walks and draw what we see! Love them!

    http://lessonplans.craftgossip.com/?p=6514

  7. Jessica says

    June 10, 2012 at 11:06 AM

    These are SUPER cute! I will def be adding them to my “to-try” list 😀 TY for sharing!!
    -Jessica
    Sugar in My Grits

  8. K@DragonflyMumma says

    June 10, 2012 at 3:58 PM

    Great idea I’m always looking for little notepads, great way to personalise them too 🙂

  9. Deborah Jennings says

    June 10, 2012 at 11:58 PM

    This Tutorial is just awesome! I can think of a lot of reasons to make these. Grocery lists. Gifts. Errands. You name it. Now to get out the paper, the paper cutter, and the stapler. Our 15 grandchildren will love these!

  10. Ellen says

    June 11, 2012 at 4:53 AM

    perfect for the kids! awesome!

  11. Katy @ Live Laugh Love Craft says

    June 22, 2012 at 10:59 AM

    Featuring you on my blog tonight! Stop by and grab a button if you’d like. 🙂 Thanks for linking up!!

  12. Lynne says

    July 8, 2012 at 10:35 PM

    Gorgeous notebook covers.

  13. Sherie says

    November 13, 2012 at 3:38 AM

    I recently made some of these but I used the paint chip samples from the hardware store and they look pretty good

  14. Pandora's Box says

    April 28, 2013 at 1:21 AM

    Oh, this is so sweet! I really like it and the paper you used is very nice as well!
    Thank you for sharing this tutorial, I think it makes a wonderful gift idea 🙂

    • CraftyMummy says

      April 28, 2013 at 9:37 AM

      Thanks for dropping by! Your baby elephant is gorgeous!

Hi! I’m the CraftyMummy

Tonya is the voice behind The Crafty Mummy. She dabbles in lots of different crafts – patchwork, quilting, cross-stitch, scrapbooking, knitting, crochet and sewing. This is the record of projects she has done, and the projects she dreams of getting to! Read More…

Search

  • Email
  • Facebook
  • Instagram
  • Pinterest
  • Twitter
  • YouTube
Shop my Affiliate Favourites

Fat Quarter Shop for Fabric and More

Grab the Sew Sampler Box Here

AccuQuilt for Cutting Machines and Dies

QuiltyBox for Monthly Treats in the Mail

CreativeBug for Craft Classes

Pretty Darn Cute for Blog Designs like mine

Creative Market for Fonts, Images, Themes and More

OzGameShop for All the Games

Adrift for Fashion you’ll Love

Kindle Unlimited Membership Plans

Kindle Book List

Click to shop my kindle book list
Shop my Amazon Influencer Shop
Join the CrochetU and learn to crochet
New to TheCraftyMummy.com? Click here to see more
Blog Tools I use for TheCraftyMummy.com

Grammarly

Aweber for email newsletter

CoSchedule to stay organised and share

Milotree for social media

Genesis for blog framework

FoodiePro is my theme

Hosting with WPEngine

Powered by

Recent Articles

Disclosure: There are affiliate links on this site. This means that I may get a commission if you choose to purchase after browsing via these links - at absolutely no extra cost to you, of course. I only recommend products which I use and love, or that I think will be quality products that will be useful to my readers. It is the affiliate links in this site that help me keep my tutorials free of charge. Thank you!

Looking for something? Search here:

Copyright 2015 The Crafty Mummy · Built using Genesis Framework & Foodie Pro Theme