The Crafty Mummy

Crafts. Sewing. Quilting. Crochet. Tutorials.

  • Start Here
  • Welcome
    • Subscribe
    • About Me
      • Copyright
      • Disclosure
      • Privacy Policies
    • Advertise
    • Sharing
      • Recommendations
      • Shopping & Coupons
      • Books
  • Explore
    • Crafts
      • Beading
      • Kids
      • Paint
      • Storage
      • Christmas Crafts
    • Sewing
    • Quilting
    • Stitching
    • Crochet
      • Yarn
    • Life
      • Food
      • Organisation
    • Blogging
      • How To
      • Social Media
      • WordPress Plugins
      • Photography
  • Tutorials
    • Tips
  • Shop on Etsy
  • Shop on Redbubble

Bunting Panel Tutorial

by Tonya Grant |Filed Under: Sewing, Tutorials Tagged With: Bunting Get a Weekly Update of all Articles

pink babushka bunting

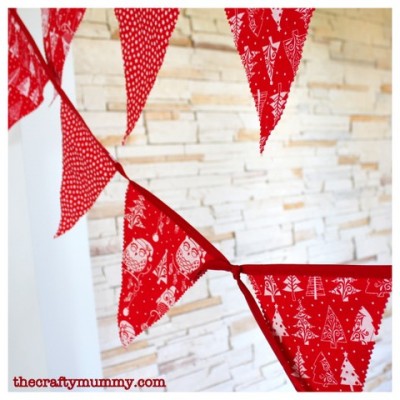
What colour scheme would you choose for a baby girl? Would you go with the traditional pink, or lean towards her bolder cousin, red? Would you steer away from tradition completely and choose blue, or green, or yellow?

My friend went with a pink and white theme for her baby girl party recently. She was planning pink and white food and decorations, and I remembered I had some bunting panels stashed away that might work for her theme.

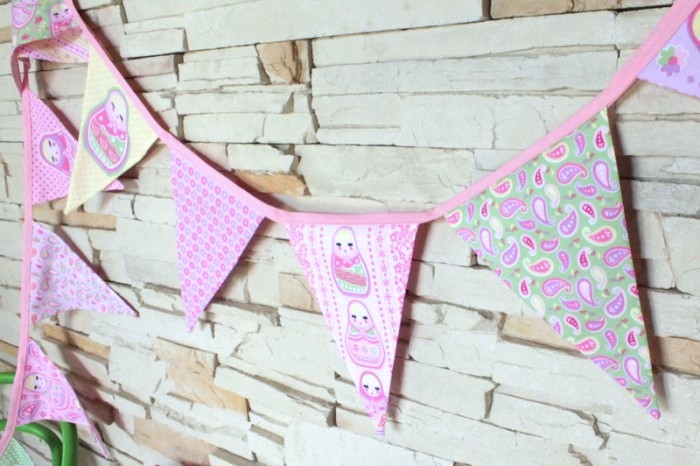
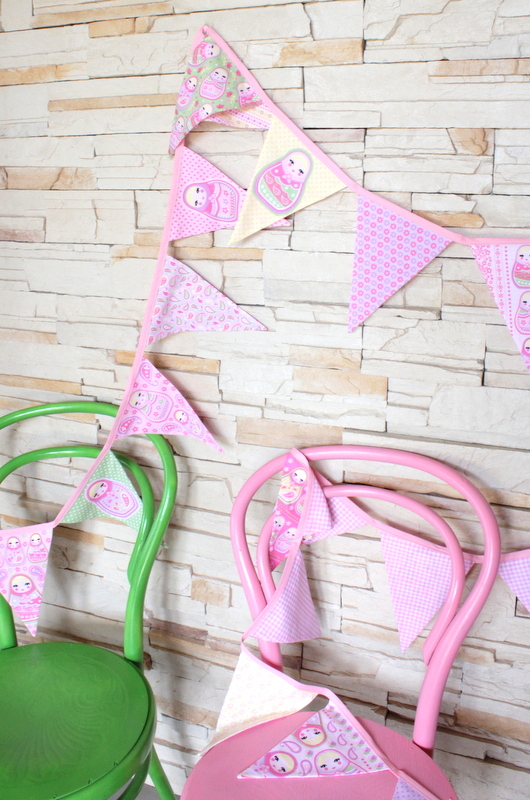
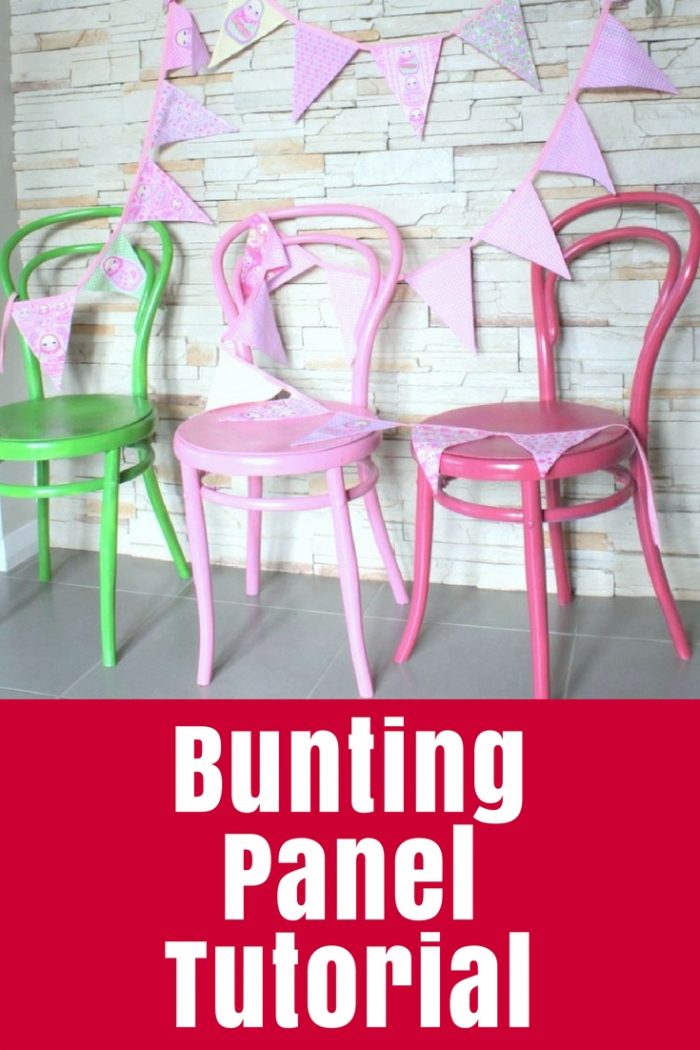
One was various pastel shades with white, and the other panel was adorable babushka dolls in pinks, mauves and lemon. She chose the babushka dolls and it came up beautifully. This bunting was so pretty I kind of didn’t want to give it away! But I know it will be loved and enjoyed more at her house than at mine.

The back of the bunting pieces is a tiny pink and white check which I think came from my mother in law’s stash originally. It is all joined together with pale pink bias binding.

Here’s the quick “how to”…

How to sew a string of bunting or flags from a printed fabric bunting panel - plus links to some clever tips and tricks

What You Need

  • Printed bunting panel – I found my panel at Spotlight
  • Backing fabric enough to match your panel, mine required about 1m
  • Bias binding or ribbon – I used 6m of bias binding tape
  • Usual sewing supplies

What To Do

  • Cut the panel and backing fabric together using this quick tip that I shared the other day – Quick Tip: Cutting Bunting Panels.
  • Putting one panel piece and one backing piece right sides together, sew down one long side to the point and up the other side, lifting your presser foot and leaving your needle down at the point to pivot. Leave the top (short) side of the triangle open.
  • Repeat for all your panels – I chain pieced mine: just sew the first then without cutting the thread, lift the presser foot and gently pull it out from under the needle, then place the next panel under the foot and sew the next one – this saves a lot of cutting and loose threads to trim. Once you have done all of them, snip the little joining threads to separate them.
  • Turn them through and press them – again I wrote a trick for this using a simple tool you can make from cardboard – Sewing Tip: Ironing Edges.
  • Fold your ribbon or bias tape in half lengthways and iron it flat so you have a long folded strip.
  • Slip the raw top edges of your bunting panels into the fold and pin along the strip. Then stitch them into place, cleverly covering the raw edges inside the fold.
How to sew a string of bunting or flags from a printed fabric bunting panel - plus links to some clever tips and tricks


Don’t want to fiddle with turning through the panels? Try this tutorial for raw edged bunting:

Don’t have a printed bunting panel? This tutorial also shows how to cut your own triangles:

bunting tutorial red white Christmas

Looking for smaller bunting? Try this Mini Bunting Tutorial which shows how I cut a printed bunting panel into smaller triangles:

Christmas mini bunting

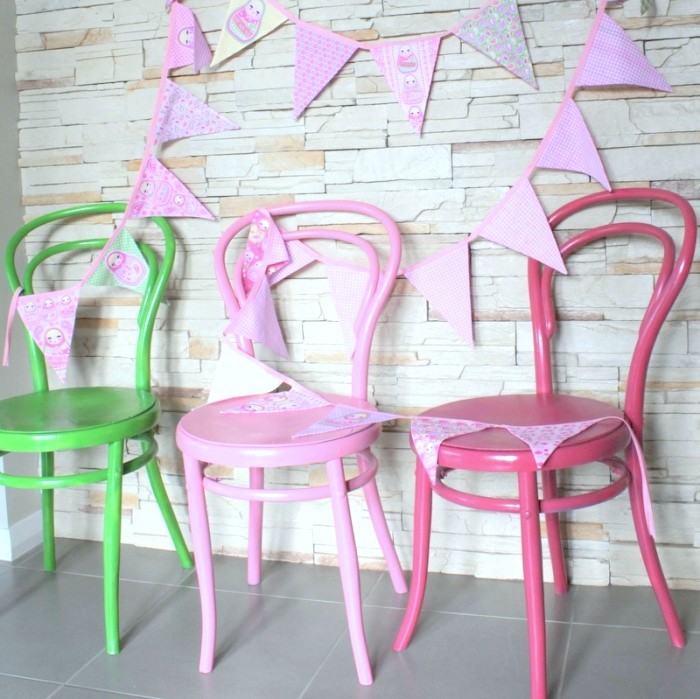
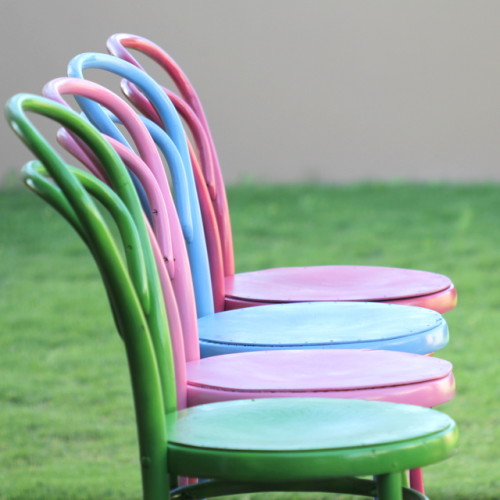
Love my painted chairs? Read about them here:

Painted Chairs with Spray Paint
How to sew a string of bunting or flags from a printed fabric bunting panel - plus links to some clever tips and tricks

Filed Under: Sewing, Tutorials Tagged With: Bunting

« Sewing: Money Bags
Ask a Crafty Question! »
Disclosure: There are affiliate links in this post.  This just means that if you click through and choose to purchase something I may get a small commission - at no extra cost to you, of course.  This helps me keep the content here at The Crafty Mummy free for everyone.

I love to chat so please leave me a comment or ask a question.

Don't stress if your comment doesn't appear immediately - sometimes I have to moderate comments thanks to spam visitors, but the comments from real readers will always get published. Scroll down to add your thoughts or ask a question.

Comments

  1. Jenny says

    March 25, 2015 at 9:48 PM

    I want to prepare something similar but using an Easter theme.

Hi! I’m the CraftyMummy

Tonya is the voice behind The Crafty Mummy. She dabbles in lots of different crafts – patchwork, quilting, cross-stitch, scrapbooking, knitting, crochet and sewing. This is the record of projects she has done, and the projects she dreams of getting to! Read More…

Search

  • Email
  • Facebook
  • Instagram
  • Pinterest
  • Twitter
  • YouTube
Shop my Affiliate Favourites

Fat Quarter Shop for Fabric and More

Grab the Sew Sampler Box Here

AccuQuilt for Cutting Machines and Dies

QuiltyBox for Monthly Treats in the Mail

CreativeBug for Craft Classes

Pretty Darn Cute for Blog Designs like mine

Creative Market for Fonts, Images, Themes and More

OzGameShop for All the Games

Adrift for Fashion you’ll Love

Kindle Unlimited Membership Plans

Kindle Book List

Click to shop my kindle book list
Shop my Amazon Influencer Shop
Join the CrochetU and learn to crochet
New to TheCraftyMummy.com? Click here to see more
Blog Tools I use for TheCraftyMummy.com

Grammarly

Aweber for email newsletter

CoSchedule to stay organised and share

Milotree for social media

Genesis for blog framework

FoodiePro is my theme

Hosting with WPEngine

Powered by

Recent Articles

Disclosure: There are affiliate links on this site. This means that I may get a commission if you choose to purchase after browsing via these links - at absolutely no extra cost to you, of course. I only recommend products which I use and love, or that I think will be quality products that will be useful to my readers. It is the affiliate links in this site that help me keep my tutorials free of charge. Thank you!

Looking for something? Search here:

Copyright 2015 The Crafty Mummy · Built using Genesis Framework & Foodie Pro Theme