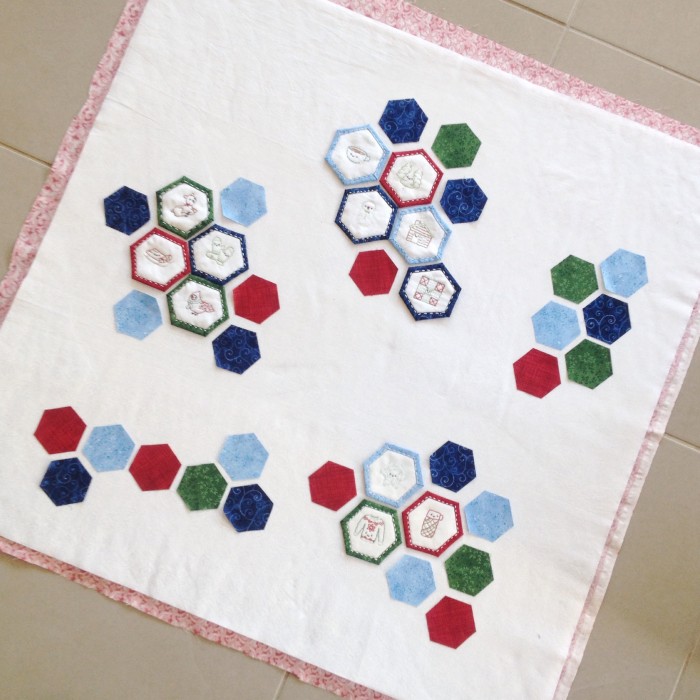
Yay! I finished a quilt! It is a hexagon quilt with a difference.
This quilt has been languishing on my sewing table for a couple of weeks now waiting for me to finish the quilting and then add the binding.
I love it but life has just been a little busy. (Am I the only Mum who finds Term 3 the busiest and toughest school term?)
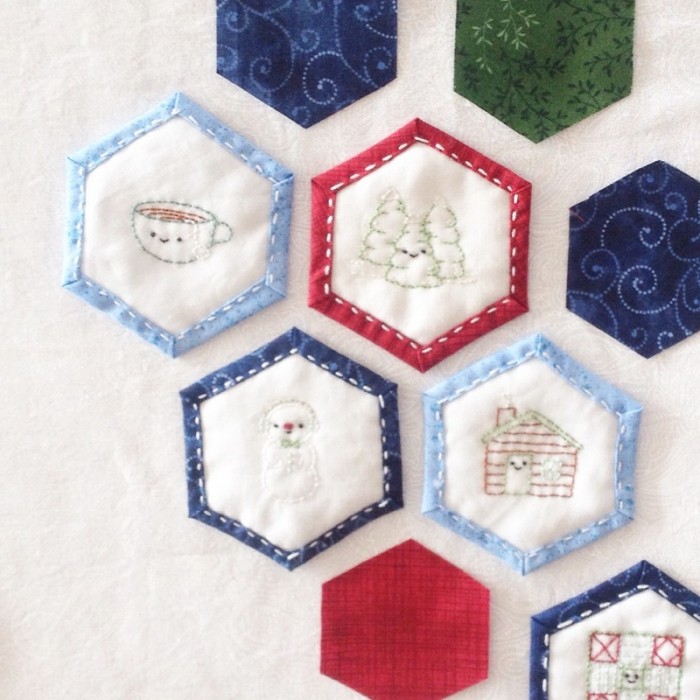
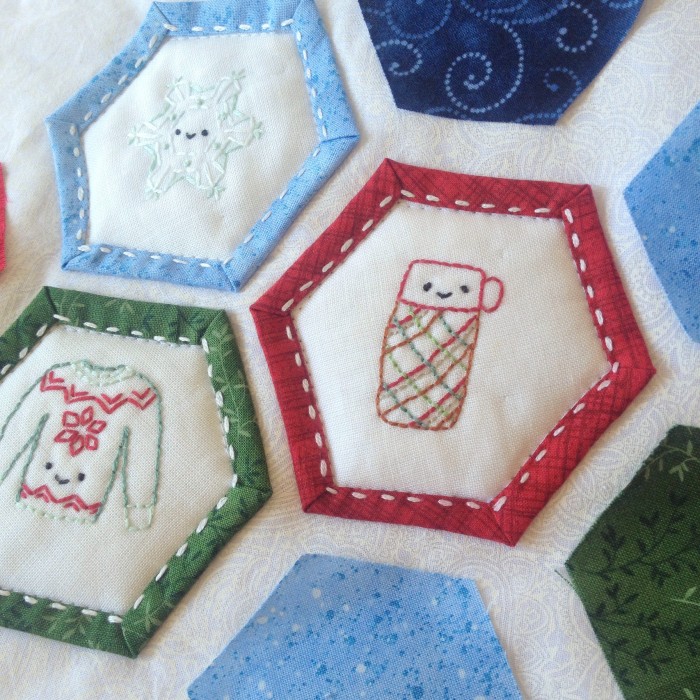
The stitcheries are from the Winter stitchery collection that I stitched mostly last year. I’ve written about them before and I still love them. Mollie Johanson from Wild Olive really does create the most gorgeous patterns!
She has a book now too:
The other hexagons used some of the fabric that I used to border my stitcheries and the hexagon template I received from All Things Acrylic. I had not used acrylic templates before but I loved them for their ease of use and sturdiness.
See my tips for how to use acrylic templates here.
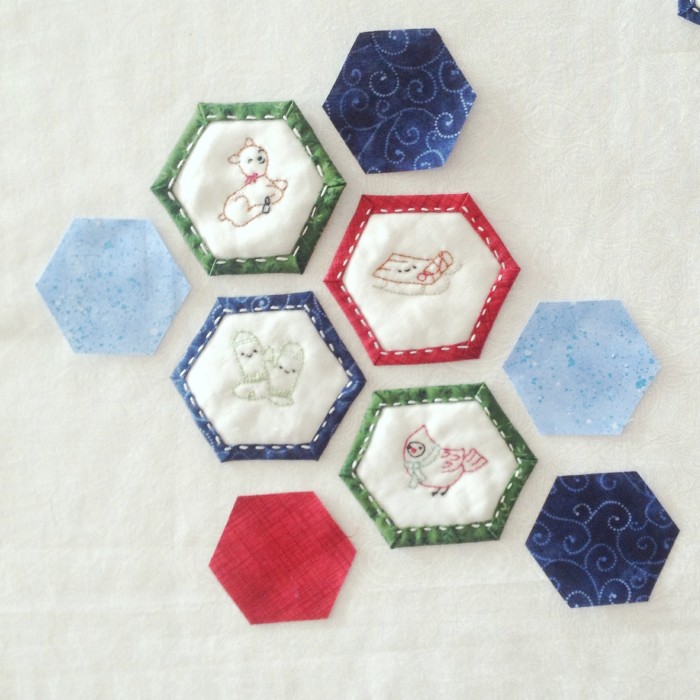
I decided I would do a kind of quilt-as-you-go thing by laying out my backing fabric, batting and white background fabric down, then attaching all my hexagons with stitching through all the layers.
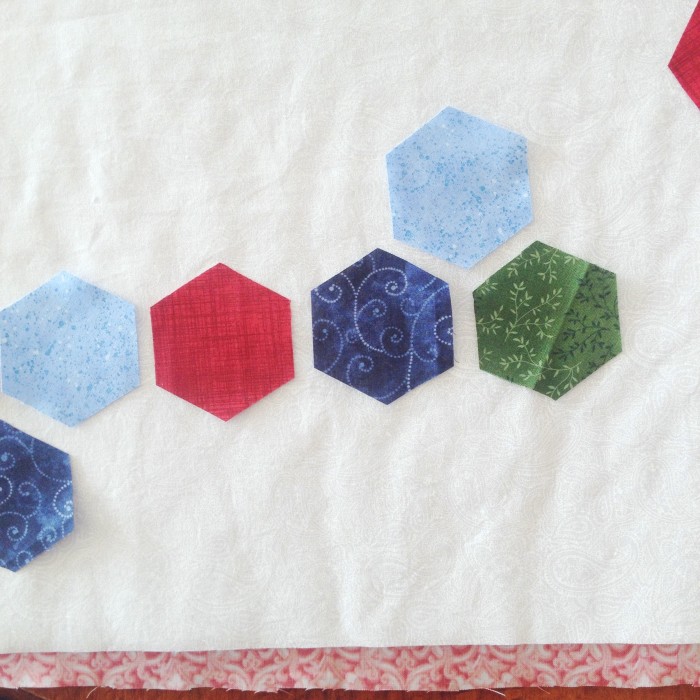
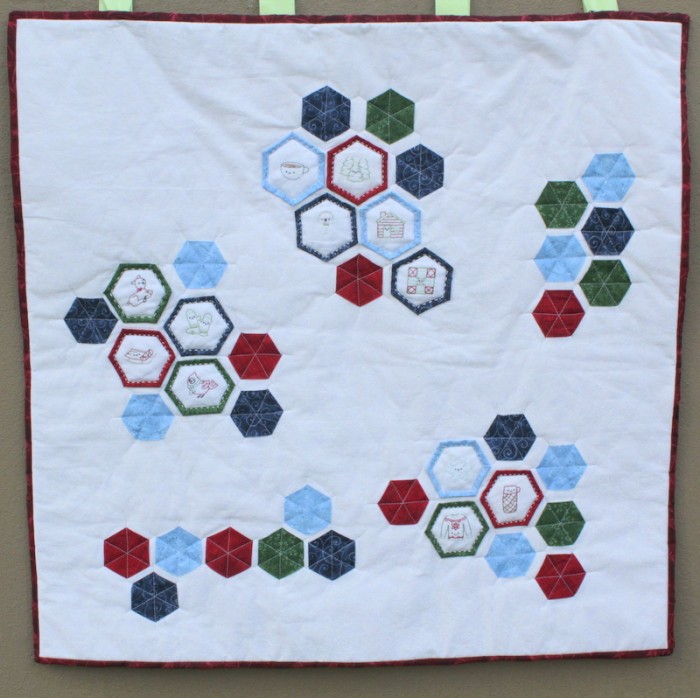
I wanted a sort of random design so I spread the stitched hexagons in small groups then added the fabric hexies to surround them and create some extra groupings. There was a lot of moving things around and walking away for while with this project lying on the floor so I could mull over the placement. Finally I used a little Vliesofix adhesive to hold all the pieces in place so I could take the whole thing to the sewing machine to quilt.
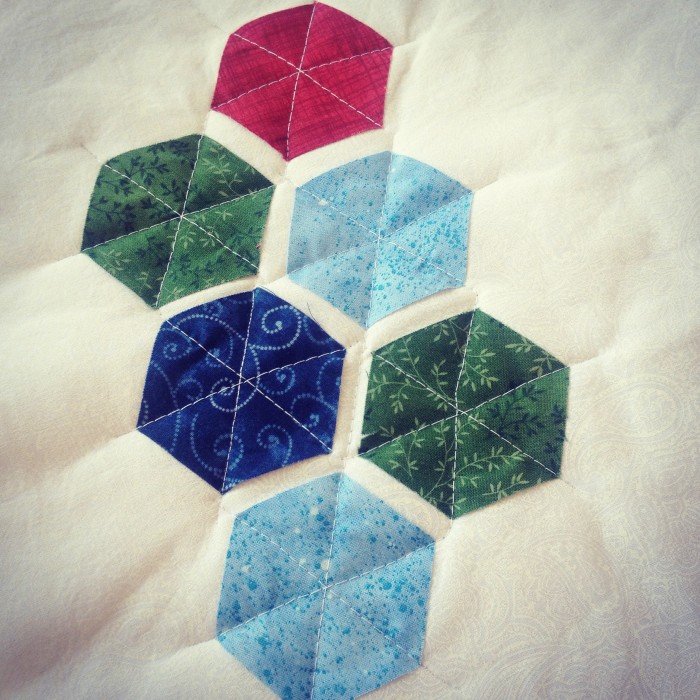
I stitched the stitcheries onto the quilt through all the layers at once just inside the coloured edge of each stitchery. Then I stitched the other hexagons onto the quilt using a long stitch length and a star pattern. Each star starts and ends off the edge of the hexagons with some tiny stitches at 0.5 stitch length on my machine to stop them coming out. The hexagons are raw edged which is fine for a quilt like this which will hang on display rather than being for hands-on use. It won’t get washed often – if at all – so the raw edges will be fine. Not all the quilting is perfect – I didn’t draw line but instead just went for it – but I’m pretty happy with the results. I left all the rest of the background areas un-quilted. Again not something I would do on a quilt that would get washed but for this one, just fine.
Tip: Learn how to start quilting in the middle without making a huge mess here.
The finished quilt is a little over a metre square and will fit nicely on the hanging frame inside my front door. (Currently this quilt is hanging there.) The binding is plain red to create a nice solid border.
So nice to finish a work in progress and have another small quilt to display near my front door.
 New Craftsy Class: Design It, Stitch It: Hand Embroidery, by Jessica Marquez (Affiliate Link)


