Learn how to cut triangles with a square ruler – super easy and you will have perfect accurate triangles for your patchwork or craft projects.
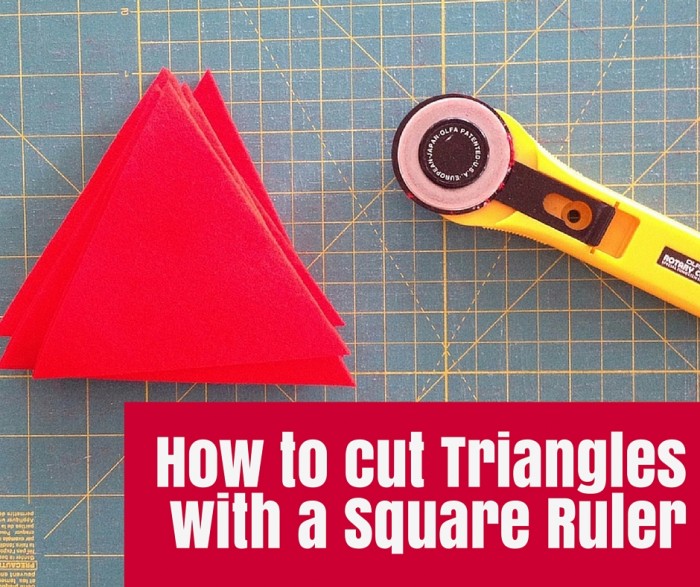
I’ve got a project in my head to make that uses triangles. The perfect triangles that have a 60° angle at each corner.
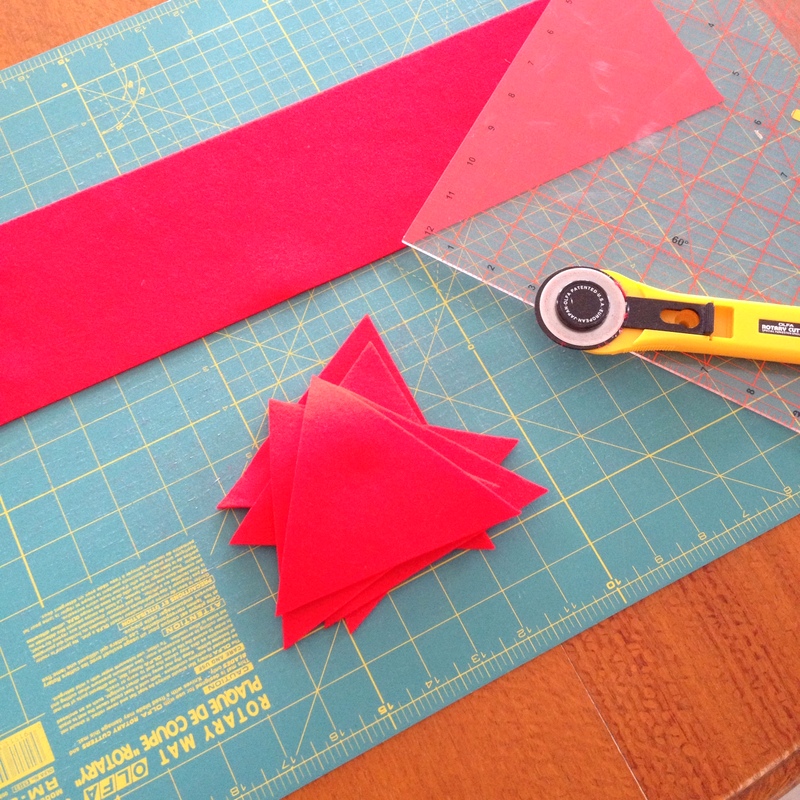
Even though my project will be in red felt, I always cut shapes with my rotary cutter and cutting mat if I can, even when I’m not quilting.
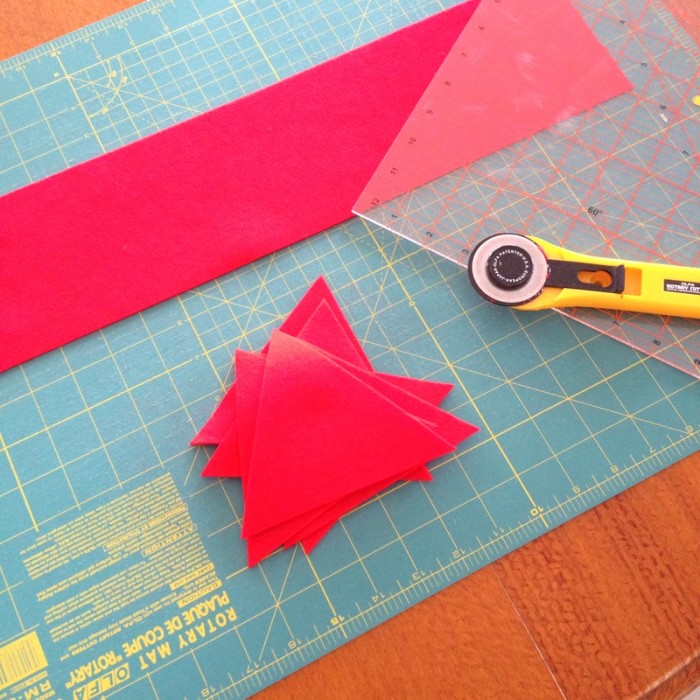
But I don’t have a 60° triangle-shaped template to cut with.
I thought about buying one – it would be handy to have one like this – but then I realised that I really don’t need one.
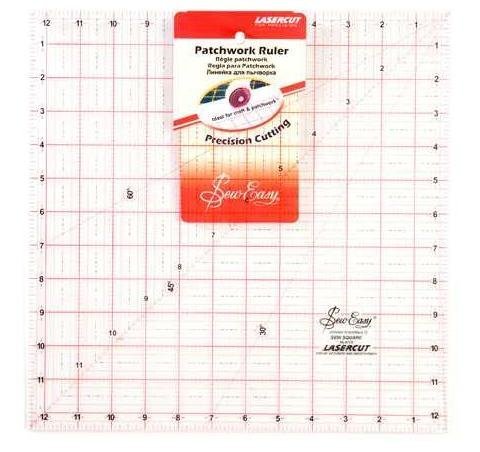
It is quite easy to cut triangles with my 12.5″ square ruler, thanks to the specially marked extra lines. Mine is Sew Easy ruler like the one above.
Here’s how:
Start by cutting a strip of fabric the height that you want the finished triangles to be.
My strips are about 4.5″ or 11.5cm. I used my longer ruler for this so I could cut the whole width in one hit.
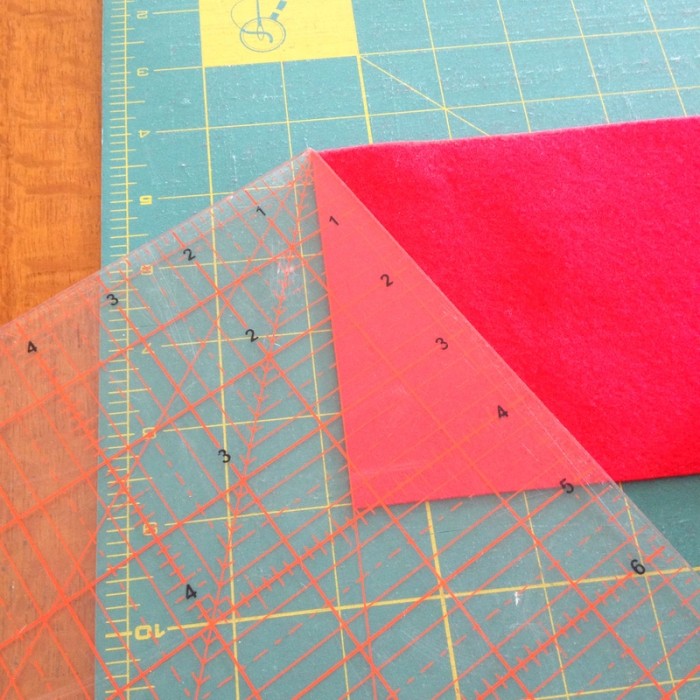
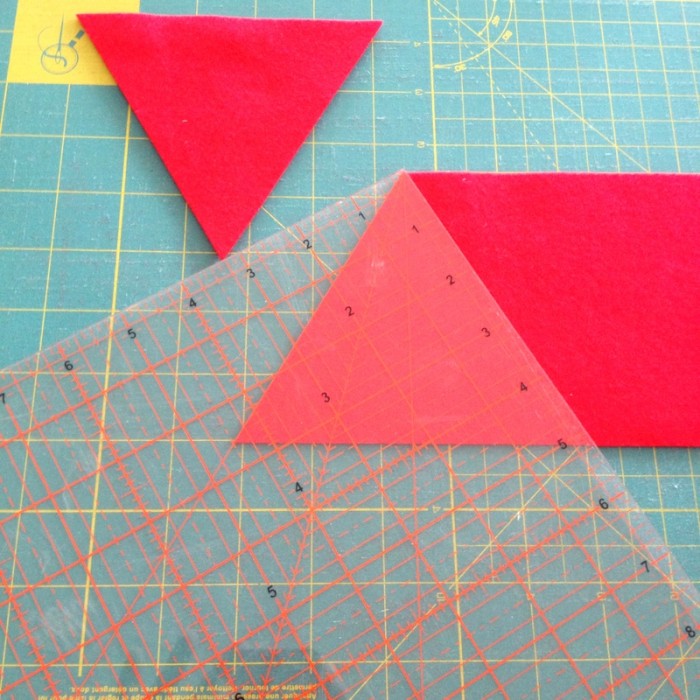
Lay your strip flat and start by trimming off one end. Line up your square ruler with the corner at the top corner of the strip and the 60° line marking on the edge of the strip. See the picture above. Trim along the ruler edge.
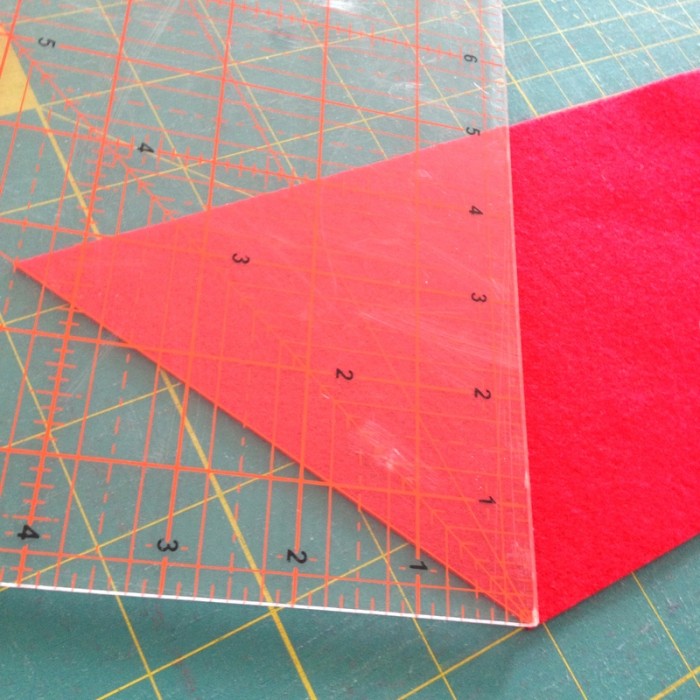
Leaving your fabric in place, turn your ruler around 90° and line up the corner at the bottom corner of your strip. Then line up with 60° line with the cut edge. See how this makes a 60° triangle? Trim to create your first triangle.
Again spin your ruler and line up to cut another triangle.
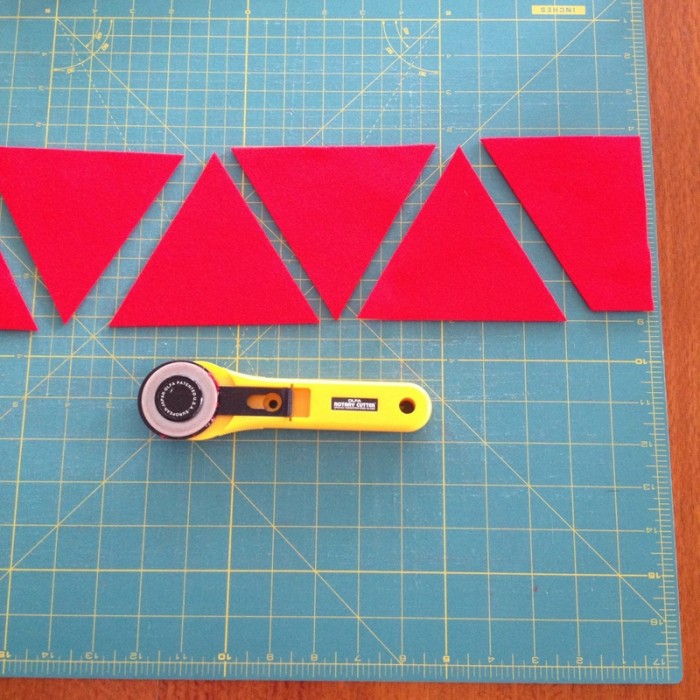
Keep working your way along your strip cutting your triangles until you reach the end.
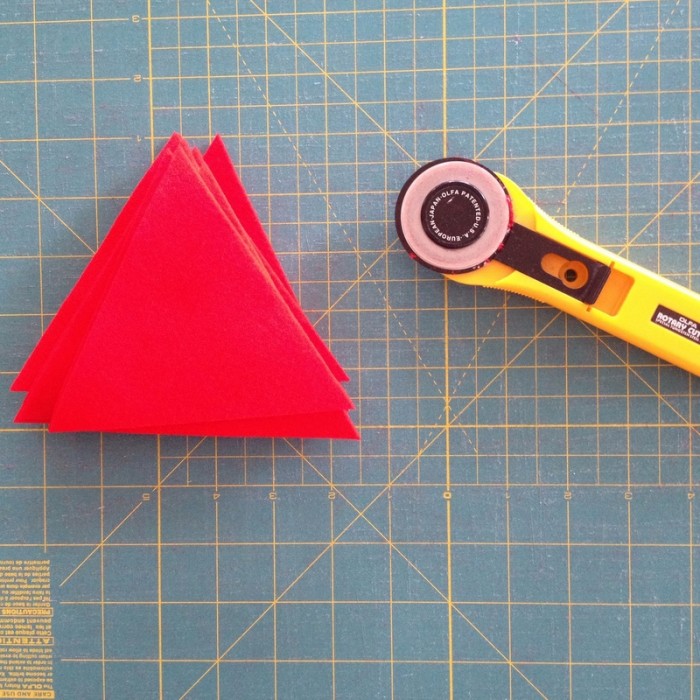
Easy!
The triangles are cut now so I can start on the project. Look out for it soon! It will be a nod to Christmas crafts and decorating.
More triangle projects:



I have really enjoyed looking at the different things to make.. The idea’s for gifts are good when you don’t have much money. I have a sewing machine and some cloth I have had for year’s just needed some ideas and some know how. Thank you so much.