Remember way back at the start of the year when I started the Fat Quarter Shop 1930’s Farmer’s Wife Sew Along? I started making the cutest quilt blocks along with a huge group of others and mine all featured rainbow stripes?
Well, somewhere along the line, life got super busy and I haven’t made any more blocks for ages. But today I get to write another tutorial – yay!
If you’ve missed out on the previous blocks, I’m joining in with the FQS Farmer’s Wife 1930s Sew Along with Angie over at GnomeAngel. We are working our way through this book and making all of the blocks over the course of a year. Mine so far are all featuring my rainbow striped fabric.
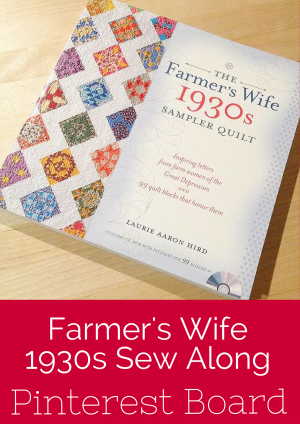
The Farmer’s Wife 1930s Sampler Quilt: Inspiring Letters from Farm Women of the Great Depression and 99 Quilt Blocks That Honor Them by Laurie Aaron Hird for Fons & Porter/F+W; RRP $28.99 – Click here to purchase.
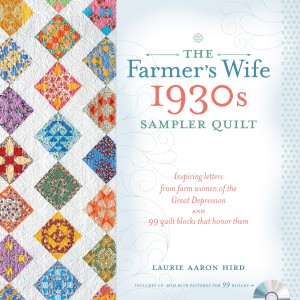
eBook also available: Farmer’s Wife 1930s Sampler Quilt
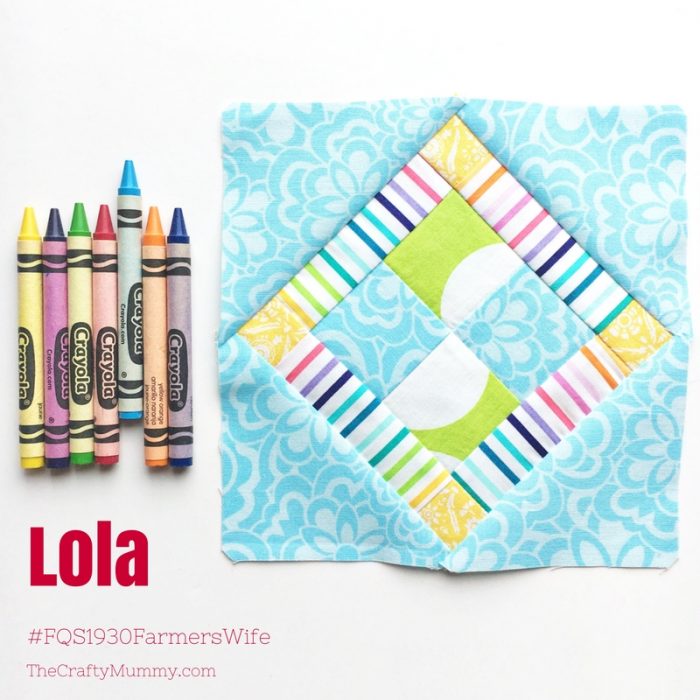
The latest block in the sampler is the Lola Block and it is my turn to share a tutorial with you so here goes.
The Lola block is number 52 in the book and you can find it on page 211. You will find it shared on social media using the hashtag #FW52Lola.
Cutting
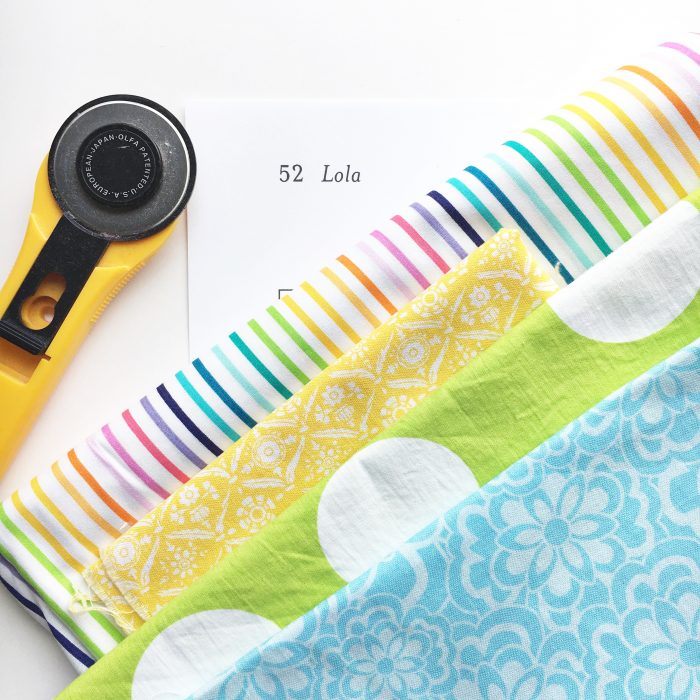
The pieces are cut according to the book (I can’t share exact sizes with you) and if you’re using Marti’s templates, you can use her chart to work out which templates to use. Find the link to the Conversion Chart in Marti’s blog post here.
The pieces for this block are deceptively simple. I used the acrylic template from Set A to cut the triangles, then used a 6.5″ quilt ruler to cut the squares and rectangles. I cut mine slightly larger than required then trimmed them using the millimetre measurements suggested in Marti Michell’s notes. My pieces are a mixture of light blue, yellow and green with my signature rainbow stripes.
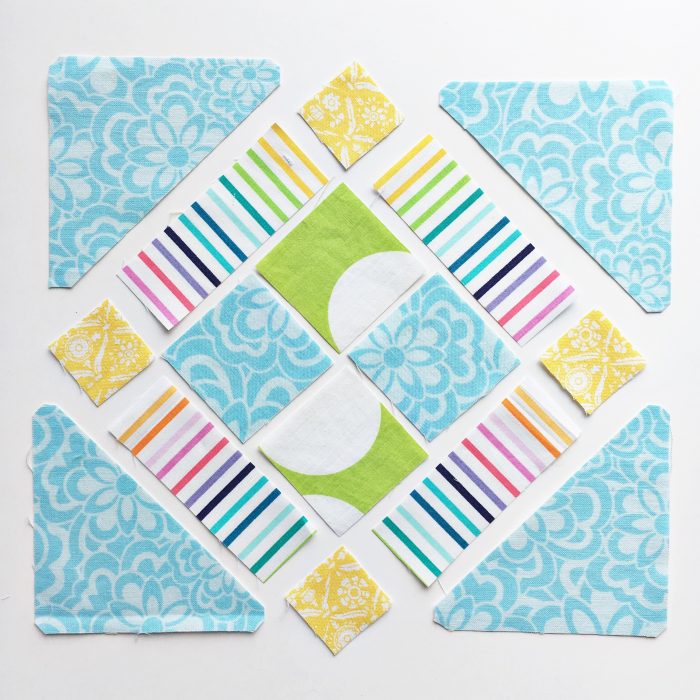
Piecing
This block is like a smaller square in the middle which gets turned on pointe when the triangles are added to make a larger square.
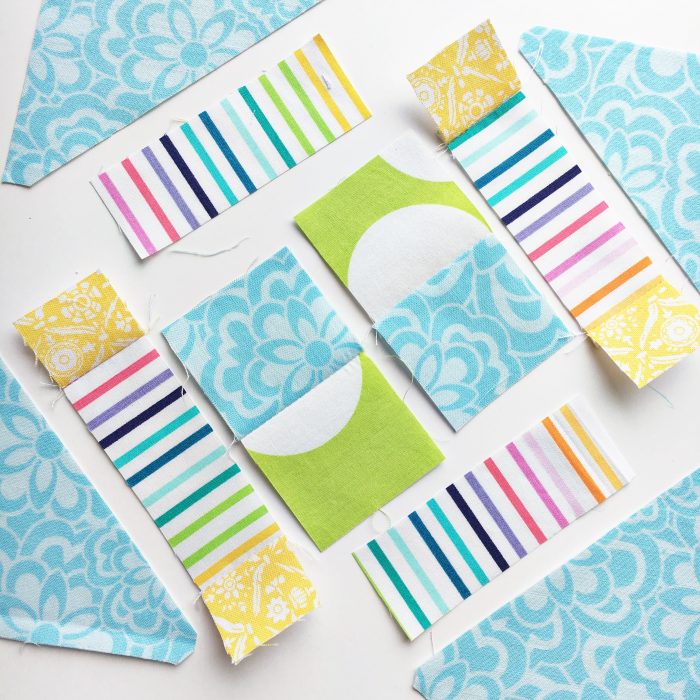
I started with the centre squares. Join them in pairs, pressing the seams towards the same coloured piece – mine are pressed towards the blue squares.
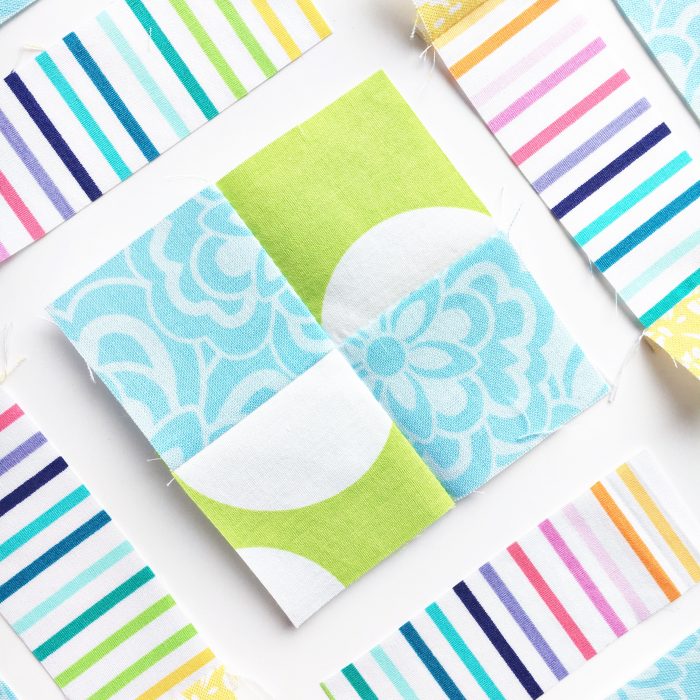
Then join the pairs using the seams to nest them together for a super accurate centre seam.
Read more about nesting seams here.
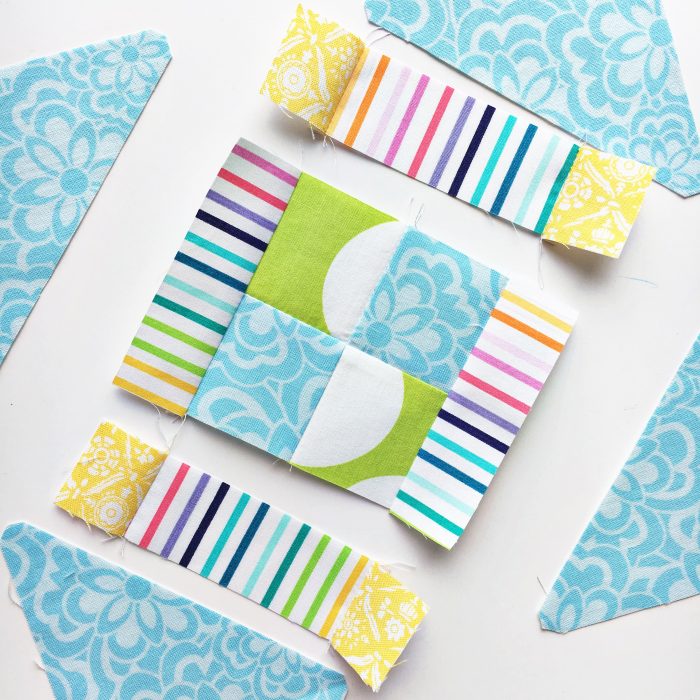
While I was at the sewing machine, I also joined two small yellow squares the ends of each of two striped rectangle pieces.
Once you’ve pressed the seams, add the last two rainbow striped rectangles to opposite sides of the inner squares.
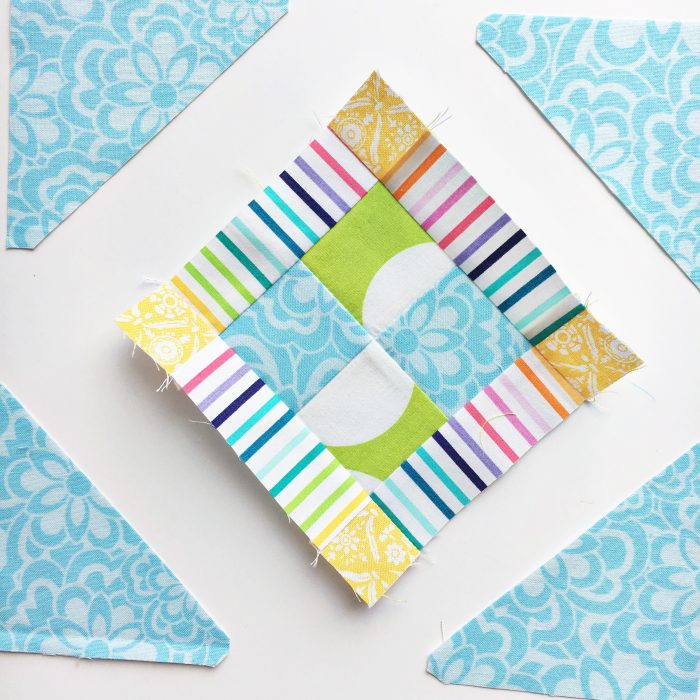
At this point, I pressed the seams of the yellow squares towards the rainbow pieces, and the other rainbow rectangles seams away from the inner squares so that these seams would nest together as I joined the three “rows” of the square together.
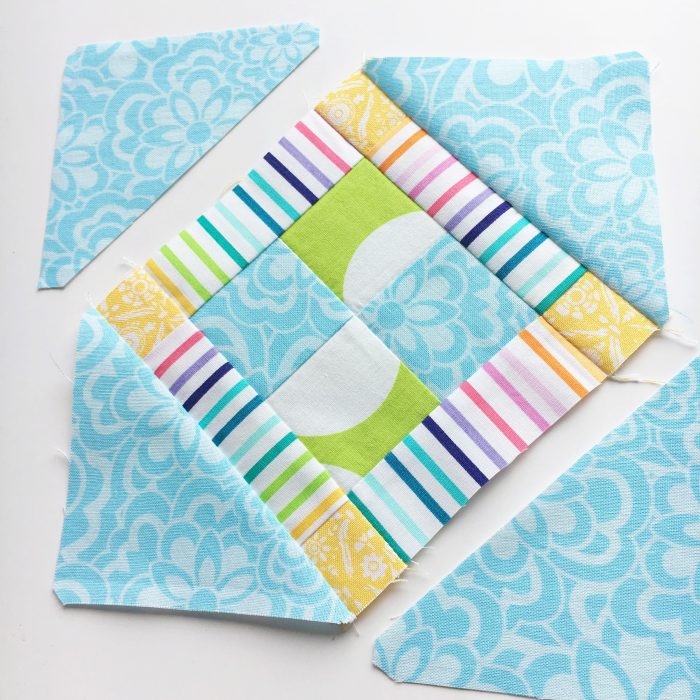
Finally, add two triangles to opposite sides of your square. The notched corners from the MM templates will make these triangles super simple to line up. Press the seams.
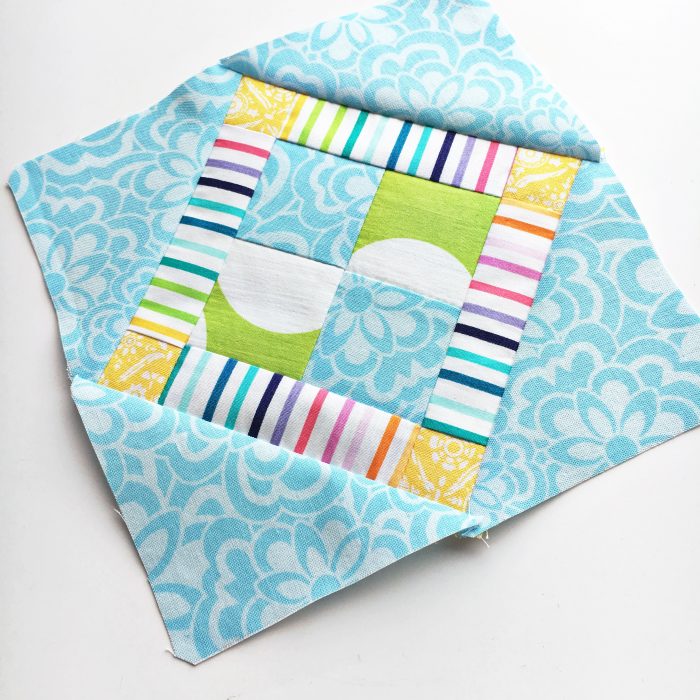
Then add the last two triangles to the other two sides. A final press and you’re all done!
My Tips
- Take care with the cutting step. With such small pieces, any inaccuracy will seem larger once you start piecing.
- Use a very scant quarter inch seam – again because of the small pieces.
- I used feature fabric in the rectangle pieces but you could fussy cut something cute into one of the central squares – or all of them!
- If you want a bigger feature piece, you could add it in one or more of the triangle pieces.
More Tutorials:
Make sure you check out the hashtags on Instagram (#FQS1930FarmersWife and #FW52Lola) and visit the Facebook group. Thanks so much Angie from Gnome Angel for organising the #FQS1930FarmersWife Sew Along!
See the rest of my Farmer’s Wife Blocks here.
See more Farmer’s Wife posts via my Pinterest Board:
