The Crafty Mummy

Crafts. Sewing. Quilting. Crochet. Tutorials.

  • Start Here
  • Welcome
    • Subscribe
    • About Me
      • Copyright
      • Disclosure
      • Privacy Policies
    • Advertise
    • Sharing
      • Recommendations
      • Shopping & Coupons
      • Books
  • Explore
    • Crafts
      • Beading
      • Kids
      • Paint
      • Storage
      • Christmas Crafts
    • Sewing
    • Quilting
    • Stitching
    • Crochet
      • Yarn
    • Life
      • Food
      • Organisation
    • Blogging
      • How To
      • Social Media
      • WordPress Plugins
      • Photography
  • Tutorials
    • Tips
  • Shop on Etsy
  • Shop on Redbubble

How to Make Candles at Home

by Tonya Grant |Filed Under: Crafts, Tutorials Tagged With: Guest Post Get a Weekly Update of all Articles

Today I’m excited to welcome Jen Donald. She says “I am an avid learner and lover of all things craft with a passion for creating the weird and wonderful. There is something very satisfying when making something by hand.” I’m looking forward to seeing Jen’s Etsy store open soon, but in the meantime, let’s learn how to make candles.

Bring Spring into your home with a DIY scented candle

Spring, the most optimistic time of the year.

The days get longer, the sun sets later in the evening and the afternoons become balmy and relaxing.

This brings the flowers into bloom and creates the perfect atmosphere of sweet smells carried by the warm afternoon breeze.

What better time to transform your home and bring the smell of spring inside your home with a scented soy candle.

That’s exactly what I did and I’m loving it.

Here’s how you can do it at home too…

What you’ll need:

  • Containers made to withstand heat (I chose clear glass containers)
  • Wick stickers
  • Cotton wicks
  • Thermometer
  • Pouring jug
  • Wick holder
  • English Garden fragrance oil
  • Soy wax flakes

All candle supplies can be found online. I managed to source them locally from Crafty Candle Supplies, who had the containers I liked as well as the equipment I needed.

When looking for the perfect scent for spring I went with English Garden, as this captures all the range of flowers you smell at spring time.

Once you have all the necessary equipment you can begin making the soy candle following the steps below.

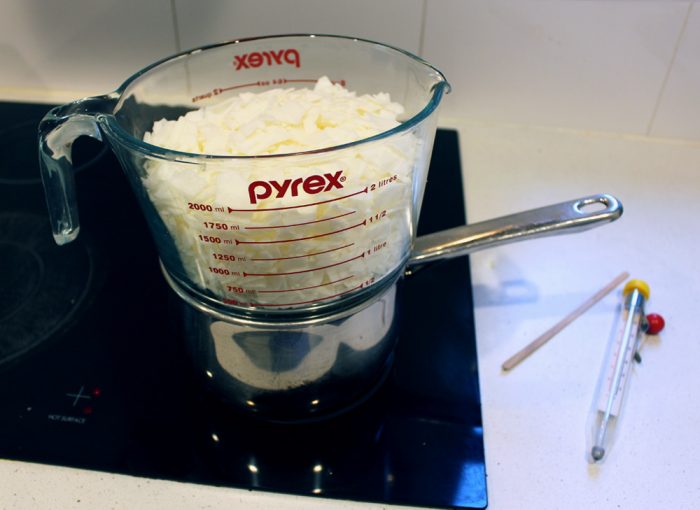
Step 1: Melt the Wax

Using the double-boiler method, melt the wax over a simmering pot. I found my Pyrex jug worked best for holding the wax to melt because it allows for easy handling.

To measure out the amount of wax needed use this formula.

Volume of the container (ml) x 0.85 = Soy Wax (g)

If you don’t have scales handy then a quick way to calculate the wax required is simply using the container to measure two full scoops of unmelted wax.

When the wax melts down this should roughly fill the container.

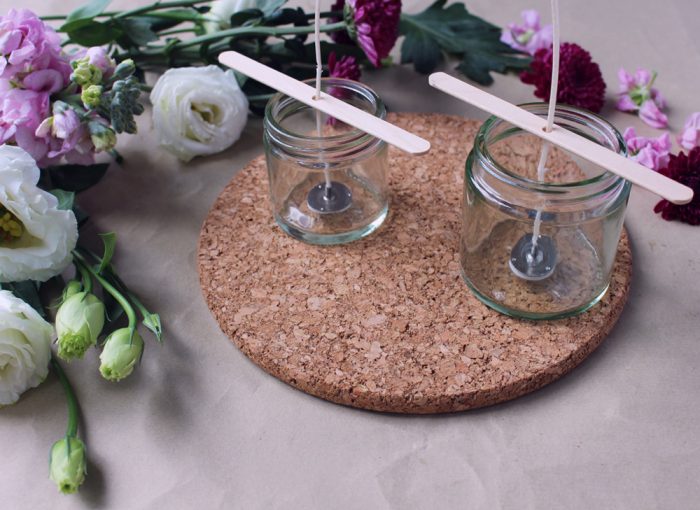
Step 2: Prepare the Container

Place the wick in the centre of the candle using the wick sticker to hold it in place. Once the wick is secured in the container, use the wick holder to hold it in place.

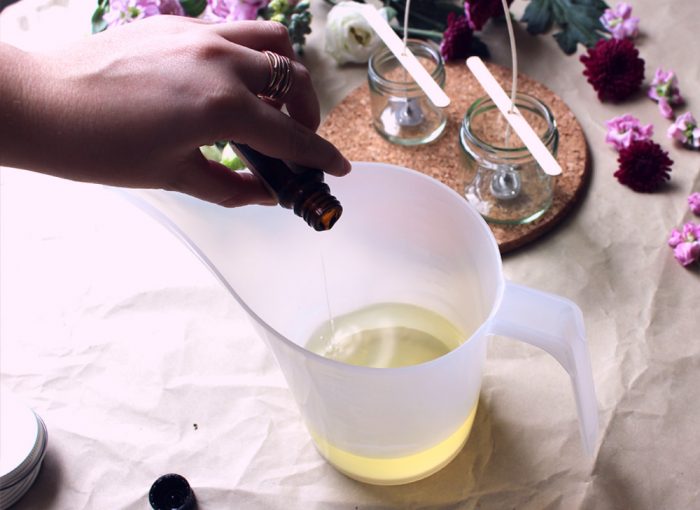
Step 3: Add the Fragrance Oil

Once the wax has reached 80 degrees Celsius, take the wax off the heat and transfer it into the pouring jug. After transferring the wax to a pouring jug, add the fragrance oil and stir for about 2 minutes.

Add between 6-10% fragrance oil to grams of wax melted.

To calculate this simply follow the formula below.

Soy Wax (g) x 0.06-0.10 = Fragrance Oil (ml)

If you do not know the volume of wax then simply calculate 5-8% of the volume of the container.

Container (ml) x 0.05-0.06 = Fragrance Oil (ml)

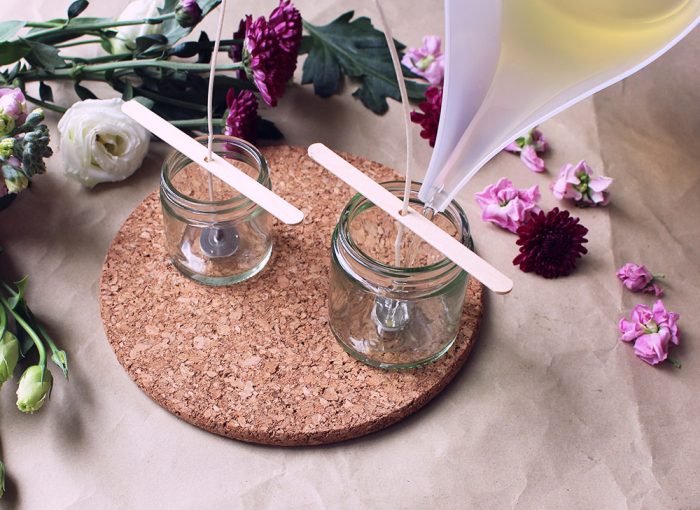
Step 4: Pour the Candle

When the wax has cooled to 55 degrees Celsius, pour into the container.

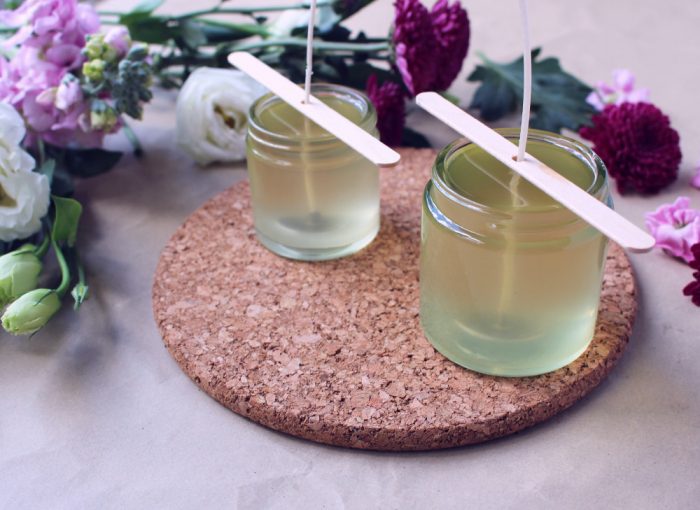
Step 5: Let the Candle Set

Leave the candles to cool and set over 24 hours.

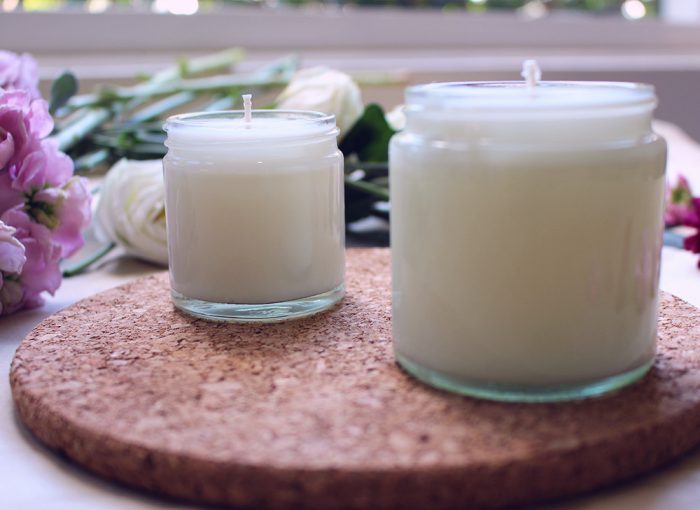
There you have it, a beautiful spring scented soy candle.

Thank you so much, Jen. I’m keen to have a try myself now!

If you’d like to share a tutorial here on TheCraftyMummy.com,  check out my Guest Post Guidelines here.

If you've ever wanted to know how to make candles at home then my guest, Jen Donald, has the perfect tutorial for you. She makes it look easy!

Filed Under: Crafts, Tutorials Tagged With: Guest Post

« Cool Origami for Kids
10 Online Sewing Classes for Beginners »
Disclosure: There are affiliate links in this post.  This just means that if you click through and choose to purchase something I may get a small commission - at no extra cost to you, of course.  This helps me keep the content here at The Crafty Mummy free for everyone.

I love to chat so please leave me a comment or ask a question.

Don't stress if your comment doesn't appear immediately - sometimes I have to moderate comments thanks to spam visitors, but the comments from real readers will always get published. Scroll down to add your thoughts or ask a question.

Comments

  1. Stephanie says

    April 26, 2017 at 10:03 AM

    HI ,I’m having trouble figuring out what size wicks I should use for my candles.
    I’m a beginner and I haven’t been able to make any candles because of the wicks.
    Thanks

  2. Sophia says

    June 29, 2020 at 9:05 PM

    This has been so helpful, I’ve just began making my own candles. Can’t wait to use your measuring ratios.

  3. Sarah says

    August 20, 2020 at 10:53 PM

    What happens if your candle gets a sink hole or cracks?

Hi! I’m the CraftyMummy

Tonya is the voice behind The Crafty Mummy. She dabbles in lots of different crafts – patchwork, quilting, cross-stitch, scrapbooking, knitting, crochet and sewing. This is the record of projects she has done, and the projects she dreams of getting to! Read More…

Search

  • Email
  • Facebook
  • Instagram
  • Pinterest
  • Twitter
  • YouTube
Shop my Affiliate Favourites

Fat Quarter Shop for Fabric and More

Grab the Sew Sampler Box Here

AccuQuilt for Cutting Machines and Dies

QuiltyBox for Monthly Treats in the Mail

CreativeBug for Craft Classes

Pretty Darn Cute for Blog Designs like mine

Creative Market for Fonts, Images, Themes and More

OzGameShop for All the Games

Adrift for Fashion you’ll Love

Kindle Unlimited Membership Plans

Kindle Book List

Click to shop my kindle book list
Shop my Amazon Influencer Shop
Join the CrochetU and learn to crochet
New to TheCraftyMummy.com? Click here to see more
Blog Tools I use for TheCraftyMummy.com

Grammarly

Aweber for email newsletter

CoSchedule to stay organised and share

Milotree for social media

Genesis for blog framework

FoodiePro is my theme

Hosting with WPEngine

Powered by

Recent Articles

Disclosure: There are affiliate links on this site. This means that I may get a commission if you choose to purchase after browsing via these links - at absolutely no extra cost to you, of course. I only recommend products which I use and love, or that I think will be quality products that will be useful to my readers. It is the affiliate links in this site that help me keep my tutorials free of charge. Thank you!

Looking for something? Search here:

Copyright 2015 The Crafty Mummy · Built using Genesis Framework & Foodie Pro Theme