Disclosure: This project was sponsored by Fat Quarter Shop – Thank You!
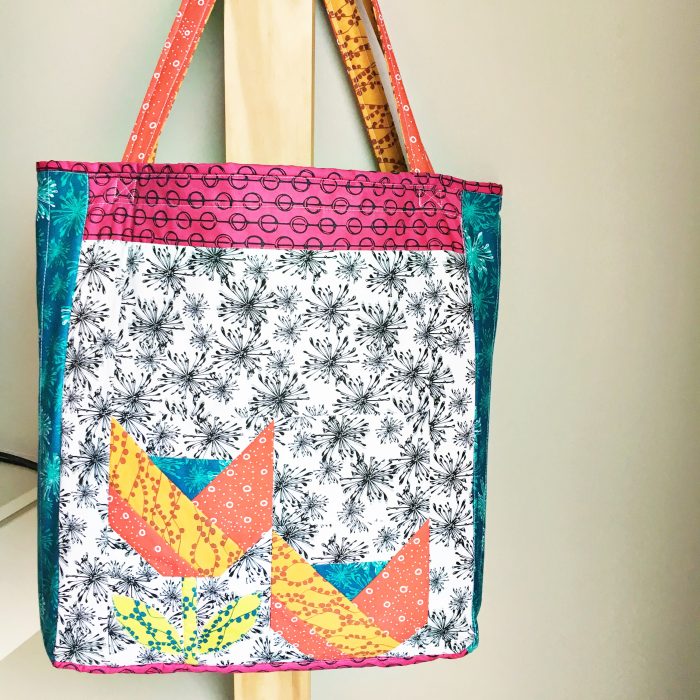
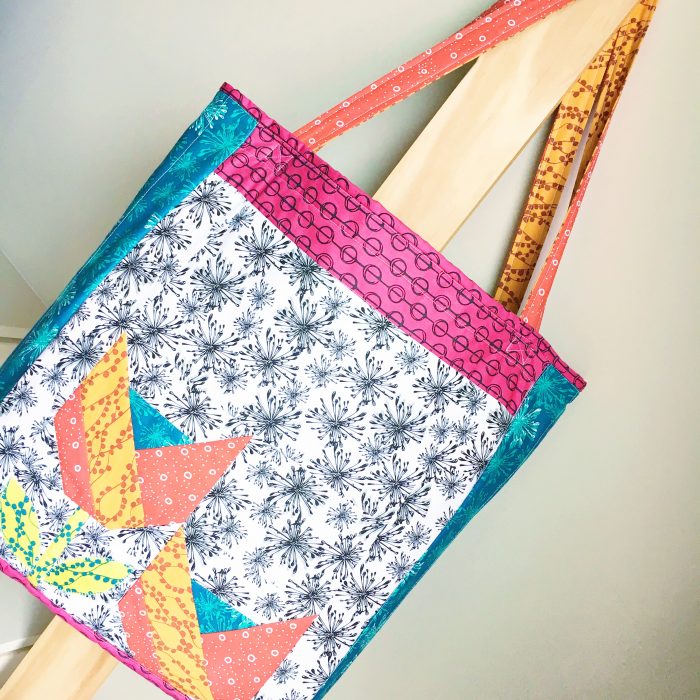
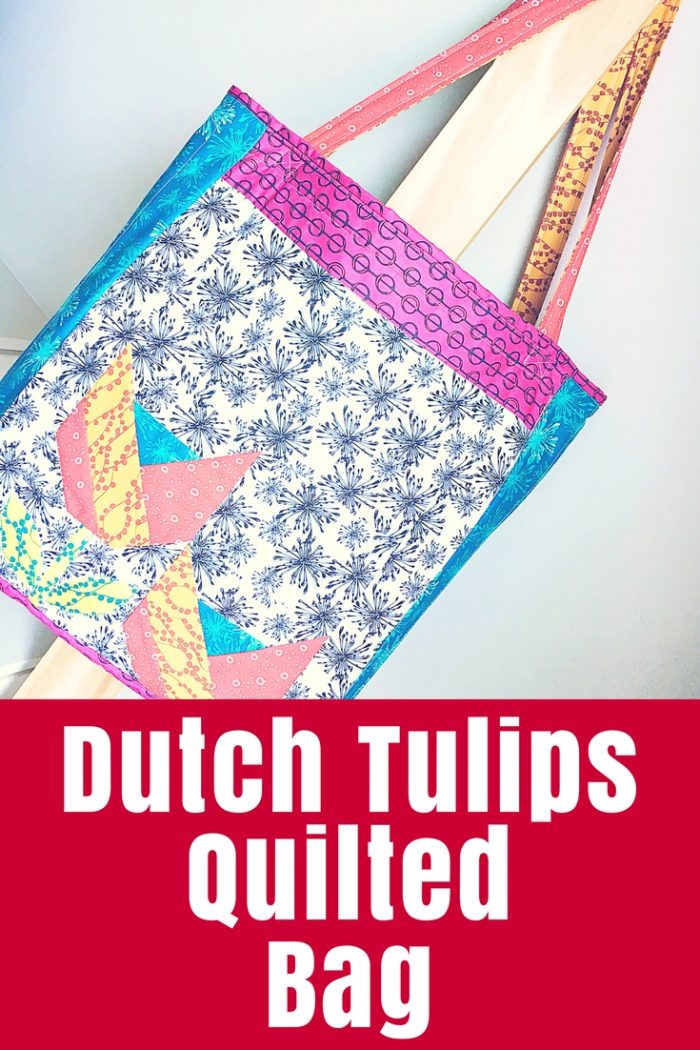
In the midst of rainy cyclone weather here in Queensland, I’ve been sewing Dutch Tulips! These beauties are a new pattern from It’s Sew Emma and Fat Quarter Shop is having a quilt along to make them. Instead of a whole quilt I’ve made my tulips into a quilted bag and today I will share some guidelines so you can make one too.

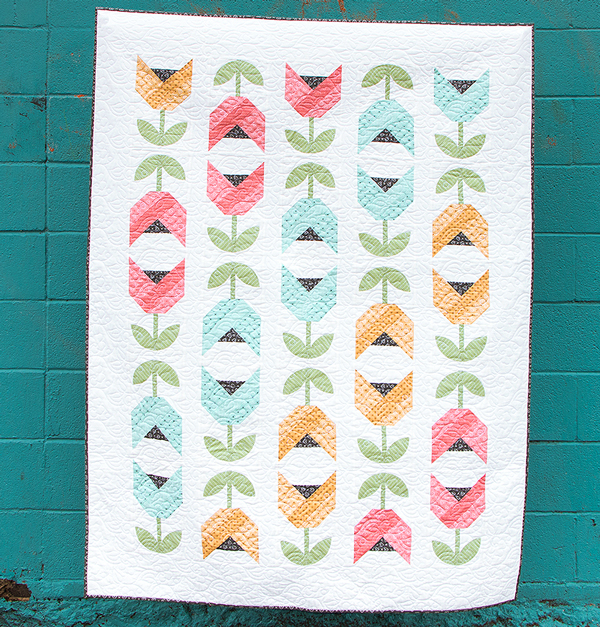
The whole quilt pattern is so pretty! The sample made is pretty pastels just screams Spring but I chose some bolder colours for mine. My fabric is a fat quarter bundle called Handmaker by Natalie Barnes for Windham Fabrics. I used 8 of the fat quarters plus some backing fabric from my stash.
What You Need to make my bag
- Dutch Tulips pattern from Fat Quarter Shop
- 8 fat quarters of fabric
- 1.5m approx. of backing fabric for inside the bag
- 1m approx. quilt batting
- usual cutting and sewing supplies
What To Do
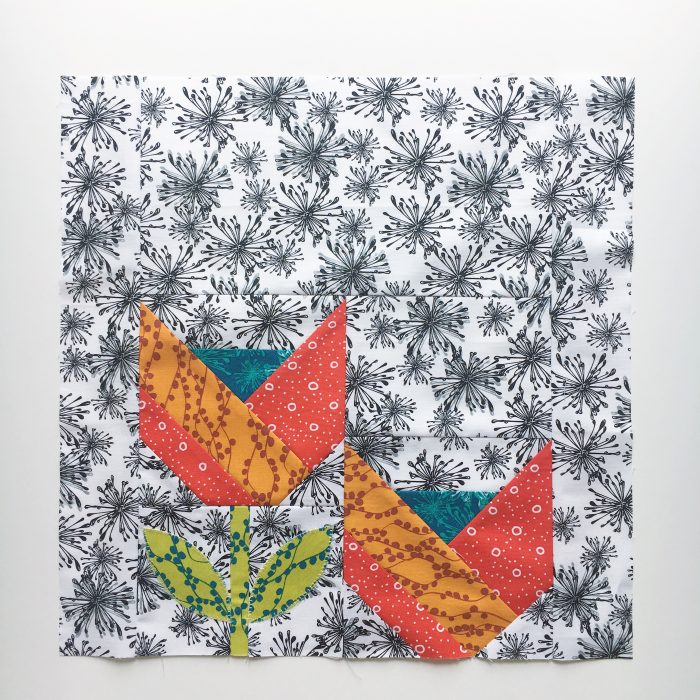
Start by piecing 4 tulips using Its Sew Emma’s Dutch Tulips pattern. Two tulips will need stems and leaves but the other two don’t.
Here’s a cutting guide for the 4 tulips:
- Piece A: cut 4 – background for stem
- Piece B: cut 8 – background
- Piece C: cut 4 – background
- Piece G: cut 2 – blue centres
- Piece I: cut 2 – red petals
- Piece J: cut 4 – red small petals
- Piece K: cut 4 – orange petals
- Piece L: cut 2 – green stems
- Piece M: cut – green leaves
I also cut some extra background pieces to make the rest of my bag panel:
- 4.5″ x 6.5″ piece – cut 2 – let’s call this Extra Background 1 (EB1)
- 6.5″ x 12.25″ piece – cut 2 – EB2
- 2.5″ x 16.5″ piece – cut 4 – EB3
Finally, you’ll need some more coloured pieces to finish off the bag:
- 3″ x 16.25″ piece – cut 2 – pink/purple – top of bag panel
- 5″ x 16.25 piece – cut 1 – pink/purple – bag base
- 5″ x 16.5 piece – cut 2 – blue – bag sides
- 2″ x 35″ piece – cut 4 – red & orange – bag handles
- 2.5″ x 50″ piece – cut 1 – pink/purple – top edge binding
Note: I joined pieces together to create the length for the bag handles and the binding.
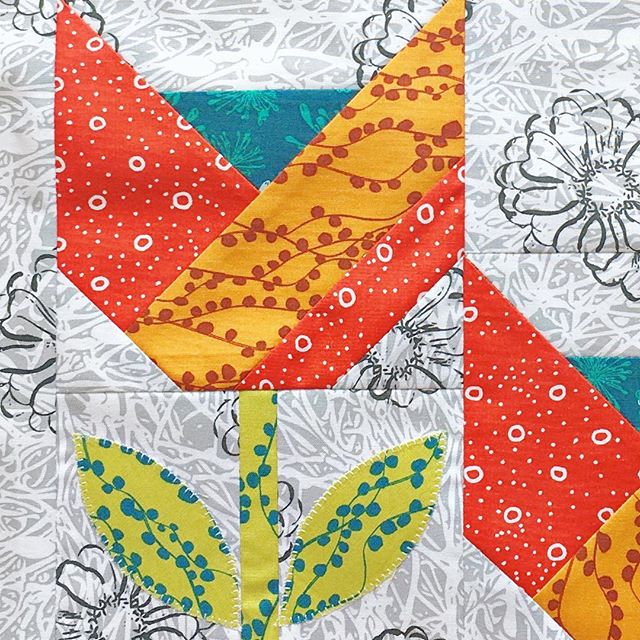
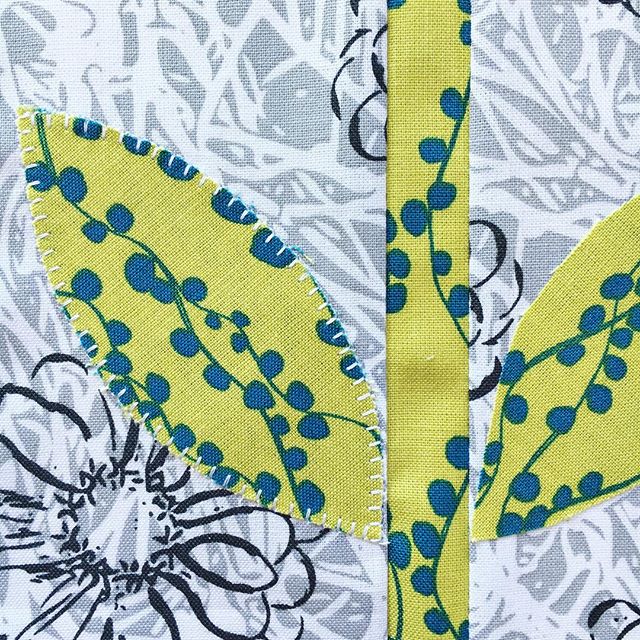
Complete the 4 tulips following the pattern. I machine appliqued the leaves using a small blanket stitch after adhering them with iron on Vliesofix.
To finish the bag panels – create two of these the same:
- Join EB1 to the top of the tulip without a stem. Press seams.
- Join the tall tulip and the short tulip together side by side. Press seams.
- Next join EB2 to the top of this unit. Press seams.
- Join two EB3 strips to either side of the unit. Press seams.
- Finally, add the pink/purple 3″ x 16.25″ piece to the top of the unit. Press seams.
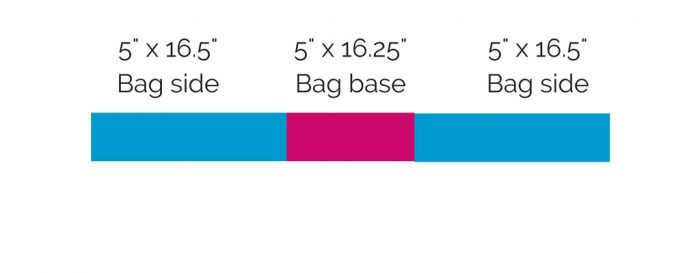
Join the base of the bag to the two sides of the bag creating a long strip 5″ wide. It will look something like this:
Cut backing fabric and batting to match your long base-sides piece and your two bag panels.
Baste and quilt these as desired. I quilted straight lines along the length of the sides and base.
I quilted straight lines along the length of the sides and base. On my panels, I quilted around the tulips then added some extra quilted lines across the upper section of the panel to hold it all together.
With right side together, join the three quilted panels together. You will sew the long strip to three sides of one bag panel, then the other. I used my overlocker (serger) for this step to finish the seams at the same time.
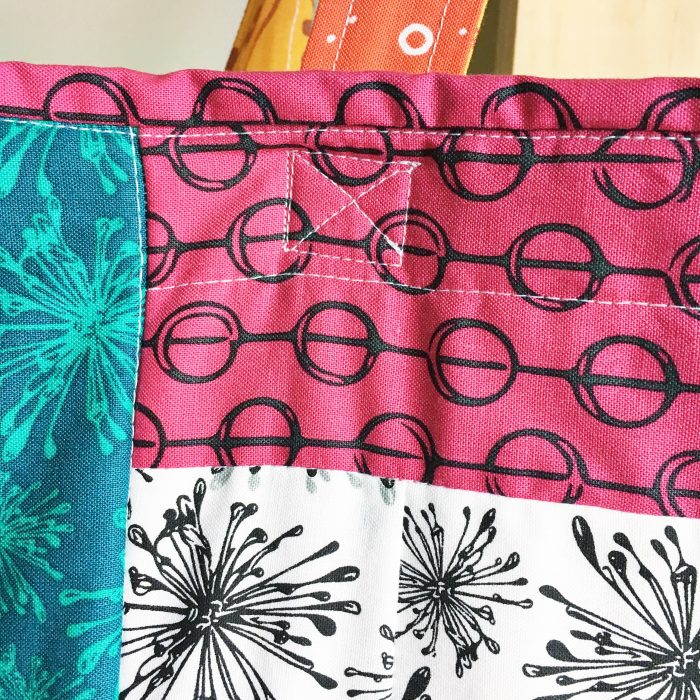
Finish the top of the bag with the strip of binding, just like you would for a quilt.
To make the bag handles, join two strips right sides together and turn through. Top stitch to hold them flat. Join to your finished bag.
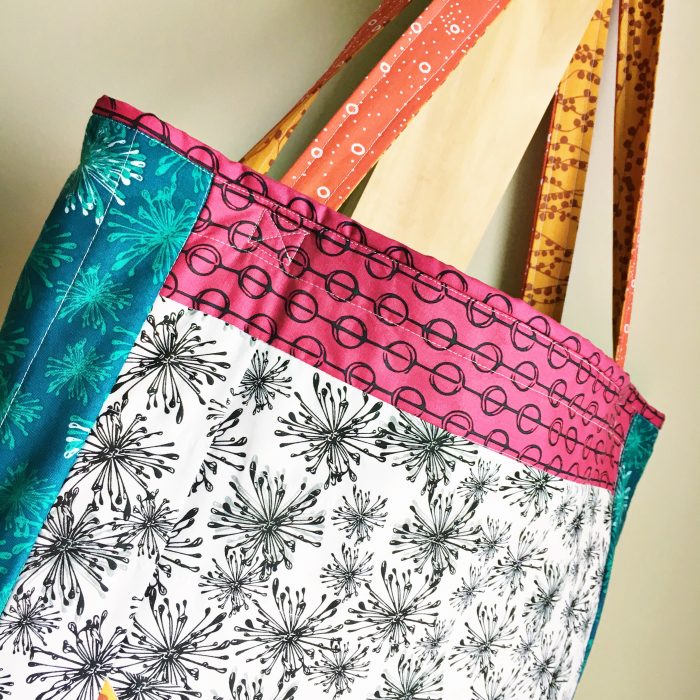
This is a big bag, perfect for taking quilting projects with you out and about. I hope you enjoy making it!


Oh that’s a great bag!