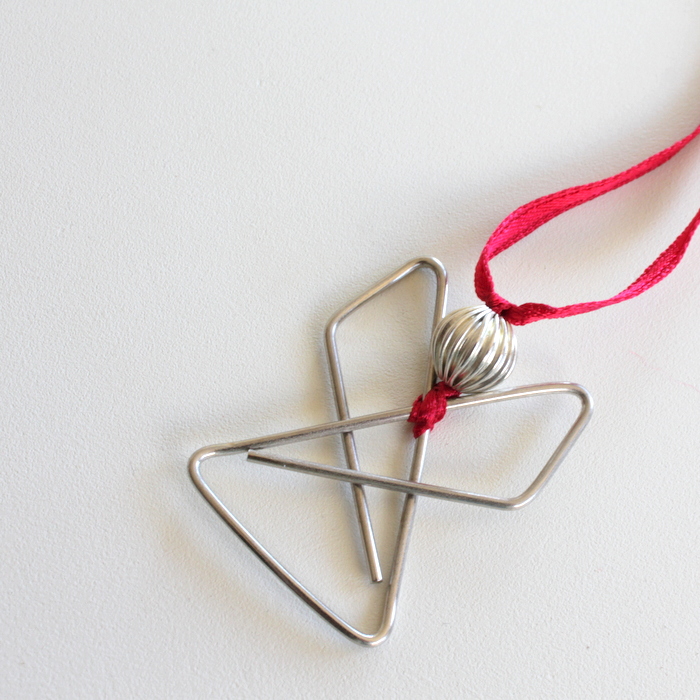
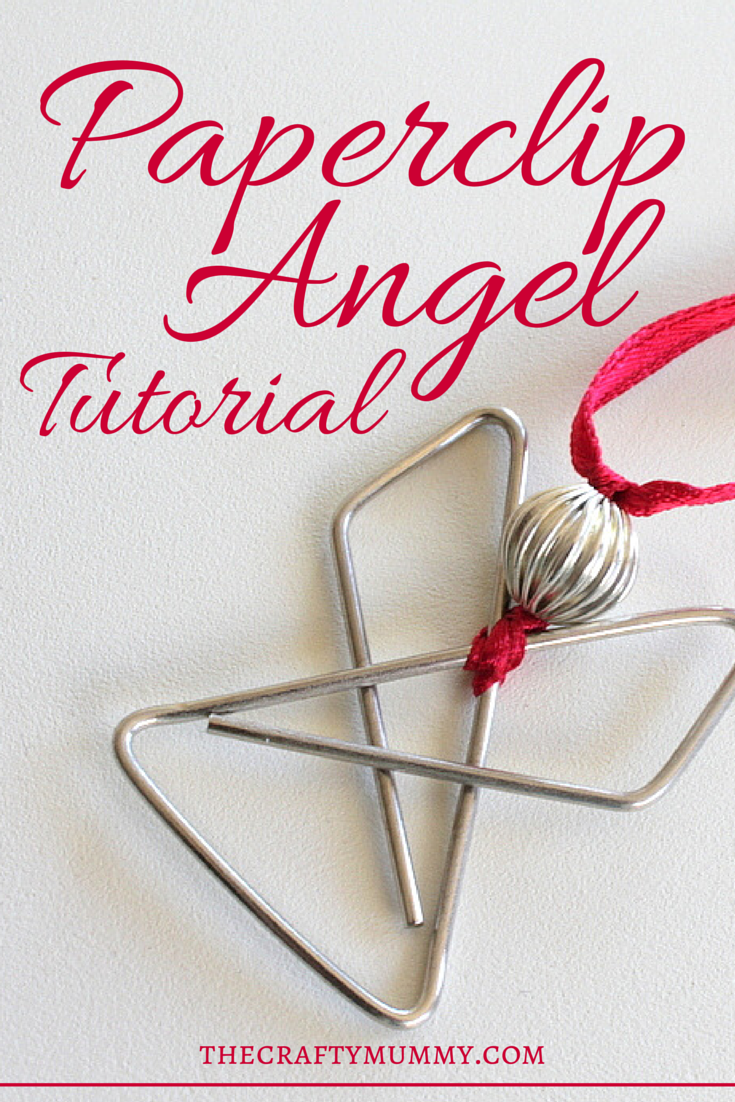
Make this simple elegant angel from a butterfly paperclip, a bead and some ribbon.
I always associate angels with Christmas crafts. We have an angel that sits on the top of our Christmas tree and we alternate years between the angel and a Christmas star. There are so many angels in the Christmas story that it just seems right to have angels in our decorations as well.
(On a side note, I started to think of angels totally differently after I read This Present Darkness by Frank Peretti. Affiliate link)
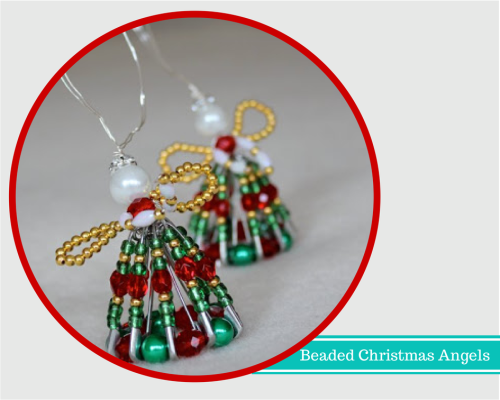
I have made a couple of different beaded angels over the past couple of years, but these particular angels are made using butterfly paperclips. These are found in stationery stores and I suppose they were designed to give a better grip on sheets of paper than the usual paperclip. Their shape is perfect for these angels!

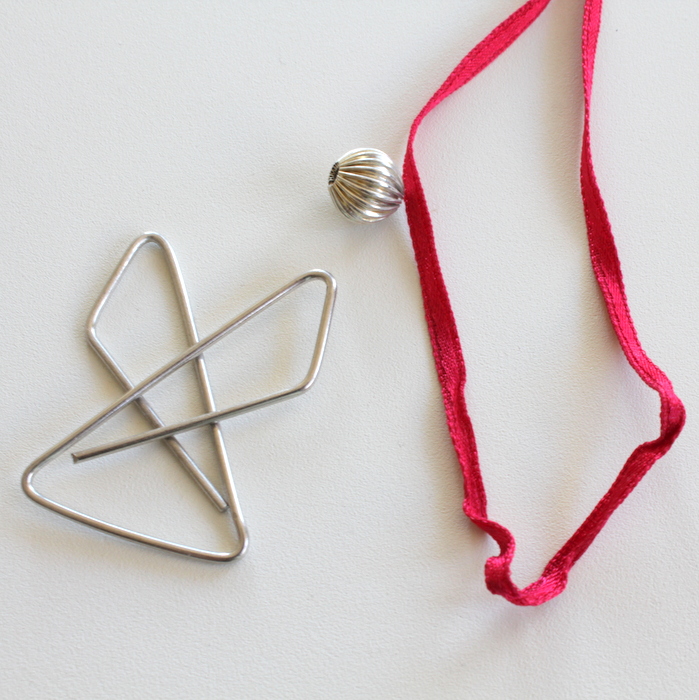
What You Need
- Butterfly paperclips – there are various sizes available
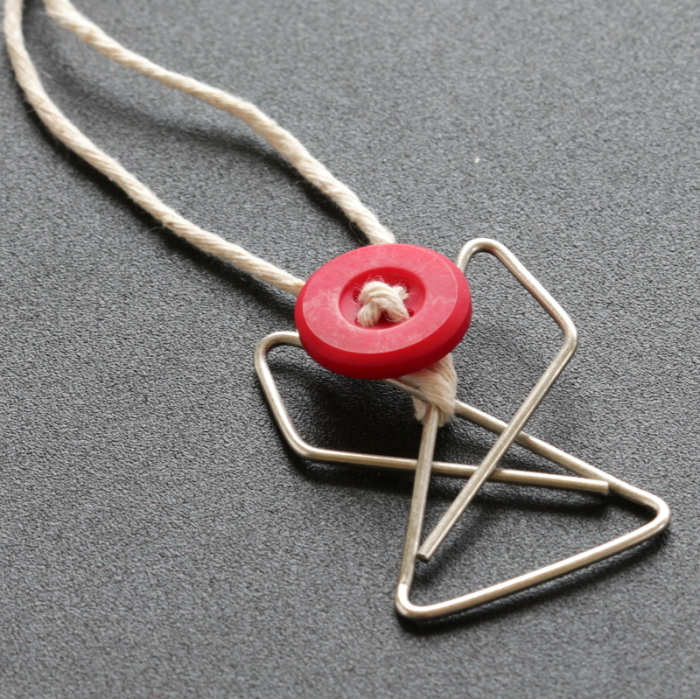
- Beads for heads – I used silver but you could use pearl or coloured beads. Look for a larger hole if you can – it makes this craft easier.
- Thin ribbon (or thread of some kind if you prefer) – I used lengths of about 12″ or 30cm
- Sticky tape
What To Do
This is so simple that you almost don’t need instructions but here is how I tied my ribbon to sit nicely.
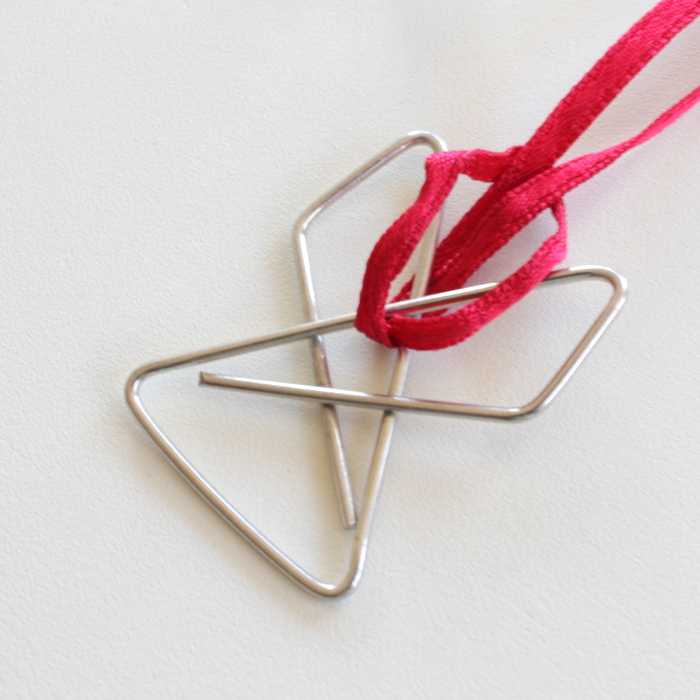
1. Fold the ribbon in half.
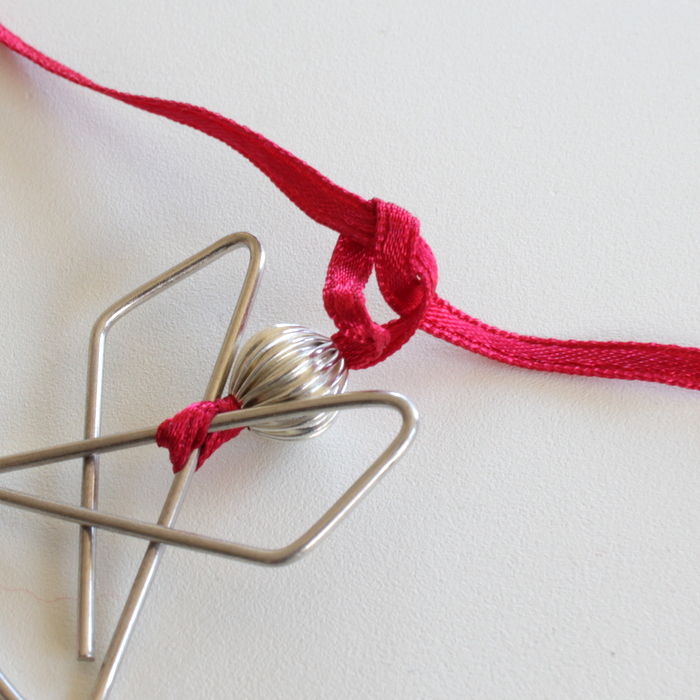
2. Loop the folded loop through the paperclip – that smallest hole in the middle – then thread the tails through the loop and tighten.
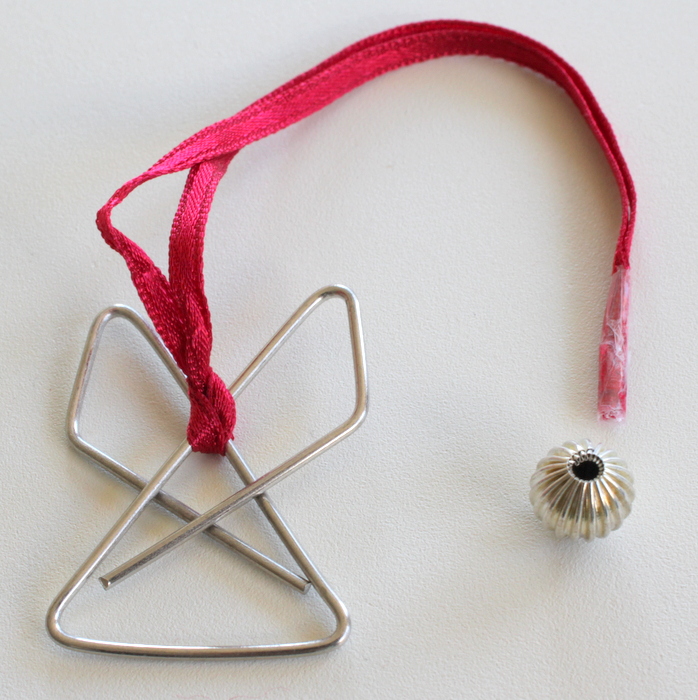
3. Thread the bead onto the ribbon. I used sticky tape to make the ends easier to thread – just wrap a small piece of tape around the two ends together as tightly as you can to create a hard straight section.
4. Once they are through the bead and the bead is slipped into place, separate the two ends of the ribbon and tie them in a simple knot to keep the bead in place. If the hole of the bead is larger, you may need two knots.
Sources:
I bought my paper clips from Officeworks but they are also available on Amazon – in colours as well as silver.
My ribbon was from my stash and the beads came from Spotlight. They are 10mm Ridge Ball Bright Silver beads by Ribtex.
This craft was inspired by the Crafty Journal who used pearl beads instead of silver ones.
Disclosure: There are Amazon affiliate links in this post.
Beaded Angels


i like to learn how to make paper clip angel
How easy and how perfect. Thank you
This is super cute and clever!!
Thanks for sharing the link with me xx
this is a gr8 (easy) project to do with the g-kids, even the little ones! must buy these paper clips…….
I’m sure they would love it, Nancy!
Thanks for sharing all these fun projects! These small touches make a big impact 🙂
Hi! I love this idea! The biggest clip I can find in Australia is 60mm – did you find any bigger?
Hi Selena, I think I used 60mm ones. I’m not sure whether they come any larger. Tonya
I have quite a collection of angels, always use one as a tree topper. These, however, will be used as ornaments and or to tie on gift packages. I do believe in real angels and have benefitted from them many times in my 87 years.
Thanks for your nifty ideas.
I just want to say I live Frabk Perreti. I have all his books and his wife’s. Love the Angel’s also