The Crafty Mummy

Crafts. Sewing. Quilting. Crochet. Tutorials.

  • Start Here
  • Welcome
    • Subscribe
    • About Me
      • Copyright
      • Disclosure
      • Privacy Policies
    • Advertise
    • Sharing
      • Recommendations
      • Shopping & Coupons
      • Books
  • Explore
    • Crafts
      • Beading
      • Kids
      • Paint
      • Storage
      • Christmas Crafts
    • Sewing
    • Quilting
    • Stitching
    • Crochet
      • Yarn
    • Life
      • Food
      • Organisation
    • Blogging
      • How To
      • Social Media
      • WordPress Plugins
      • Photography
  • Tutorials
    • Tips
  • Shop on Etsy
  • Shop on Redbubble

Tutorial: Mini Spool Block

by Tonya Grant |Filed Under: Quilting, Tutorials Tagged With: 31 Days of Crafty Tutorials Get a Weekly Update of all Articles

Tutorial: Spool Block

I love it when a Craftsy class inspires me to create my own block quilt block!

I have a number of patchwork and quilting classes that I have purchased on special sitting in my Craftsy account waiting for me to watch them so this class had been sitting there for a while. (I love that once I have purchased them, it doesn’t matter if I wait ages to watch them!)

Anyway this particular class is by Camille Roskelly and is about using pre-cuts to create quick quilts. It is called Playful Piecing.

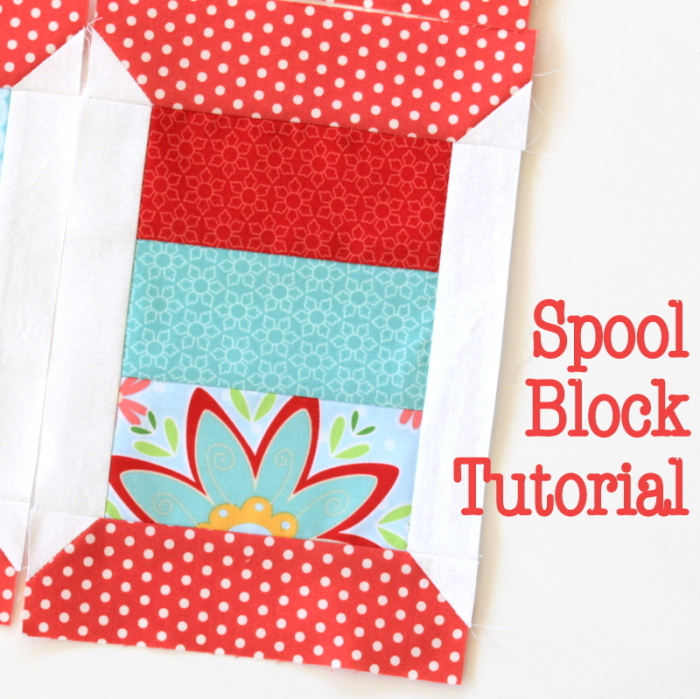
Now I’m already a pre-cut fan. I have a bunch of charm squares, jelly rolls and layer cakes in my stash waiting for the perfect pattern. I loved the look of Camille’s spool quilt but I wanted to use a charm square pack to create mine. So I made a few adjustments to the pattern and created my own Mini Spool Block.

I have turned the complete set of charms into spool blocks now but I haven’t quite finished the quilt so here’s how I made the blocks. Look out for the finished quilt soon.

What You Need

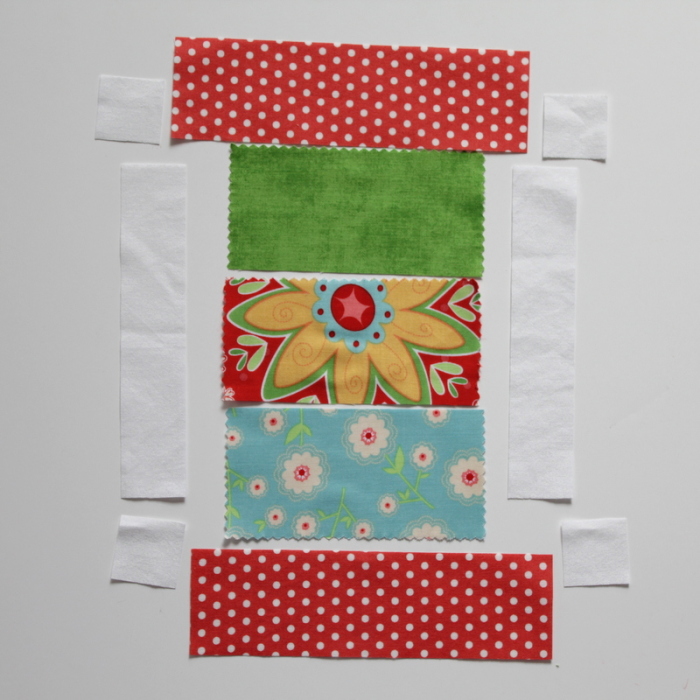
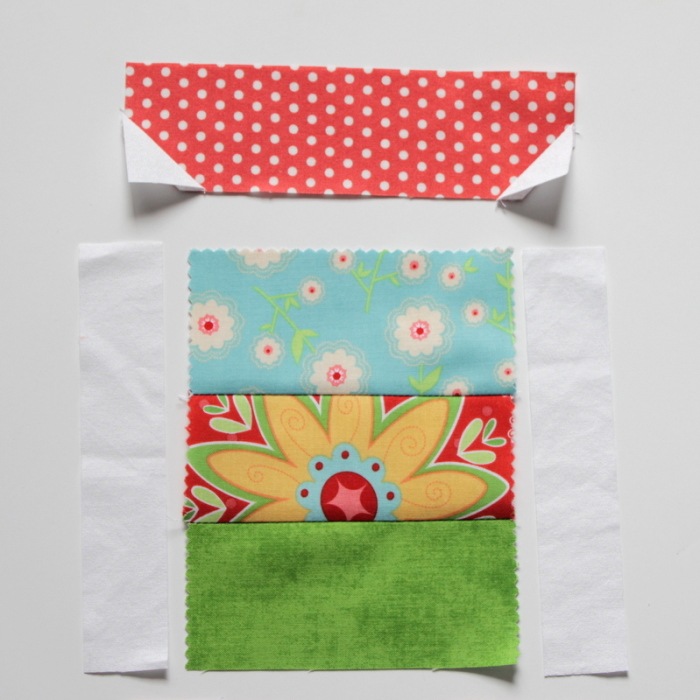
  • Spool body: charm squares – 5″ x 5″ squares – each block uses three different charms
  • Spool ends (red spot): two rectangles – 6.5″ x 2″ (These look longer in my photo below – I cut them too large the first time!)
  • Background (white): two rectangles – 1.25″ x 6.45″ and four squares –  1.25″ x 1.25″

spool block pieces

What To Do

Note: All seams are quarter-inch seams and seams have been pressed to the side.

spool block ends

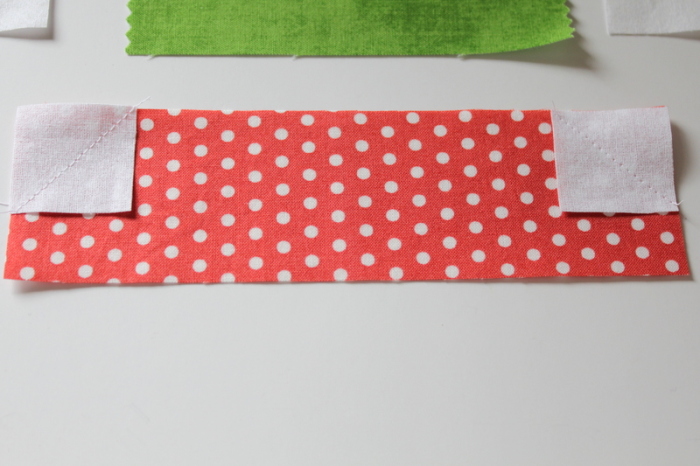
1. For the spool ends, lay two small squares on two corners of the 6.5″ x 2″ rectangle, right sides together. Stitch corner to corner as shown in the photo above.

spool block ends 2

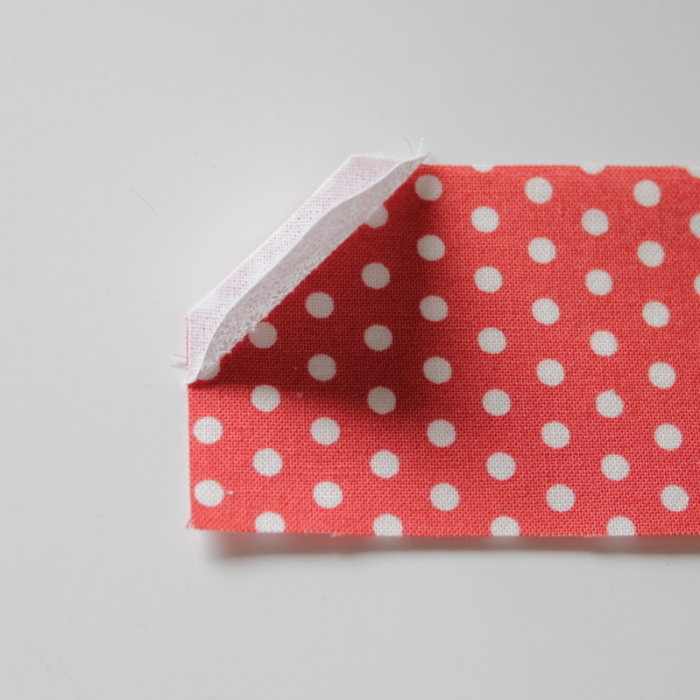
2. Trim the excess triangle off leaving a quarter inch seam, and press the remaining triangle flat. Do the same to the other rectangle to create the second spool end.

spool block centre

3. Spool body: Cut the three charm squares in half to create rectangles that are 5″ x 2.5″. We will use three of these rectangles for this block so put the others aside for another block. Join the three half charm squares together to create the centre of the spool.

spool block centre sides

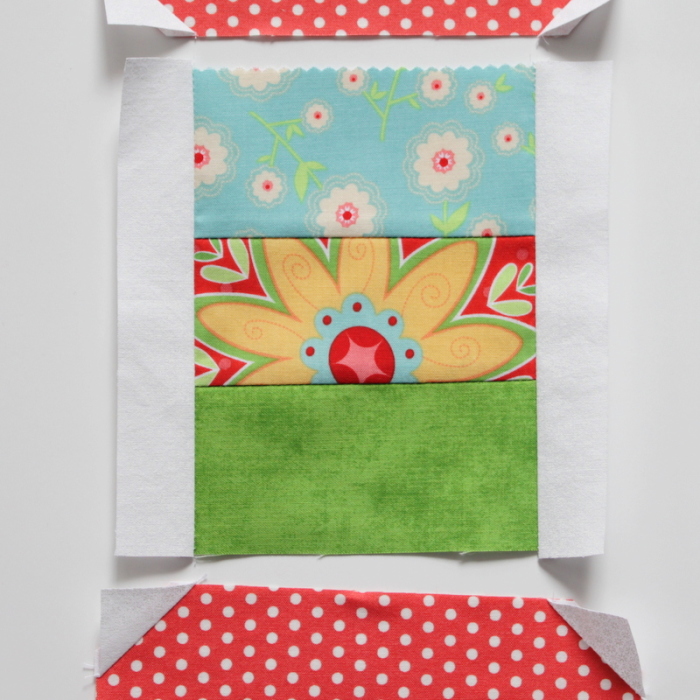
4. Join the narrow background rectangles to the sides of the spool centre.

spool block finished

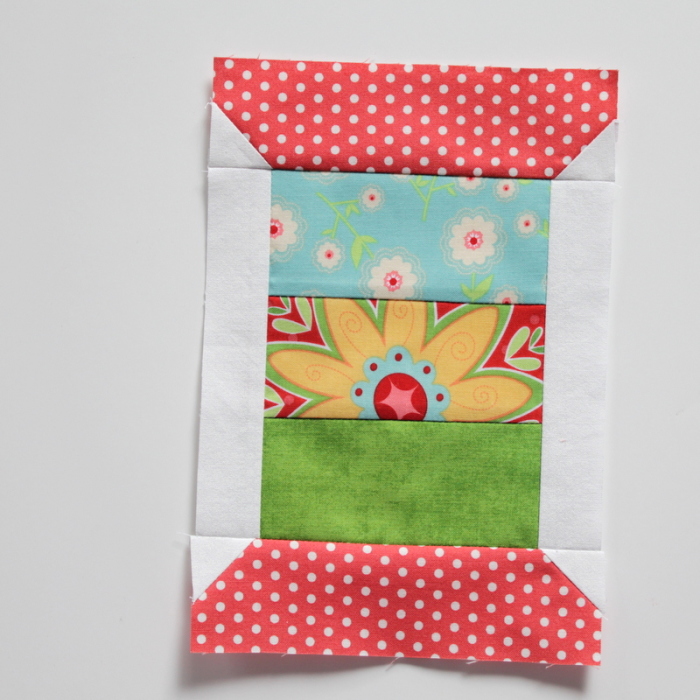
5. Finally join the spool ends to the centre.

If you’d like to check out Camille’s spool block in the Playful Piecing class, and the other three fabulous quilts she teaches with lots of tips and tricks thrown in, check it out on Craftsy.
playful piecing class


31 days of crafty tutorials

Filed Under: Quilting, Tutorials Tagged With: 31 Days of Crafty Tutorials

« Button Witches Hat Tutorial
Review: Sewing 101 »
Disclosure: There are affiliate links in this post.  This just means that if you click through and choose to purchase something I may get a small commission - at no extra cost to you, of course.  This helps me keep the content here at The Crafty Mummy free for everyone.

I love to chat so please leave me a comment or ask a question.

Don't stress if your comment doesn't appear immediately - sometimes I have to moderate comments thanks to spam visitors, but the comments from real readers will always get published. Scroll down to add your thoughts or ask a question.

Comments

  1. Diana Nesbitt says

    October 19, 2018 at 4:07 AM

    I would like to make a “give away” quilt for my Guild using the SPOOLS. i HAVE BEEN QUILTING FOR ABOUT 5 YRS NOW AND i AM NOT ADVENTUROUS. I look for easy patterns because dificult ones get me frustrated and are no fun for me. I think your SPOOL pattern would actually be fun for me. THANKS

  2. Jarna says

    October 13, 2020 at 12:41 PM

    Super cute. What is the finished block size?

    • Tonya Grant says

      November 5, 2020 at 12:47 PM

      Hi Jarna, The finished block is approx. 9.5″ x 6.5″

Hi! I’m the CraftyMummy

Tonya is the voice behind The Crafty Mummy. She dabbles in lots of different crafts – patchwork, quilting, cross-stitch, scrapbooking, knitting, crochet and sewing. This is the record of projects she has done, and the projects she dreams of getting to! Read More…

Search

  • Email
  • Facebook
  • Instagram
  • Pinterest
  • Twitter
  • YouTube
Shop my Affiliate Favourites

Fat Quarter Shop for Fabric and More

Grab the Sew Sampler Box Here

AccuQuilt for Cutting Machines and Dies

QuiltyBox for Monthly Treats in the Mail

CreativeBug for Craft Classes

Pretty Darn Cute for Blog Designs like mine

Creative Market for Fonts, Images, Themes and More

OzGameShop for All the Games

Adrift for Fashion you’ll Love

Kindle Unlimited Membership Plans

Kindle Book List

Click to shop my kindle book list
Shop my Amazon Influencer Shop
Join the CrochetU and learn to crochet
New to TheCraftyMummy.com? Click here to see more
Blog Tools I use for TheCraftyMummy.com

Grammarly

Aweber for email newsletter

CoSchedule to stay organised and share

Milotree for social media

Genesis for blog framework

FoodiePro is my theme

Hosting with WPEngine

Powered by

Recent Articles

Disclosure: There are affiliate links on this site. This means that I may get a commission if you choose to purchase after browsing via these links - at absolutely no extra cost to you, of course. I only recommend products which I use and love, or that I think will be quality products that will be useful to my readers. It is the affiliate links in this site that help me keep my tutorials free of charge. Thank you!

Looking for something? Search here:

Copyright 2015 The Crafty Mummy · Built using Genesis Framework & Foodie Pro Theme