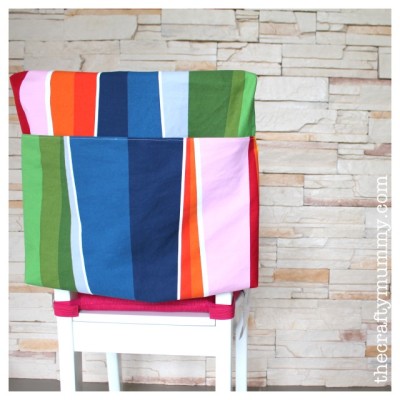
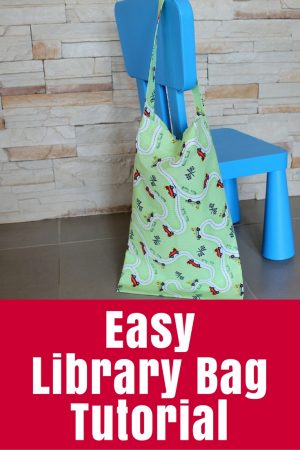
Tutorial: Learn how to sew a chair bag – a simple bag that hangs over the back of a chair with a pocket for school books or folders.

One of the basics my kids have needed for school almost every year of primary school has been a chair bag. We’re in our last year this year and so this may be the last time I need to sew one! It feels kind of strange to think that at the end of this year both my cherubs will be in high school. Sigh.
A shared a tutorial to sew a chair bag a couple fo years back and each year I’ve sewn basically the same thing.
Find that tutorial here
This year the chair bag was a last minute adventure and luckily I had some cotton drill in a solid colour that made it a quick job.
Today I wanted to give you an updated version of the tutorial for when you have a solid fabric. This means you don’t have to worry about having two pieces to hide the wrong side of the fabric inside the pockets as you did in my previous tutorial. This chair nbag is also a little longer than the other one so the book pocket is a little deeper to stop items tipping out.
So if you’re working with a solid fabric, use this tutorial. If you’re working with a fabric that has a wrong side that is blank, use the tutorial above -just click the picture to go to the tutorial.
If you’re working with a fabric that has a wrong side that is blank, use the tutorial above – just click the picture to go to the tutorial.
What You Need
- Fabric: 48″ x 20″ – upholstery weight fabric is better and needs to be the same on both sides. My fabric is cotton drill.
- Sewing supplies – sewing machine, scissors, pins, thread etc.
- Optional: Overlocker or serger with matching thread.

What To Do
Cut your fabric to size.
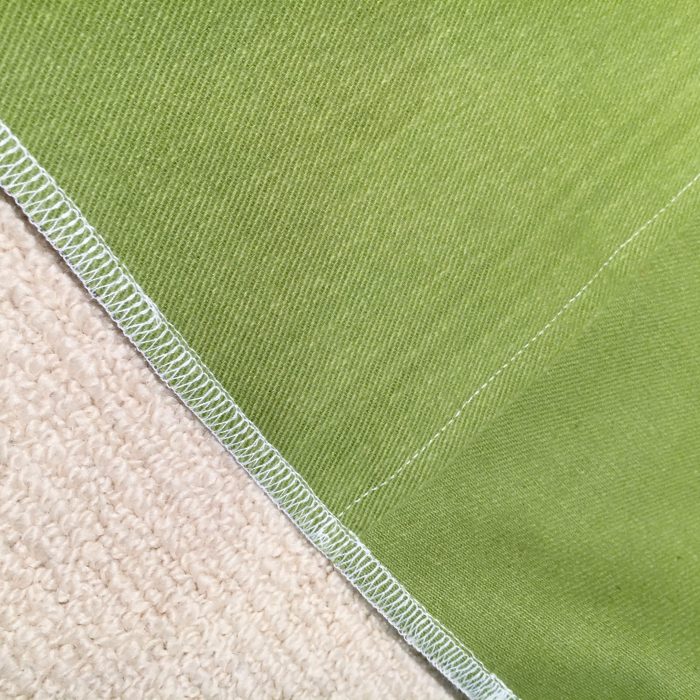
Hem both ends of the fabric. (You might want to use matching thread on yours so it blends in! I was in a hurry and the white thread was in the machine.) Sew one hem on one side of the fabric, and on the other end hem to the other side.
Lay your fabric out flat. Fold in one end to create a deep book pocket and pin. NOTE: YOU WANT TO HAVE THE WRONG SIDE OF THE HEM SHOWING ON TOP – NOT LIKE MY PHOTO. FOLD WITH RIGHT SIDES TOGETHER. Another error of being in a hurry was having the right side of the pocket showing in this step so when I turned the pocket through later, the hem was showing the wrong side. Luckily, 10-year-old boys don,t care about such things!
I folded the book pocket up about 16″.
Flip the whole piece over and fold the chair pocket over at the other end. Again you should have right sides together and the wrong side of the hem showing on top. Pin into place.
I folded the chair pockets over about 7″.
You can adjust the depth of the two pockets if you like, but you don’t want them to overlap.
Sew up the two side seams. I used my overlocker (serger) for this step. Without an overlocker, you would need to either zig zag the edge or trim with pinking shears to stop fraying.
I also sewed an extra line of stitching on my normal sewing machine to reinforce the seams just where the pockets meet the side seams. Experience tells me that if the kids put heavy books in their chair bag, this is where the seam will rip first so some extra reinforcement might save me some mending later in the year.
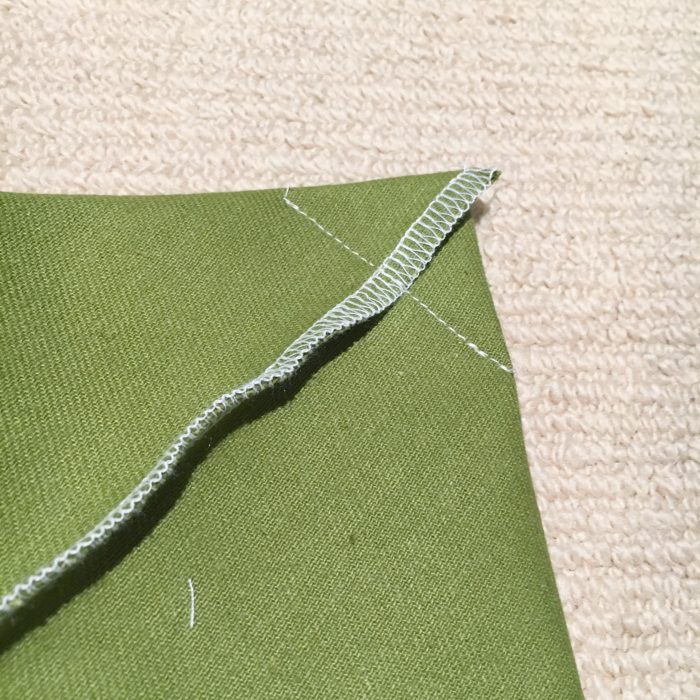
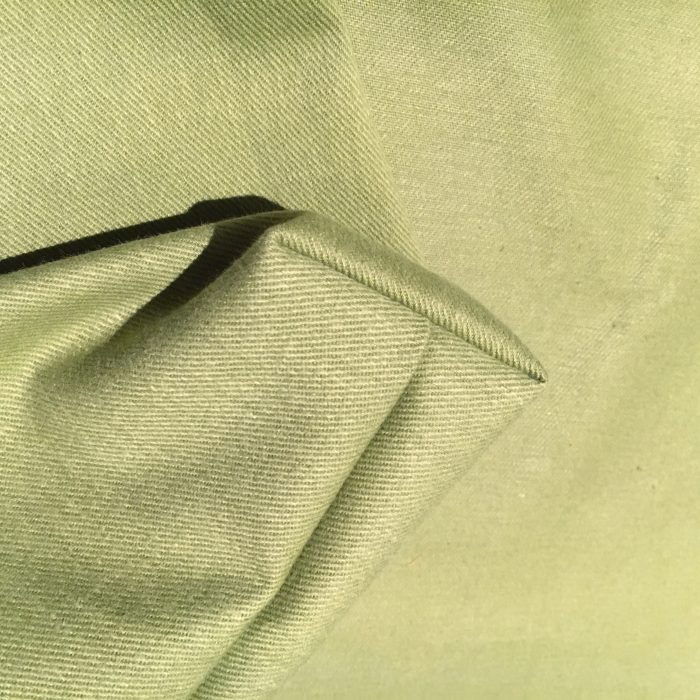
Next, we want to create boxed corners on the pockets to give them a bit of structure. To do this, take each corner and flatten it so the side seams matches the top fold. Then sew across the tip to create a triangle about an inch down from the top point.
Do the same thing on each corner.

By now your rectangle will have kind of bunny ears at each corner!

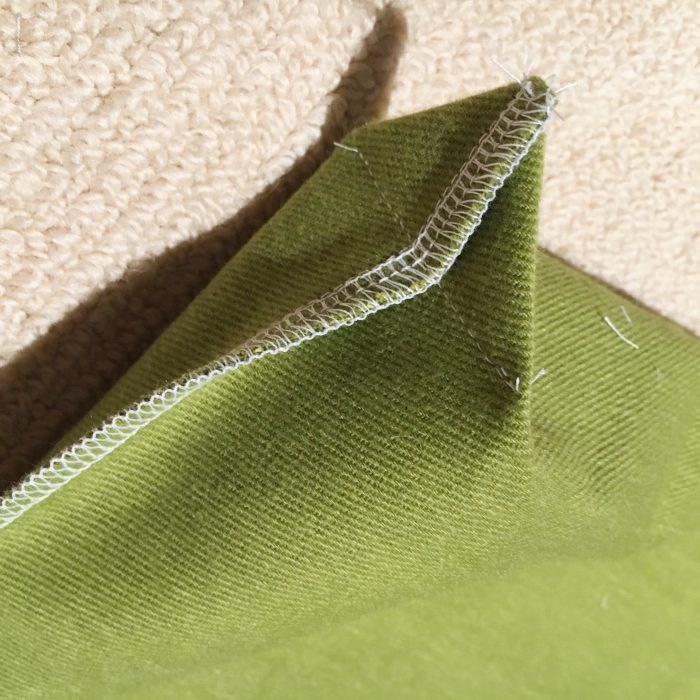
Turn the pockets through the right way and your corners should look like this – kind of like little boxes.
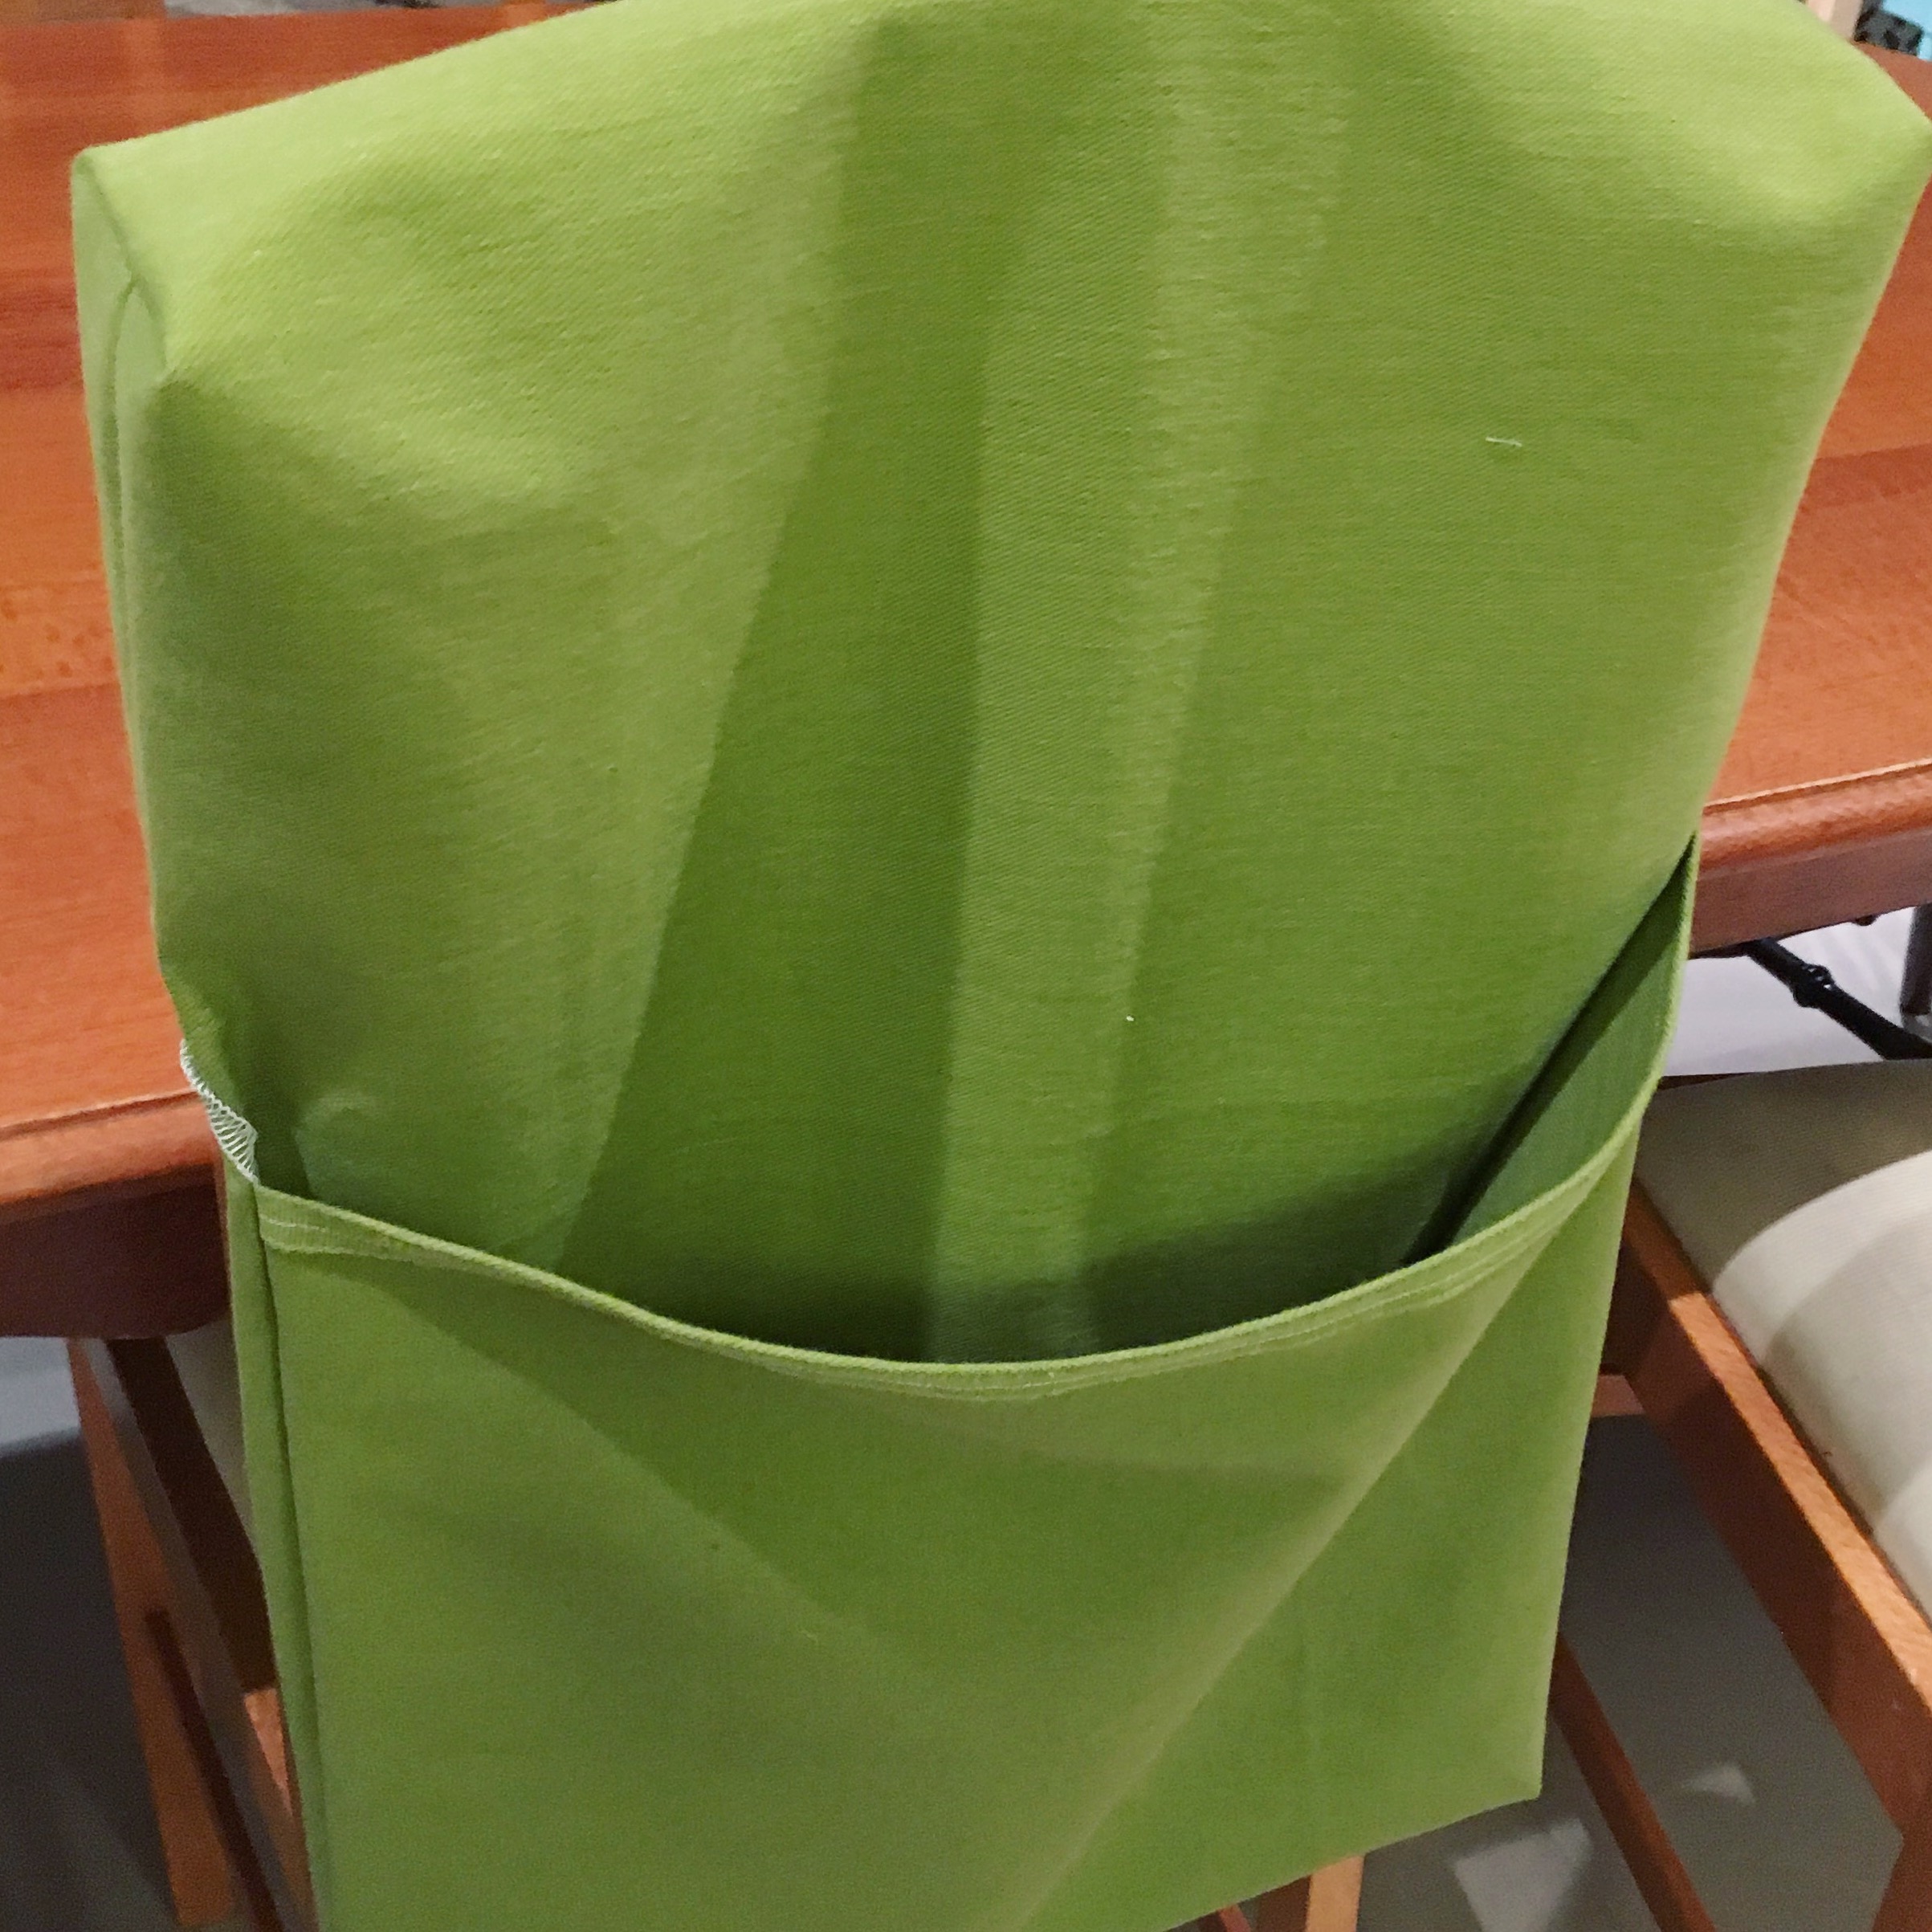
All done! Hang it on a chair and admire your handiwork!

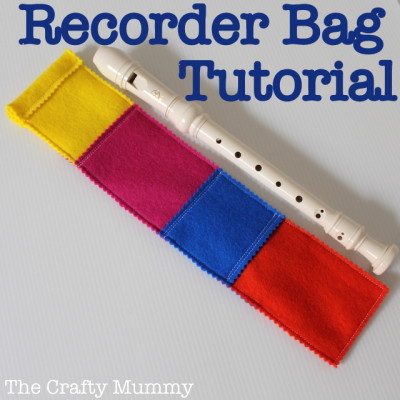
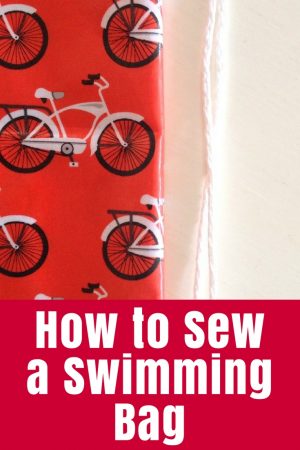
More Sewing for School:


Tonya mam
I love to see your art work posted on google+.
Mam i want to learn .
Your art work and craft is funtabulous .
Sadia k saqlain