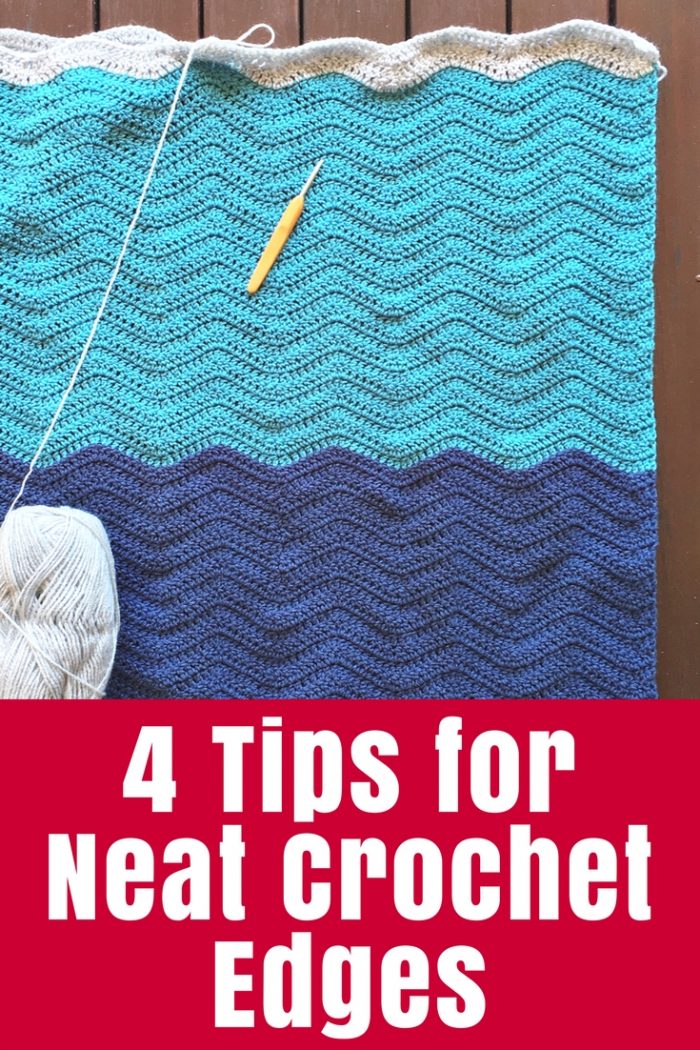
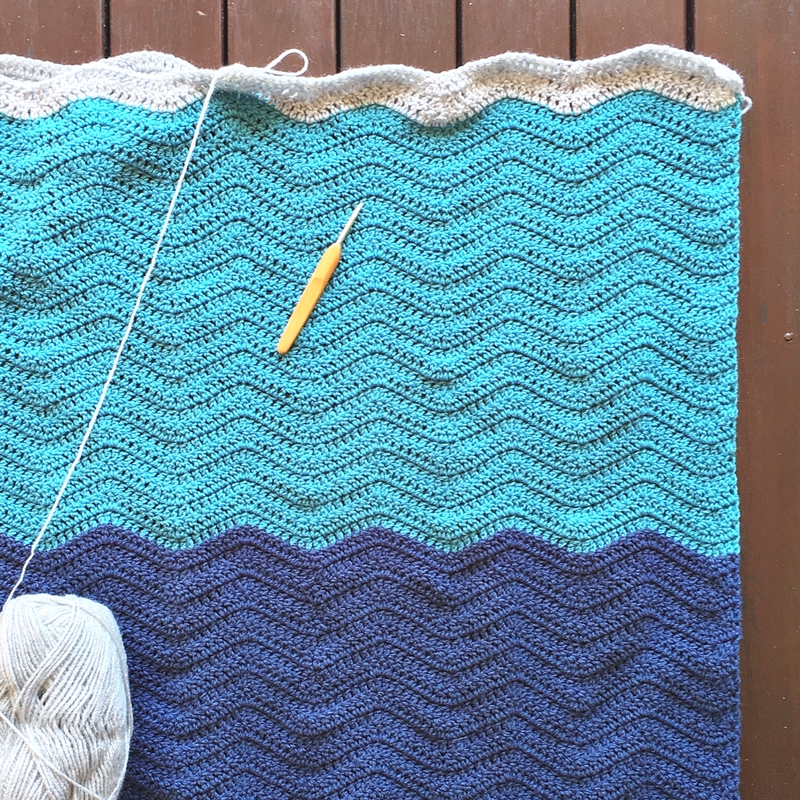
The edges of a crochet blanket or scarf can be bumpy or loose so these tips will help you make the ends of every row neat crochet edges on your projects.

Do you struggle to get the sides or edges of your crochet projects straight and neat?
This seems to be something that is a continual challenge for me!
Every project I seem to spend some time as I start working out how to make the ends of the rows line up and look neat. Sometimes they seem to have a little bobbly bump. Other times they seem to have a hole. Sometimes they even get shorter or longer when I’m trying to learn a new pattern.
Today I’ve got some tips for how you can fix those rows so they will be neat and tidy.
My theory is now to experiment with the yarn and hook for each particular project until I’m happy, then do them the same throughout. There is no right or wrong, just what I think looks good.
There is no right or wrong answer for your neat crochet edges. Just work out what you think looks good then be consistent.
I will usually make a small sample square or rectangle with the yarn and hook I plan to use so I can test these things without having to pull out entire rows of a scarf or blanket.

Here are the things I change to see how they look:
- Which stitch I go into when I turn – Sometimes crocheting into the first stitch looks best; sometimes the very base of the turning chain.
- How many chains I do as I turn – This can depend on how tall the stitches are. For example, if I’m doing trebles, I usually use three chains to turn. If that creates a bump at the end, then I reduce it to two and see if that looks better. Sometimes I want the bump as part of the design.
- The size of my hook – This changes the size of all the stitches. A smaller hook will make slightly smaller stitches. A larger hook will create larger stitches. Start with the size recommended on the yarn then go up or down a size to see how it looks.
- How tight I’m holding my yarn – This is the hardest to adjust so try the other things first. Tighter stitches will be smaller.
Do you have any more tips for neat edges? Let me know in the comments.
More Crochet Tips

Shop for Yarn: