Time for some more Farmer’s Wife blocks and it is again my turn to share a tutorial. My last tutorial was for the Jenny Block. If you’ve missed out on the previous blocks, I’m joining in with the FQS Farmer’s Wife 1930s Sew Along with Angie over at GnomeAngel. We are working our way through this book and making all of the blocks over the course of a year. Mine so far are all featuring my rainbow stripe fabric.
The Farmer’s Wife 1930s Sampler Quilt: Inspiring Letters from Farm Women of the Great Depression and 99 Quilt Blocks That Honor Them by Laurie Aaron Hird for Fons & Porter/F+W; RRP $28.99 – Click here to purchase.
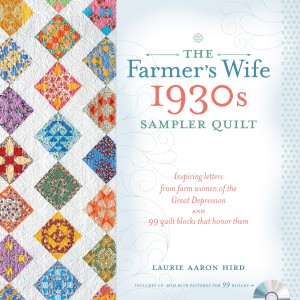
eBook also available: Farmer’s Wife 1930s Sampler Quilt
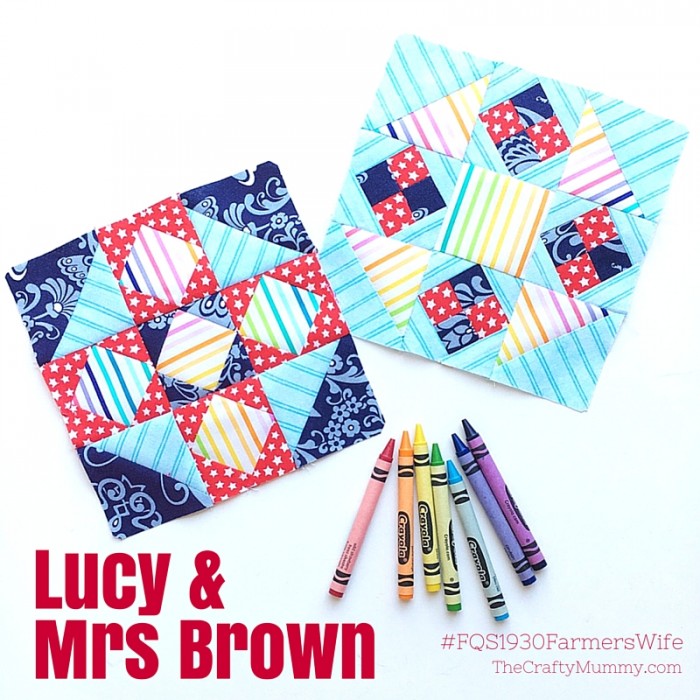
This week there are two new blocks, Lucy and Mrs Brown. Lucy is number 53 in the book and Mrs Brown is number 67. I made both of my blocks using Marti Michell templates – Set B and Set D. These templates have changed the way I look at patchwork. Having the special clipped corners to help match pieces has made my accuracy so much better than it was! This seems to be especially true as we get on to blocks with some very small pieces in them. (I wish I could find some spare time to just play with them.)
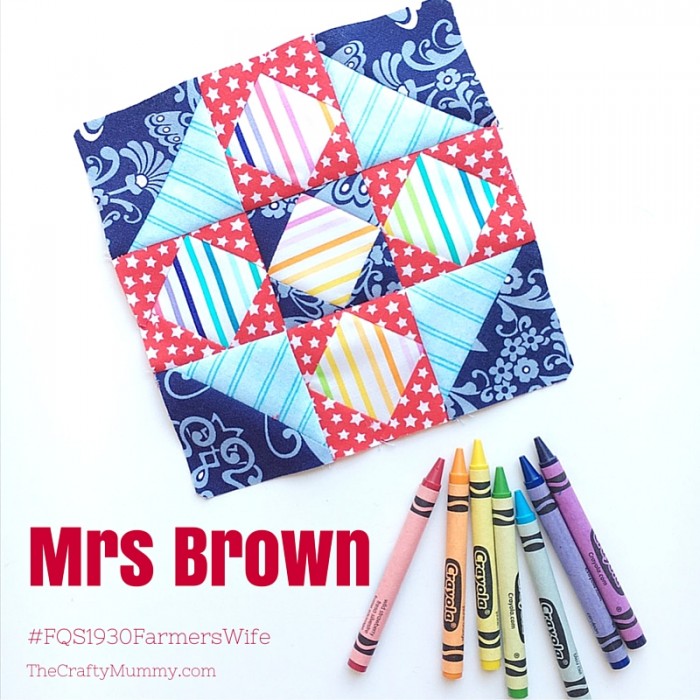
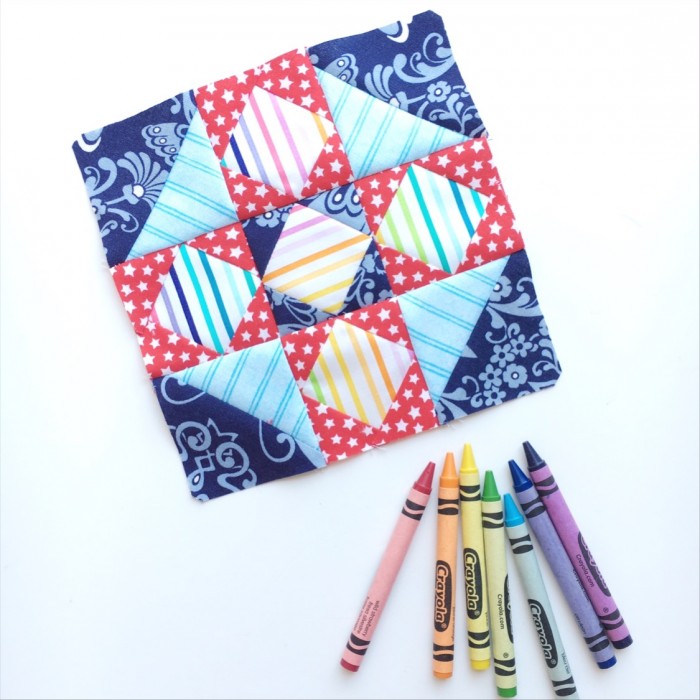
So on to the Mrs Brown block:
The pieces are cut according to book and if you’re using Marti’s templates you can use her chart to work out which templates to use. Find the link to the Conversion Chart in Marti’s blog post here. There are lots of pieces this time and although I cut both blocks at the same time, I was super careful to keep the pieces in separate piles.
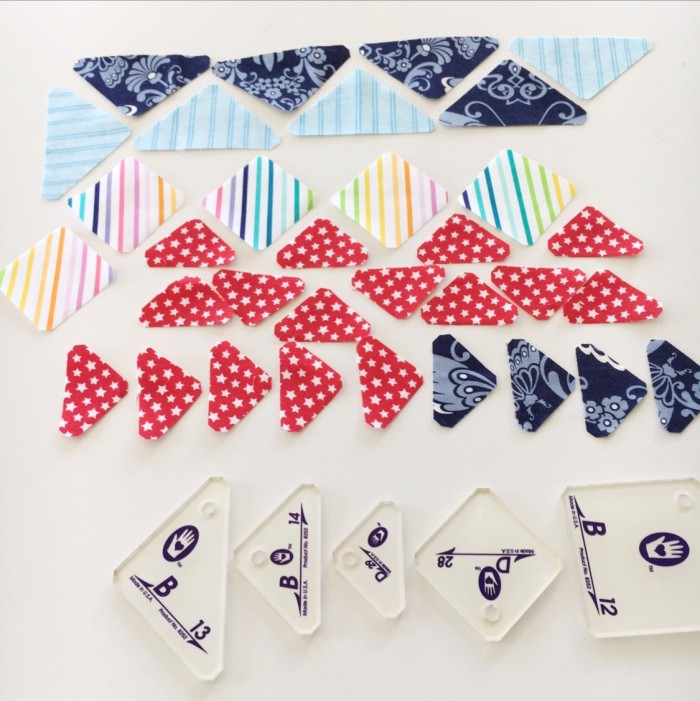
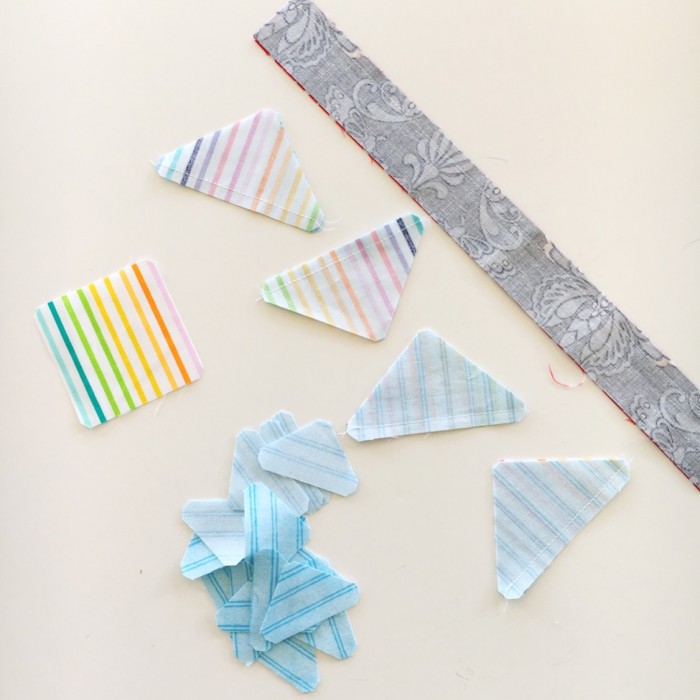
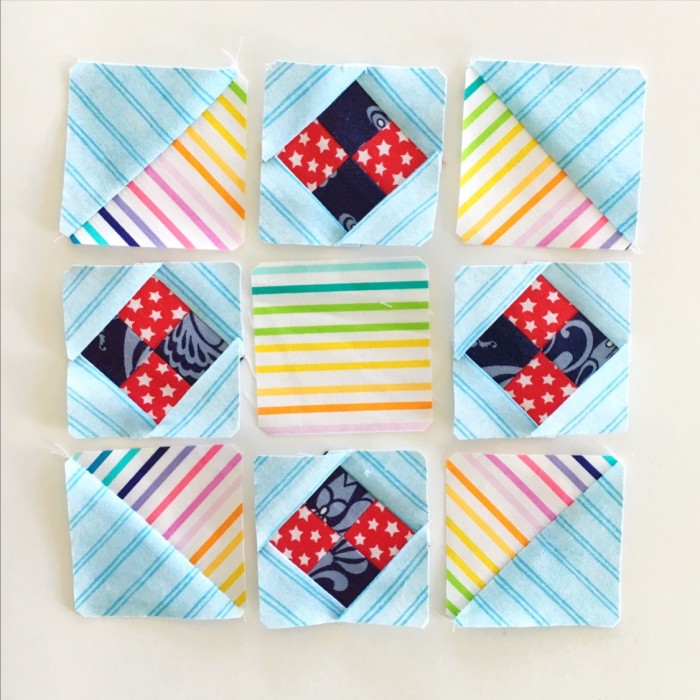
You can see how I cut my rainbow fabric with the stripes running diagonally across the squares this time. These squares will end up on point so I wanted to take care about which way the stripes would run. I was also careful in cutting the light blue stripe fabric. You could fussy cut pictures into the on point squares too which would look very clever.
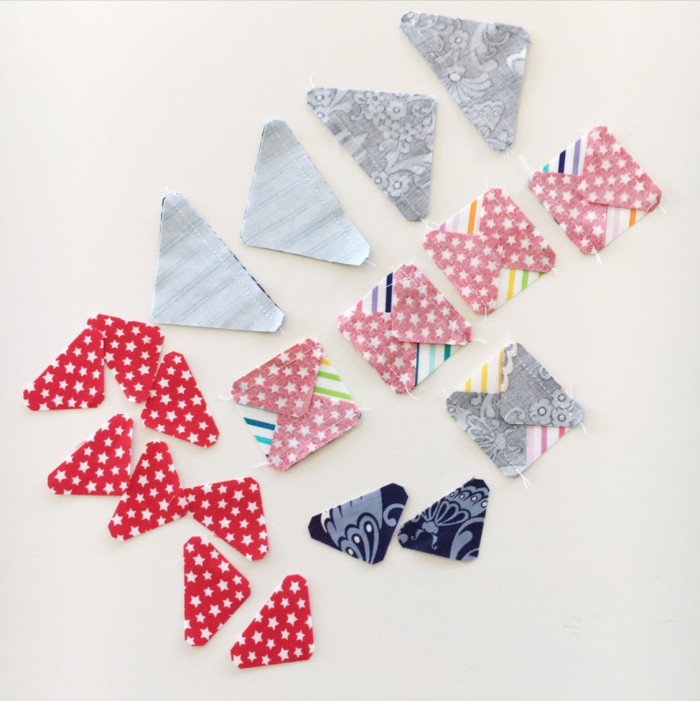
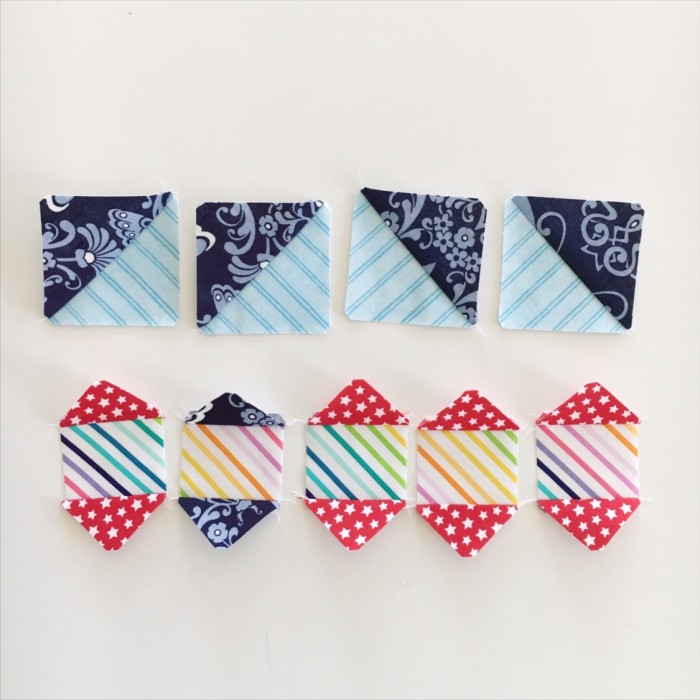
Step one is to join the dark and light half square triangles to make squares for the corners. You could create 4 squares at once using Alyce’s tutorial but I chose to use the templates this time and chain piece them.
To each of the rainbow squares, you need to attach four smaller triangles. Start by adding two on opposite sides. Press these open then add the other two.
Finally lay out your segments into three rows, being especially careful of placement if you have fussy cutting or directional prints like my stripes.
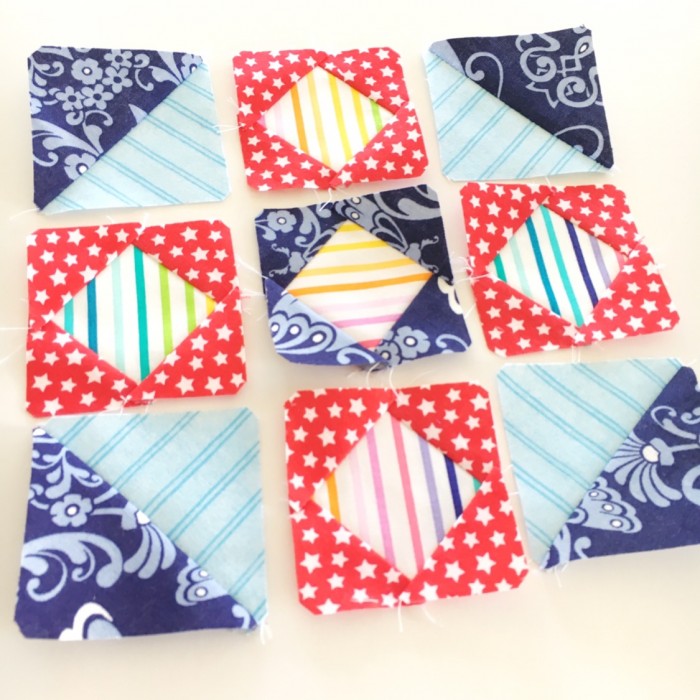
Join your three squares into a row, press, then join the three rows together. Be especially careful of the seam allowance so that you don’t cut off the tips of the rainbow squares. You can probably see where some of mine are not quite perfect.
On to the Lucy block:

The construction of this one is very similar with the corner half square triangles.
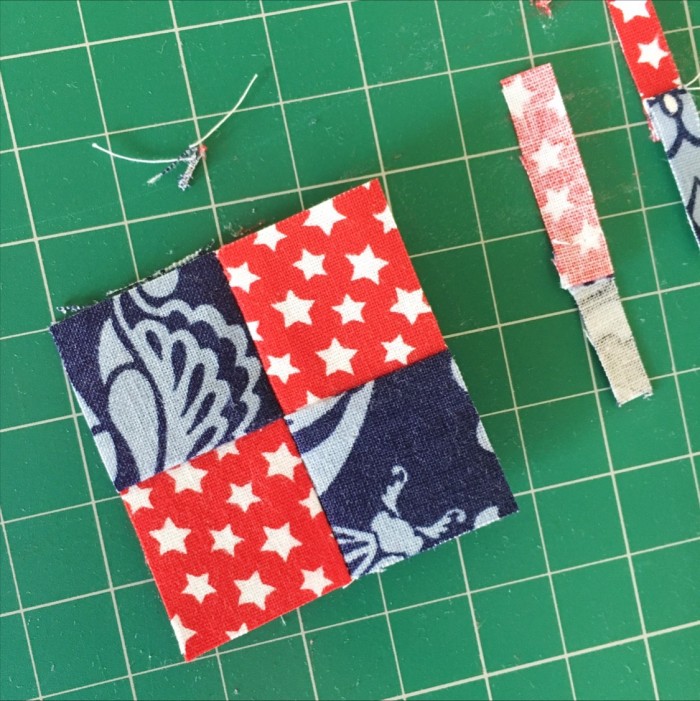
But the small four square units are easiest done with two strips. Cut two strips that are 1.25″ x 12″ and join them. Press them open and cross-cut 8 units that are 1.5″ each. These are wider than you need but you will trim them down at the end of this process.
Match the units into sets of four squares. Join and press.
Now to trim them. Although I used my Marti Michell templates for these, I first trimmed them with a ruler so I could use the grid lines. I trimmed them down to 2 inch squares then used the D-28 Template to trim them to size.
Line up the grid lines of your ruler on the centre join of the squares.
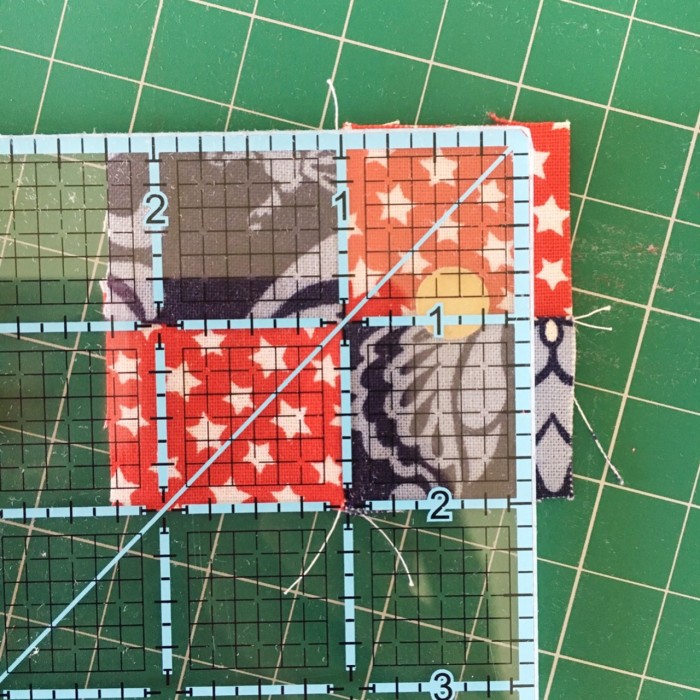
Trim the right side and the top with your rotary cutter.

Then turn the section around 180 degrees and line up the grid lines again.
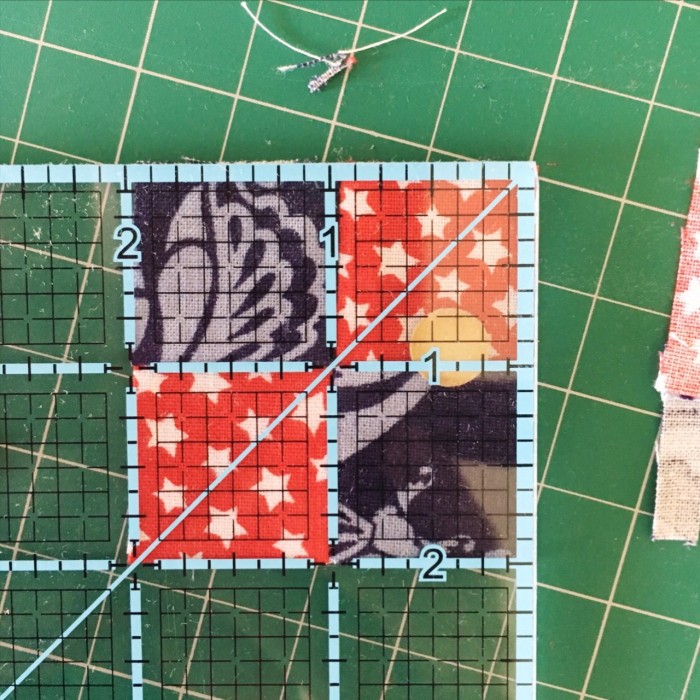
Trim the right side and top again. Now your piece is 2″ square. Line up the D-28 Template in the centre and trim all four sides, turning when you need to.
Add the smaller triangles to these four square units and press. Carefully lay out your units being especially careful about the placement of the four square orientation.
As for the Mrs Brown block, join the three units into three rows then join the rows.
Which block do you prefer? I think I like the colour placement and the strips in my Lucy block more than my Mrs Brown block.

My Tips
- Careful cutting is key. If your pieces are not accurately cut then they won’t create beautiful accurate blocks.
- Watch out for directional prints like my stripes.
- Be every careful trimming the four square units in the Lucy block. They are smaller than 2″. (I can’t share exact measurements due to copyright) I actually had to unpick and trim mine again because I had not quite trimmed them enough and the points were lost when I joined the units.
More Tutorials:
- GnomeAngel – Lucy & Mrs Brown
- Blossom Heart Quilts
- Marti Michell
Make sure you check out the hashtags on Instagram (#FQS1930FarmersWife, #FW53Lucy and #FW67MrsBrown) and visit the Facebook group. Thanks so much Angie from Gnome Angel for organising the #FQS1930FarmersWife Sew Along!
See the rest of my Farmer’s Wife Blocks here.


The colors are so perfect! They have been combined beautifully with each other!