The Crafty Mummy

Crafts. Sewing. Quilting. Crochet. Tutorials.

  • Start Here
  • Welcome
    • Subscribe
    • About Me
      • Copyright
      • Disclosure
      • Privacy Policies
    • Advertise
    • Sharing
      • Recommendations
      • Shopping & Coupons
      • Books
  • Explore
    • Crafts
      • Beading
      • Kids
      • Paint
      • Storage
      • Christmas Crafts
    • Sewing
    • Quilting
    • Stitching
    • Crochet
      • Yarn
    • Life
      • Food
      • Organisation
    • Blogging
      • How To
      • Social Media
      • WordPress Plugins
      • Photography
  • Tutorials
    • Tips
  • Shop on Etsy
  • Shop on Redbubble

Quick Christmas Gift Tags

by Tonya Grant |Filed Under: Crafts, Tutorials Tagged With: Christmas, Christmas Crafts, Gifts, Papercrafts Get a Weekly Update of all Articles

star-tag-close

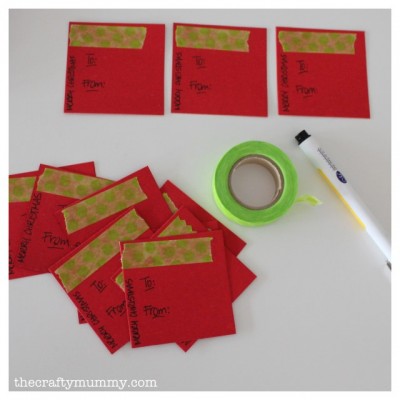
Every year I seem to completely forget about gift tags until I’m wrapping up presents – usually the night before we drive off to see the family. So this year I’m trying very hard to cover those last-minute items on my list early.

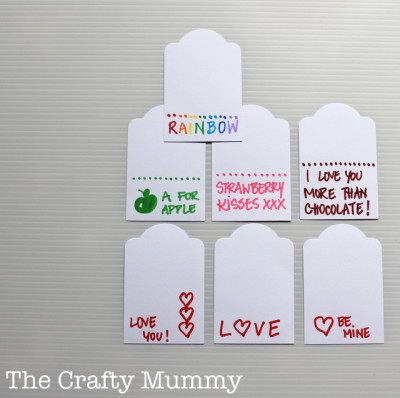
I gave up creating Christmas cards a couple of years ago. I found that we were receiving less and less of them as friends and family moved towards sending out electronic messages instead so I stopped making a pile of cards. But I still create gift tags to go on the family presents.

These tags are quite easy but look great so here’s how you can make some too. If you don’t have exactly the same punches I have used, they can easily be substituted with other shapes or just cut the shapes yourself. Use this one as inspiration for your own unique tags!

star-gift-tag

What You Need

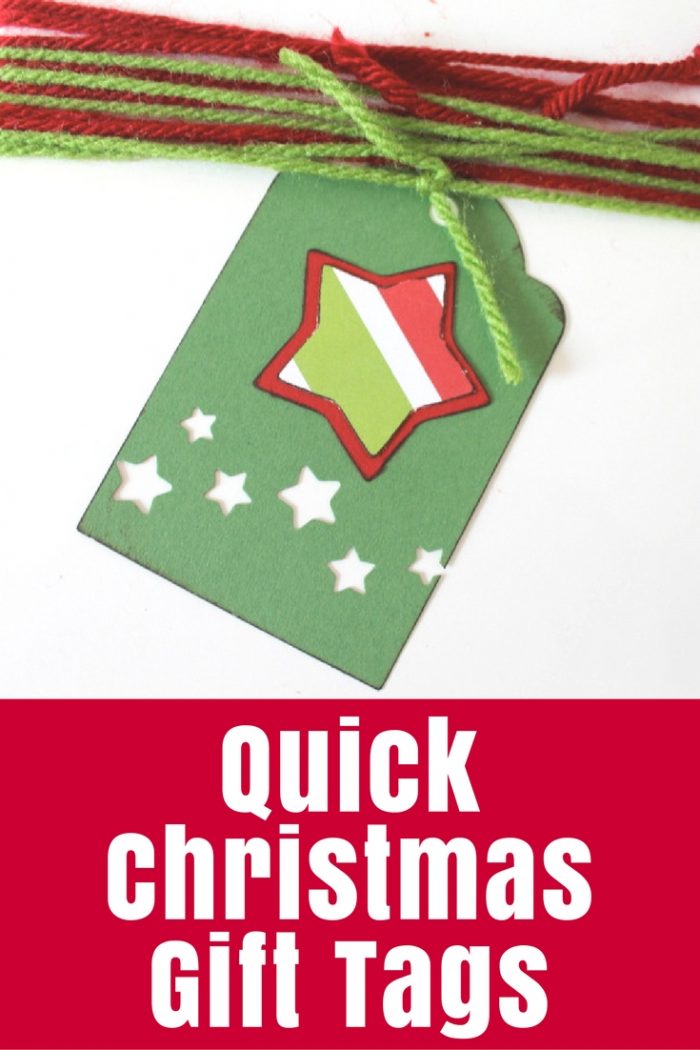
  • Green card for the tag
  • Christmas patterned paper – mine is stripey but any pattern would work
  • Red paper or card
  • Punches – tag shape, 2 sizes of stars, and star edge punch
  • Brown ink
  • Glue stick or adhesive
star-tag-gift

What To Do

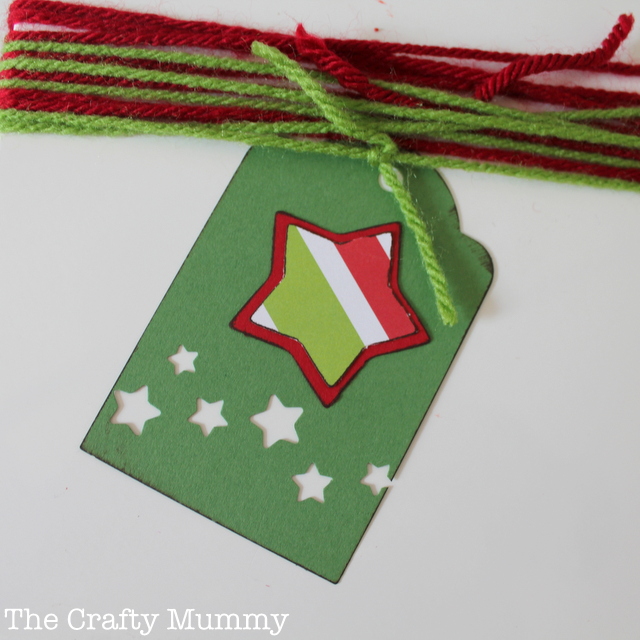
Punch a tag shape from your green card. My punch is a Creative Memories one but there are others out there. Alternatively, just cut a tag shape freehand or use a rectangle shape.

Punch the small stars along the bottom of the tag with the star edge punch. I used the Stardust Maker punch also from Creative Memories, but again there are others that are similar around. Alternatively, you could punch circles or something else to add interest, or perhaps round the corners.

Punch two stars – a larger one from red paper and a smaller one from patterned paper.

Ink the edges of the stars and the tag, by gently rubbing the ink pad over the edge of each piece. I used a brown Stazon ink pad for this. Alternatively, you could get the same effect with a felt tip marker or chalk.

Glue on the larger star, then the smaller one on top of it.
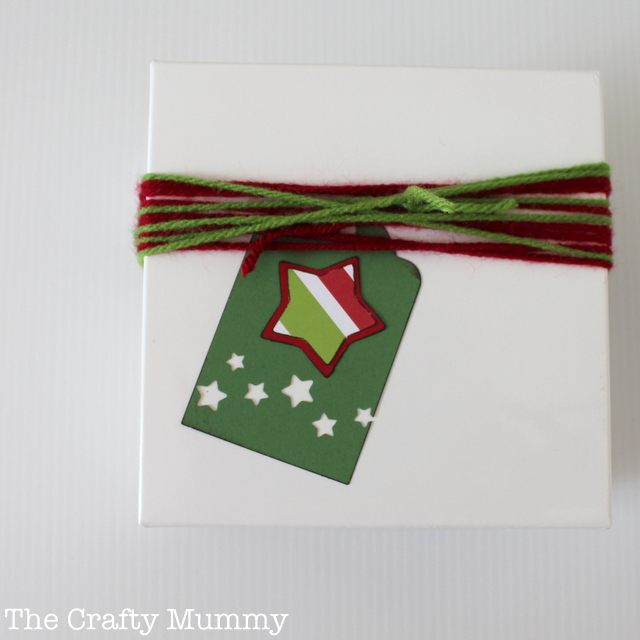
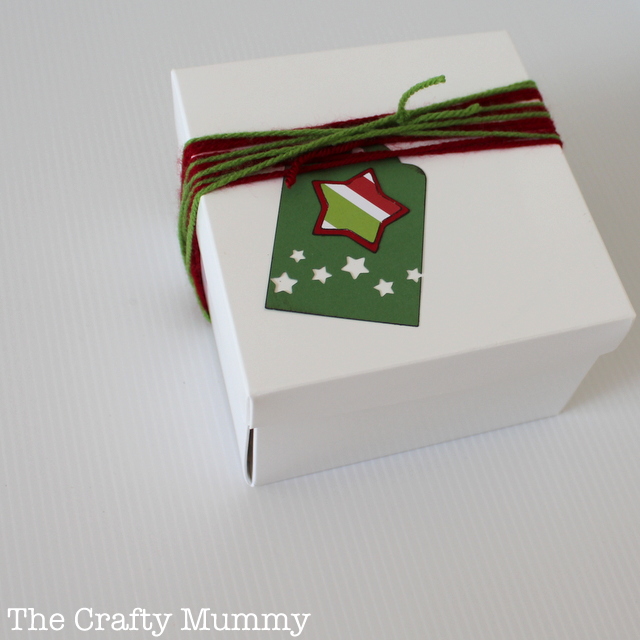
Finished!

This parcel was wrapped in a simple white box with some red and green yarn to decorate.

Do you make Christmas cards or gift tags?
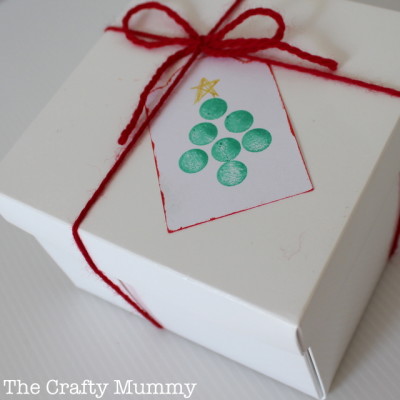
More Inspiration:

Christmas tree gift tag handmade
  
thank-you-gift-tags
gift tags valentines
  
gift tags card christmas


quick-christmas-gift-tags
25 of my favourite DIY Christmas ornaments in one collection with links to all the tutorials for you to make some yourself this xmas season.

Filed Under: Crafts, Tutorials Tagged With: Christmas, Christmas Crafts, Gifts, Papercrafts

« Watercolour Gift Cards
Pastel Rainbow Blocks »
Disclosure: There are affiliate links in this post.  This just means that if you click through and choose to purchase something I may get a small commission - at no extra cost to you, of course.  This helps me keep the content here at The Crafty Mummy free for everyone.

I love to chat so please leave me a comment or ask a question.

Don't stress if your comment doesn't appear immediately - sometimes I have to moderate comments thanks to spam visitors, but the comments from real readers will always get published. Scroll down to add your thoughts or ask a question.

Comments

  1. rosie says

    October 15, 2016 at 8:56 AM

    Love this, it’s such a simple way to spruce up plain paper too. I usually use brown paper to wrap my pressies and rushly write everyone’s name on the present itself, but this year, I’m going to try these! Thanks for the post and inspiration!! In plenty of time!

Hi! I’m the CraftyMummy

Tonya is the voice behind The Crafty Mummy. She dabbles in lots of different crafts – patchwork, quilting, cross-stitch, scrapbooking, knitting, crochet and sewing. This is the record of projects she has done, and the projects she dreams of getting to! Read More…

Search

  • Email
  • Facebook
  • Instagram
  • Pinterest
  • Twitter
  • YouTube
Shop my Affiliate Favourites

Fat Quarter Shop for Fabric and More

Grab the Sew Sampler Box Here

AccuQuilt for Cutting Machines and Dies

QuiltyBox for Monthly Treats in the Mail

CreativeBug for Craft Classes

Pretty Darn Cute for Blog Designs like mine

Creative Market for Fonts, Images, Themes and More

OzGameShop for All the Games

Adrift for Fashion you’ll Love

Kindle Unlimited Membership Plans

Kindle Book List

Click to shop my kindle book list
Shop my Amazon Influencer Shop
Join the CrochetU and learn to crochet
New to TheCraftyMummy.com? Click here to see more
Blog Tools I use for TheCraftyMummy.com

Grammarly

Aweber for email newsletter

CoSchedule to stay organised and share

Milotree for social media

Genesis for blog framework

FoodiePro is my theme

Hosting with WPEngine

Powered by

Recent Articles

Disclosure: There are affiliate links on this site. This means that I may get a commission if you choose to purchase after browsing via these links - at absolutely no extra cost to you, of course. I only recommend products which I use and love, or that I think will be quality products that will be useful to my readers. It is the affiliate links in this site that help me keep my tutorials free of charge. Thank you!

Looking for something? Search here:

Copyright 2015 The Crafty Mummy · Built using Genesis Framework & Foodie Pro Theme