The Crafty Mummy

Crafts. Sewing. Quilting. Crochet. Tutorials.

  • Start Here
  • Welcome
    • Subscribe
    • About Me
      • Copyright
      • Disclosure
      • Privacy Policies
    • Advertise
    • Sharing
      • Recommendations
      • Shopping & Coupons
      • Books
  • Explore
    • Crafts
      • Beading
      • Kids
      • Paint
      • Storage
      • Christmas Crafts
    • Sewing
    • Quilting
    • Stitching
    • Crochet
      • Yarn
    • Life
      • Food
      • Organisation
    • Blogging
      • How To
      • Social Media
      • WordPress Plugins
      • Photography
  • Tutorials
    • Tips
  • Shop on Etsy
  • Shop on Redbubble

Tutorial: Rainbow Jenny Block

by Tonya Grant |Filed Under: Quilting, Tutorials Tagged With: #FQS1930FarmersWife, #FW45Jenny, 31 Days of Rainbows, Farmers Wife Sew Along, Rainbow Get a Weekly Update of all Articles

FW45 Jenny

Welcome! I’m Tonya – also known as The Crafty Mummy thanks to all my crafty passions.

I’m so excited that it is my turn to share a Farmer’s Wife tutorial with you today as part of the Farmer’s Wife 1930s Sew Along with GnomeAngel.

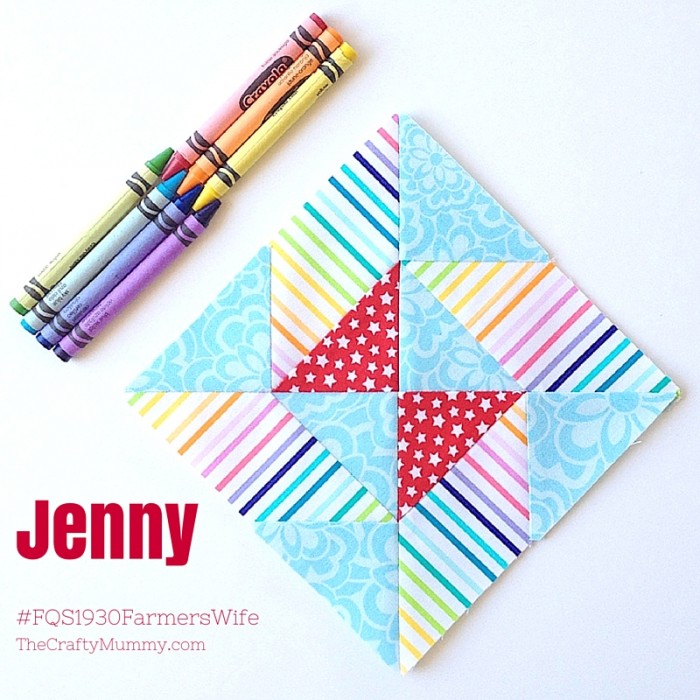
This block is Jenny and it is number 45 in the Farmer’s Wife 1930’s book:

The Farmer’s Wife 1930s Sampler Quilt: Inspiring Letters from Farm Women of the Great Depression and 99 Quilt Blocks That Honor Them by Laurie Aaron Hird for Fons & Porter/F+W; RRP $28.99 – Click here to purchase.

T2131_FW1930SQ_COV.indd

Find the book on Amazon here

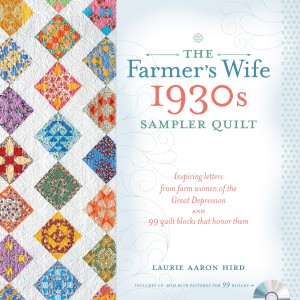
eBook also available: Farmer’s Wife 1930s Sampler Quilt

I made my block using Marti Michell templates Set A and her cutting instructions found here. Towards the bottom of her post you will find the Conversion Chart link to see which templates match the templates you need for the Jenny block. I’m loving using these templates for my blocks – they really do make it very easy to make sure all the pieces come together perfectly.

If you’re using prints with a direction to them – like my rainbow stripes – think about which way you want the stripes or pattern to go before you cut. I’ve been playing with the direction of my stripes in each of my blocks – I even put them on an angle in the corners of the Belle block and the Coral block.

Jenny 1

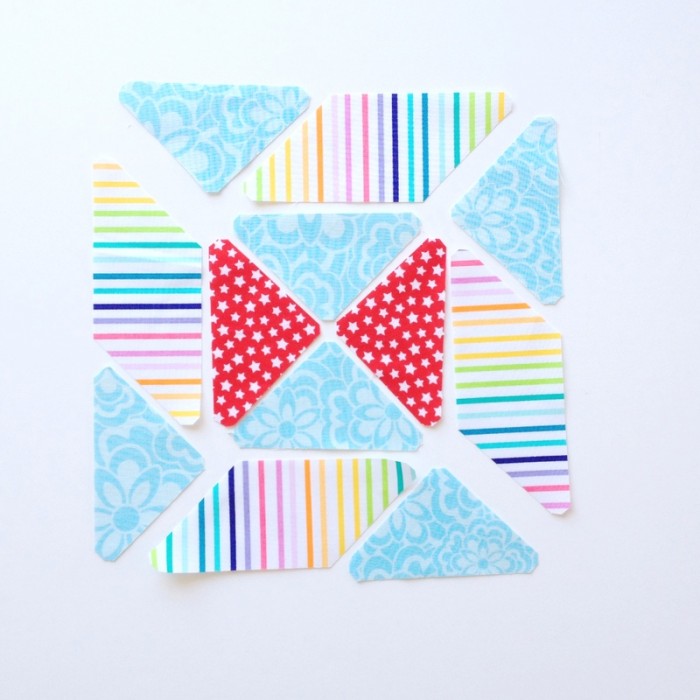
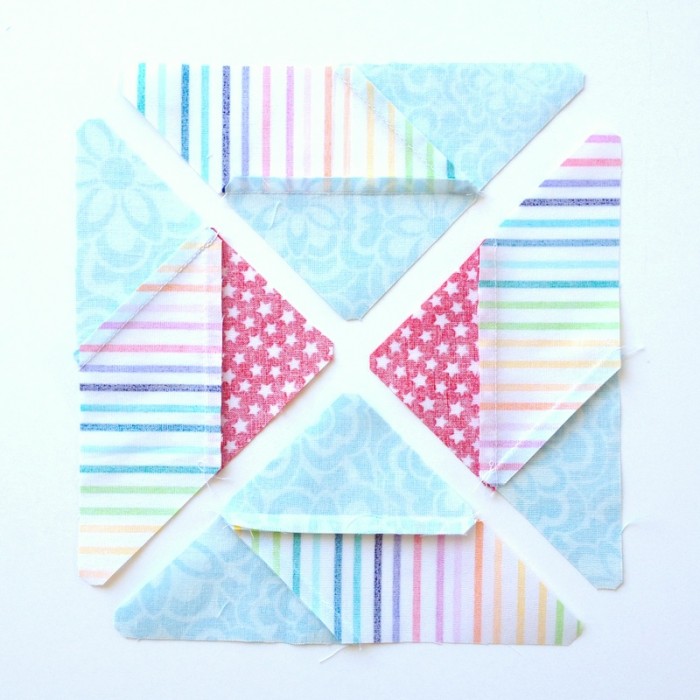
Once you have all your pieces ready to go, lay them out. I’ve found this is the best way to make sure that I piece the correct pieces together in the correct direction. I often put my pieces on a tray so I can take them to and from my ironing board without having to pick them all up.

Jenny 2    Jenny 3
We’re going to make 4 units starting with out the outer edge pieces. Join the small triangle to the parallelogram – yep, that wonky rectangle diamond thingy has a proper name! See how I’ve laid my triangle right side down on top of my Parallelogram with the top sticking up? That’s important. When you sew them together then open up the seam, the triangle will be in the right spot. I pressed the seam towards the blue fabric but pressing either way will work.

Jenny 4    Jenny 5
Next add the top triangle by flipping it down on top of the pieces. Create four units like this – but quick, read the tip below first:

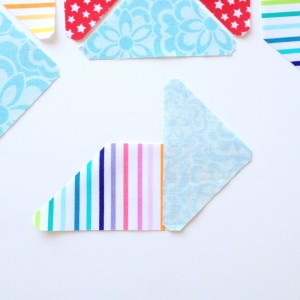
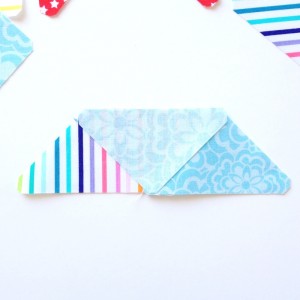
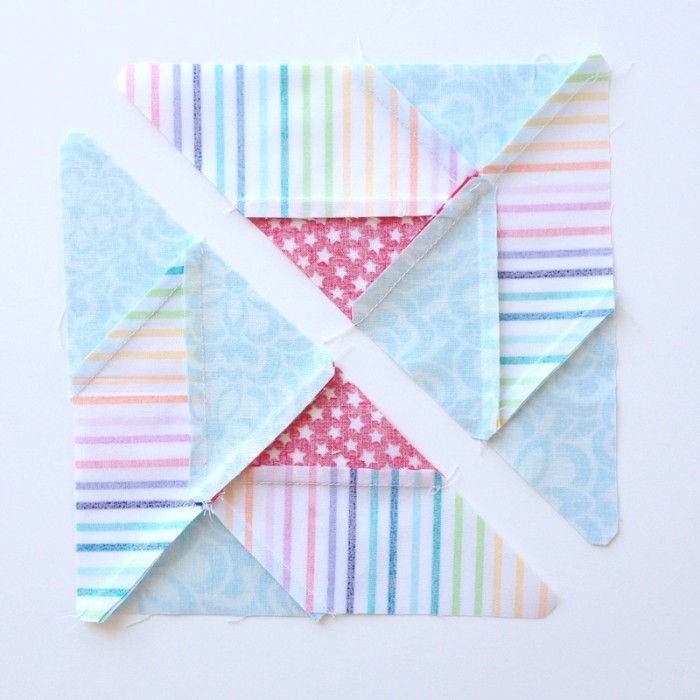
As you make your 4 units, consider how you press this second seam. I pressed away from the blue fabric for two of them and towards the red fabric for the other two. See in the picture below?

Jenny 6

This means when I come to the next step – joining two units together – the seams will nest together and create a perfect point.

Read more about nesting seams here.

Jenny 6-001

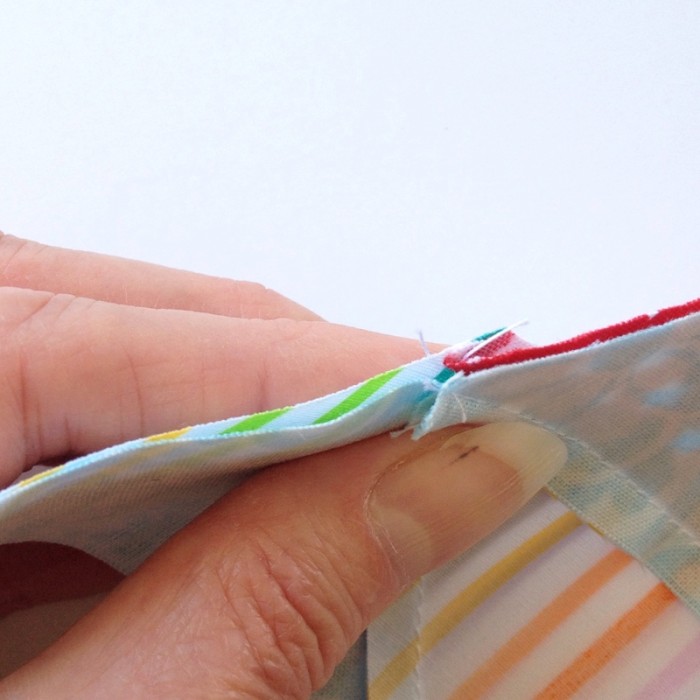
Join your units in pairs and again consider how you press the seams – it will make the last seam easier to match.

Jenny 7

See the back of my units below?

I pressed the seam of one pair one way and the other seam the opposite way so that again the two sections will nest together when I sew the last seam.

Jenny 8

I square up all my blocks just to trim off any wonky edges and make sure they are all 6.5″ finished. I’ve been finding that my 6.5″ square ruler is perfect for this.

Not sure how to square up? Here’s my tutorial:

How to Square up a quilt block

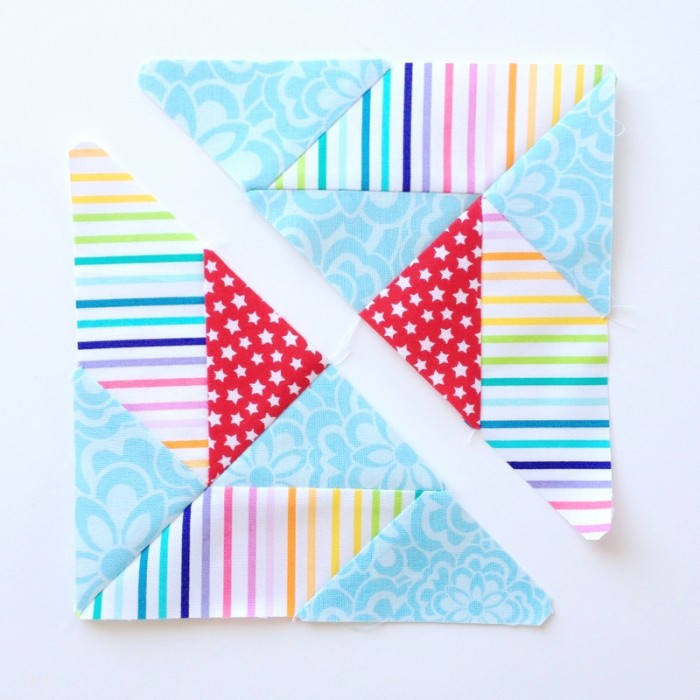
Time to find my Crayola crayons again and take some pictures of the finished block. (Yes, I’ve been playing with my crayons each time I take pictures of my blocks – part of my rainbow theme for this month.)

Ta da! All finished!

FW Jenny block

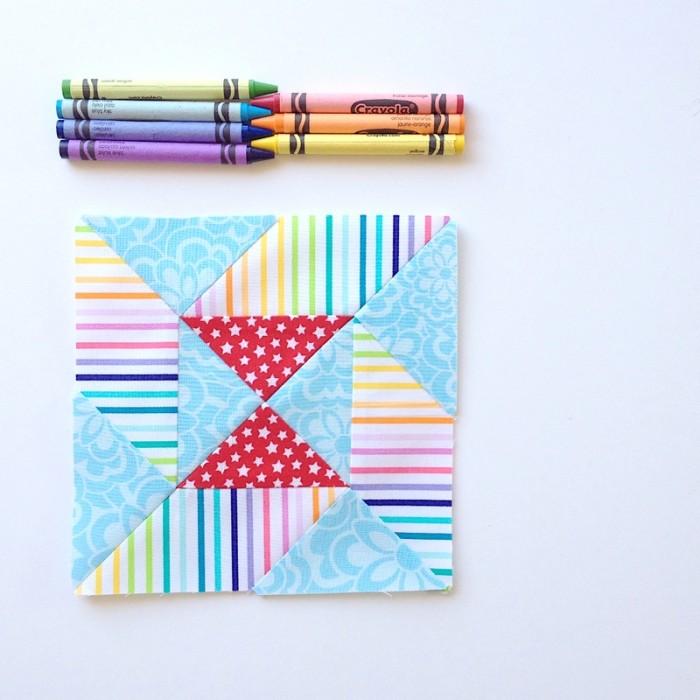
I like this block both square and on point. I haven’t decided yet which way I will join them in the end but it is interesting to see how they look each way.

Tutorials:

  • Gnome Angel
  • She Quilts a Lot
  • Marti Michell

Make sure you check out the hashtag on Ins­tagram and visit the Face­book group. Thanks so much Angie from Gnome Angel for organising the #FQS1930FarmersWife Sew Along!


31 Days of Rainbows  Rainbow Mini Quilts Collection

Disclosure image (1)


Filed Under: Quilting, Tutorials Tagged With: #FQS1930FarmersWife, #FW45Jenny, 31 Days of Rainbows, Farmers Wife Sew Along, Rainbow

« Rainbow Coral Block
Rainbow Old Maid Block »
Disclosure: There are affiliate links in this post.  This just means that if you click through and choose to purchase something I may get a small commission - at no extra cost to you, of course.  This helps me keep the content here at The Crafty Mummy free for everyone.

I love to chat so please leave me a comment or ask a question.

Don't stress if your comment doesn't appear immediately - sometimes I have to moderate comments thanks to spam visitors, but the comments from real readers will always get published. Scroll down to add your thoughts or ask a question.

Comments

  1. Anita L says

    October 30, 2015 at 8:09 AM

    Beautiful bright photos! Love your fun fabrics! 🙂

  2. MaryAnn Mings says

    October 31, 2015 at 8:28 AM

    Thank you for the comprehensive and easy to understand tutorial. Especially helpful was the user friendly way you noted the conversion for the template method which I usually have to hunt for while on my IPad. Thanks again!

  3. Flo says

    January 9, 2017 at 10:37 PM

    I tried to find out about monthly sewing box and can’t bring it up. Can you send me a link. I would be interested in this monthly box .

    • Tonya Grant says

      January 10, 2017 at 6:10 AM

      Hi Flo, I’m guessing you mean the QuiltyBox – you can find it here: http://www.shareasale.com/r.cfm?xB=854084&U=516251&M=65320&urllink=

Hi! I’m the CraftyMummy

Tonya is the voice behind The Crafty Mummy. She dabbles in lots of different crafts – patchwork, quilting, cross-stitch, scrapbooking, knitting, crochet and sewing. This is the record of projects she has done, and the projects she dreams of getting to! Read More…

Search

  • Email
  • Facebook
  • Instagram
  • Pinterest
  • Twitter
  • YouTube
Shop my Affiliate Favourites

Fat Quarter Shop for Fabric and More

Grab the Sew Sampler Box Here

AccuQuilt for Cutting Machines and Dies

QuiltyBox for Monthly Treats in the Mail

CreativeBug for Craft Classes

Pretty Darn Cute for Blog Designs like mine

Creative Market for Fonts, Images, Themes and More

OzGameShop for All the Games

Adrift for Fashion you’ll Love

Kindle Unlimited Membership Plans

Kindle Book List

Click to shop my kindle book list
Shop my Amazon Influencer Shop
Join the CrochetU and learn to crochet
New to TheCraftyMummy.com? Click here to see more
Blog Tools I use for TheCraftyMummy.com

Grammarly

Aweber for email newsletter

CoSchedule to stay organised and share

Milotree for social media

Genesis for blog framework

FoodiePro is my theme

Hosting with WPEngine

Powered by

Recent Articles

Disclosure: There are affiliate links on this site. This means that I may get a commission if you choose to purchase after browsing via these links - at absolutely no extra cost to you, of course. I only recommend products which I use and love, or that I think will be quality products that will be useful to my readers. It is the affiliate links in this site that help me keep my tutorials free of charge. Thank you!

Looking for something? Search here:

Copyright 2015 The Crafty Mummy · Built using Genesis Framework & Foodie Pro Theme