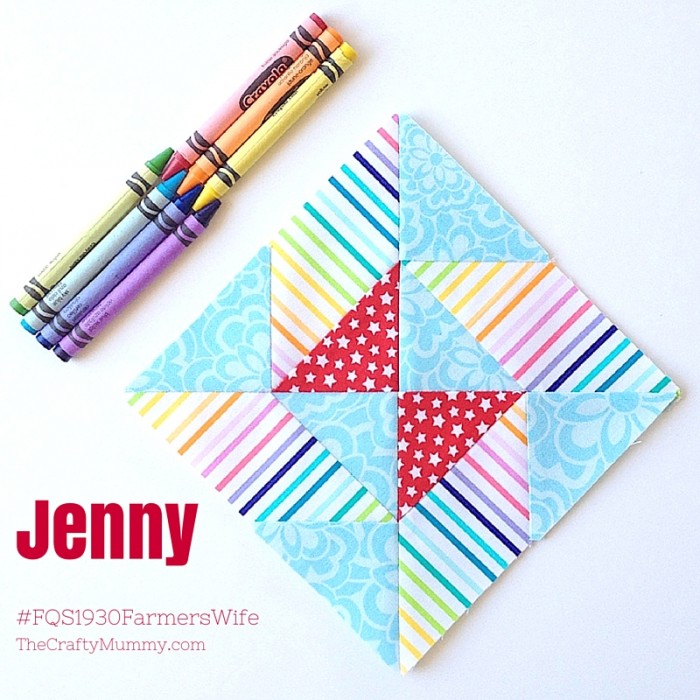
Welcome! I’m Tonya – also known as The Crafty Mummy thanks to all my crafty passions.
I’m so excited that it is my turn to share a Farmer’s Wife tutorial with you today as part of the Farmer’s Wife 1930s Sew Along with GnomeAngel.
This block is Jenny and it is number 45 in the Farmer’s Wife 1930’s book:
The Farmer’s Wife 1930s Sampler Quilt: Inspiring Letters from Farm Women of the Great Depression and 99 Quilt Blocks That Honor Them by Laurie Aaron Hird for Fons & Porter/F+W; RRP $28.99 – Click here to purchase.
eBook also available: Farmer’s Wife 1930s Sampler Quilt
I made my block using Marti Michell templates Set A and her cutting instructions found here. Towards the bottom of her post you will find the Conversion Chart link to see which templates match the templates you need for the Jenny block. I’m loving using these templates for my blocks – they really do make it very easy to make sure all the pieces come together perfectly.
If you’re using prints with a direction to them – like my rainbow stripes – think about which way you want the stripes or pattern to go before you cut. I’ve been playing with the direction of my stripes in each of my blocks – I even put them on an angle in the corners of the Belle block and the Coral block.
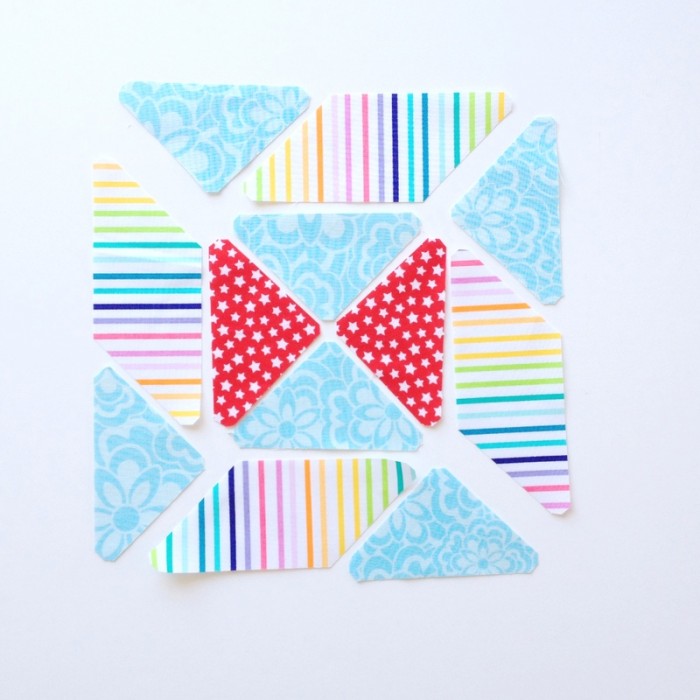
Once you have all your pieces ready to go, lay them out. I’ve found this is the best way to make sure that I piece the correct pieces together in the correct direction. I often put my pieces on a tray so I can take them to and from my ironing board without having to pick them all up.
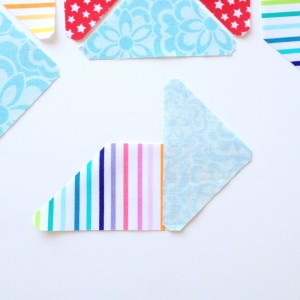
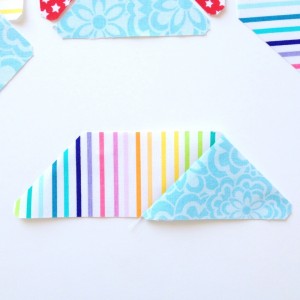
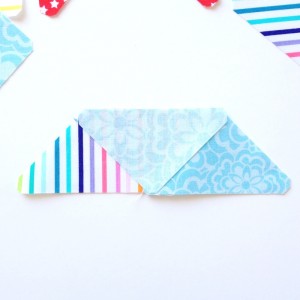
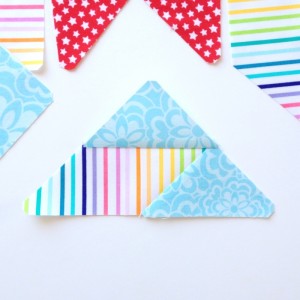
As you make your 4 units, consider how you press this second seam. I pressed away from the blue fabric for two of them and towards the red fabric for the other two. See in the picture below?
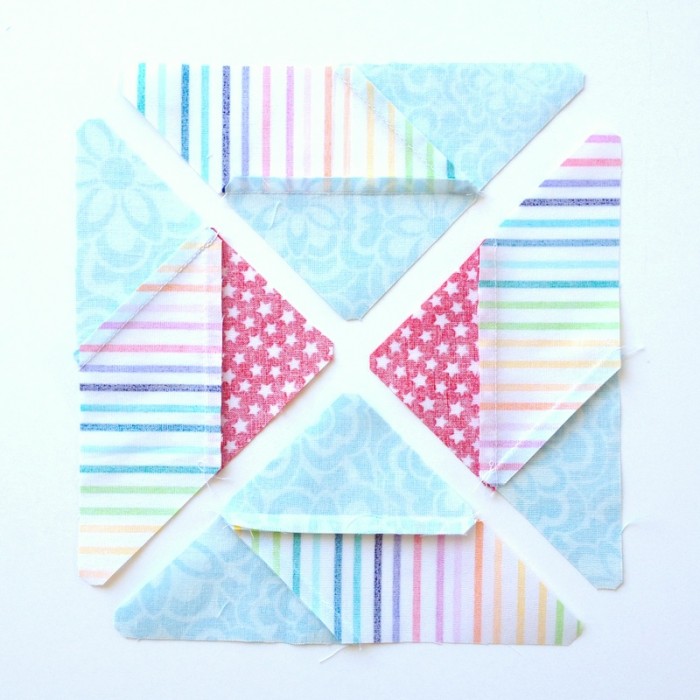
This means when I come to the next step – joining two units together – the seams will nest together and create a perfect point.
Read more about nesting seams here.
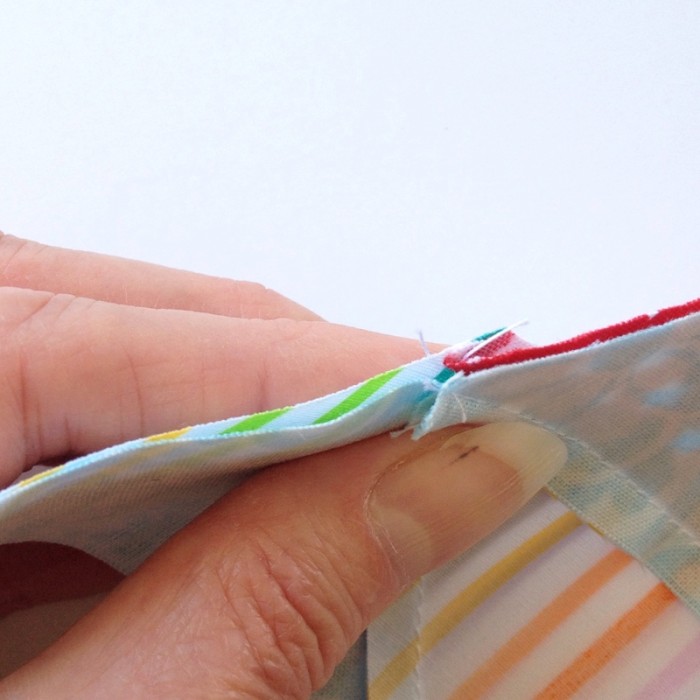
Join your units in pairs and again consider how you press the seams – it will make the last seam easier to match.
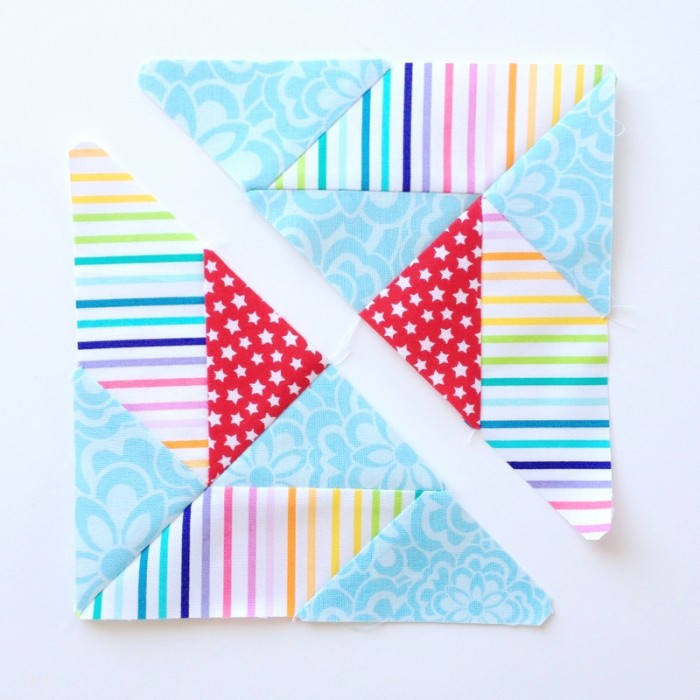
See the back of my units below?
I pressed the seam of one pair one way and the other seam the opposite way so that again the two sections will nest together when I sew the last seam.
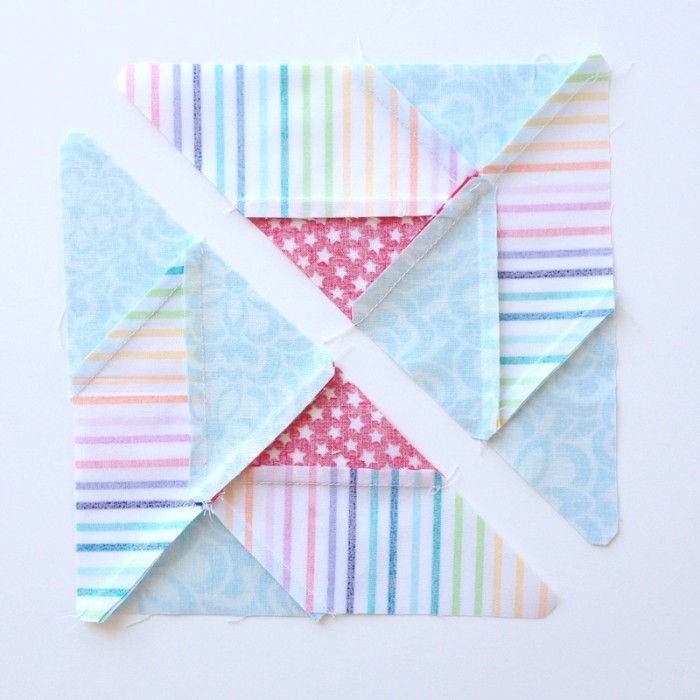
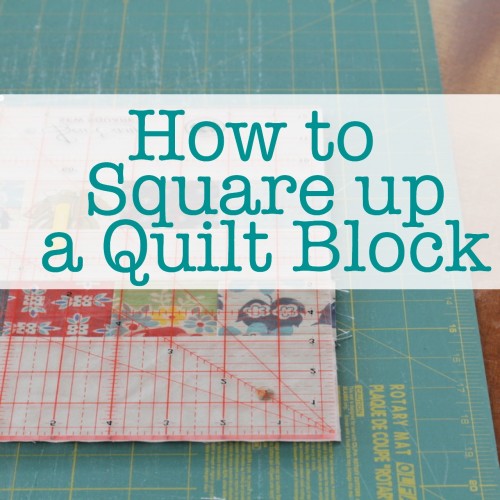
I square up all my blocks just to trim off any wonky edges and make sure they are all 6.5″ finished. I’ve been finding that my 6.5″ square ruler is perfect for this.
Not sure how to square up? Here’s my tutorial:
Time to find my Crayola crayons again and take some pictures of the finished block. (Yes, I’ve been playing with my crayons each time I take pictures of my blocks – part of my rainbow theme for this month.)
Ta da! All finished!
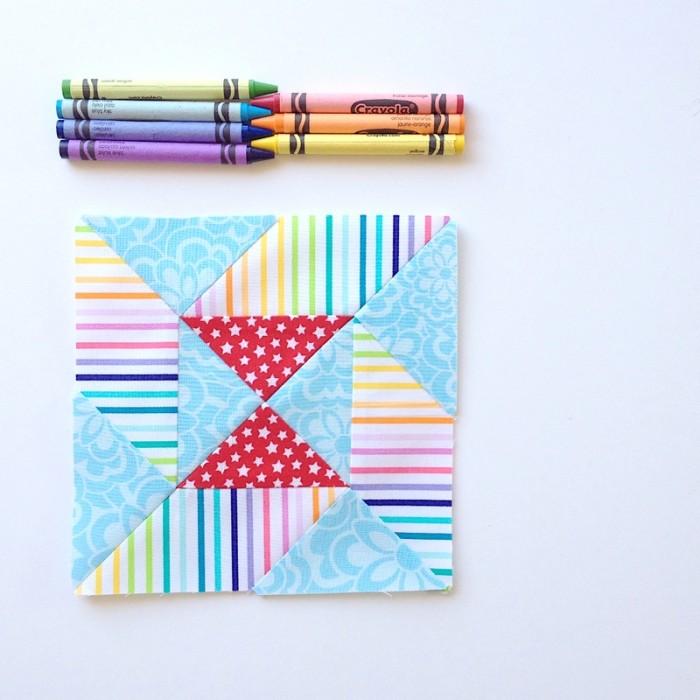
I like this block both square and on point. I haven’t decided yet which way I will join them in the end but it is interesting to see how they look each way.
Tutorials:
Make sure you check out the hashtag on Instagram and visit the Facebook group. Thanks so much Angie from Gnome Angel for organising the #FQS1930FarmersWife Sew Along!


Beautiful bright photos! Love your fun fabrics! 🙂
Thank you for the comprehensive and easy to understand tutorial. Especially helpful was the user friendly way you noted the conversion for the template method which I usually have to hunt for while on my IPad. Thanks again!
I tried to find out about monthly sewing box and can’t bring it up. Can you send me a link. I would be interested in this monthly box .
Hi Flo, I’m guessing you mean the QuiltyBox – you can find it here: http://www.shareasale.com/r.cfm?xB=854084&U=516251&M=65320&urllink=